If there’s one snack that instantly brings back childhood memories, it’s those delightfully cheesy, perfectly crisp Homemade Cheez-Its. Imagine the comfort of a classic cheddar cracker, but with even more flavor, a melt-in-your-mouth buttery bite, and zero mystery ingredients. Making these crackers at home is surprisingly easy, incredibly fun, and totally rewarding. Whether you’re planning a cozy movie night or whipping up a homemade lunchbox treat, you’ll never see store-bought crackers the same way again!
Ingredients You’ll Need
You only need a handful of staple ingredients to achieve that signature Cheez-It taste and crunch, and each one plays a unique part. From the rich cheddar to that final sprinkle of salt, every element helps create crackers that are big on flavor and nostalgia.
- Sharp cheddar cheese: The star of the show—choose sharp or extra-sharp for that iconic cheesy punch.
- Unsalted butter: Cold and cubed butter is key for creating a tender, crisp texture.
- Salt: Brings out the tangy cheese flavor and balances the richness, so don’t skimp!
- Garlic powder (optional): Adds a gentle hint of savory depth, totally optional but delicious.
- All-purpose flour: The backbone of the dough, holding everything together while letting the cheese shine.
- Ice water: Just a couple of tablespoons binds the dough and gives you that perfect cracker snap.
- Coarse salt for sprinkling (optional): Adds an irresistible finish and makes them look like the real deal!
How to Make Homemade Cheez-Its
Step 1: Blend the Cheese and Butter
Start by adding the shredded cheddar cheese, cold cubed butter, salt, and garlic powder (if you’re using it) to your food processor. Give everything a few quick pulses until the mixture resembles coarse crumbs—you want little flecks, not a paste. This quick blending locks flavor into every bite and ensures the butter stays cold for a perfectly flaky cracker.
Step 2: Add the Flour
Now, sprinkle the flour over the cheese mixture and pulse again. The goal is to just combine everything; overmixing can lead to tough crackers. Stop once the dough looks mostly incorporated—seeing a few streaks is perfectly fine at this stage.
Step 3: Bring the Dough Together with Ice Water
Add the ice water one tablespoon at a time, pulsing after each addition. You’ll know it’s ready when the dough starts to clump and just comes together in the food processor. Be careful not to add too much water; a slightly crumbly dough will yield the best Homemade Cheez-Its crunch.
Step 4: Chill the Dough
Divide the dough into two even pieces and gently press each into a disc. Wrap the discs tightly in plastic wrap and pop them into the fridge for at least 30 minutes. This rest time makes the dough easier to roll out and helps the crackers bake up especially crisp and flaky.
Step 5: Roll and Cut
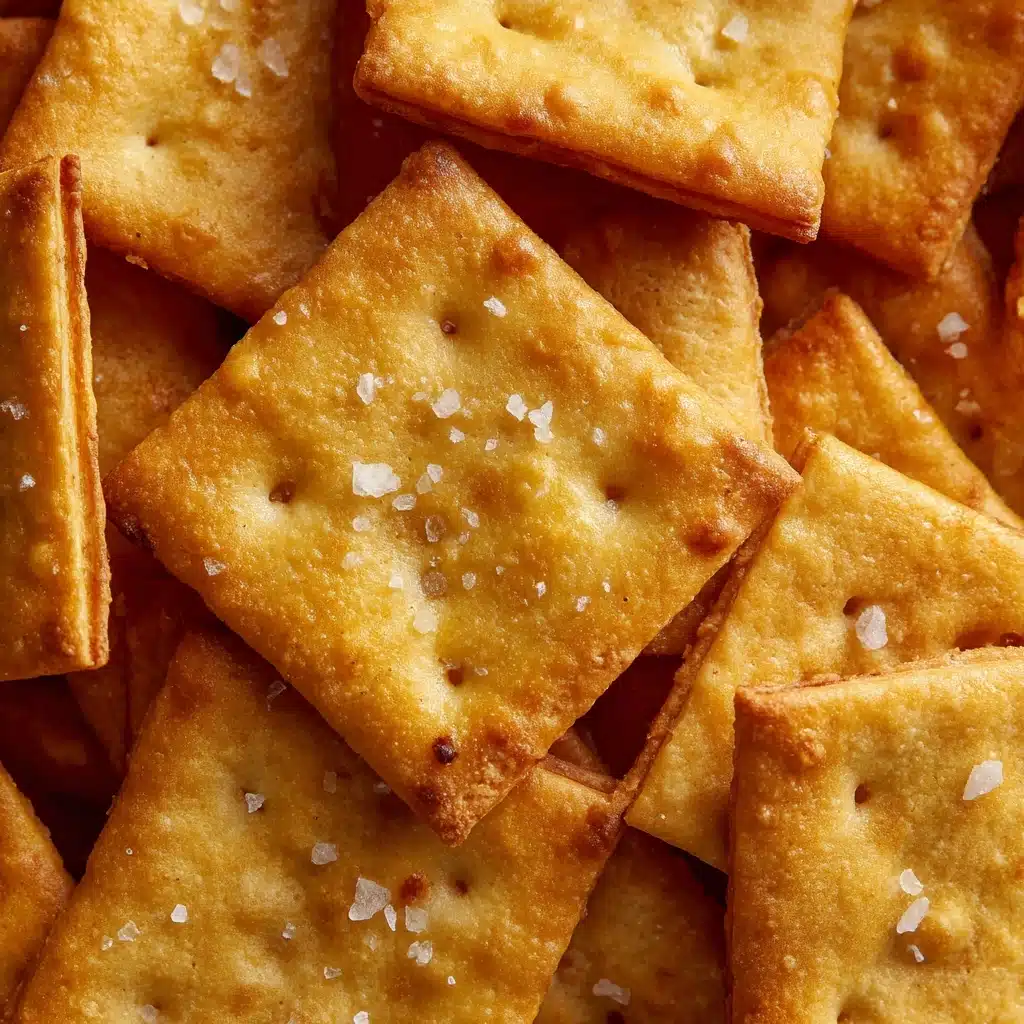
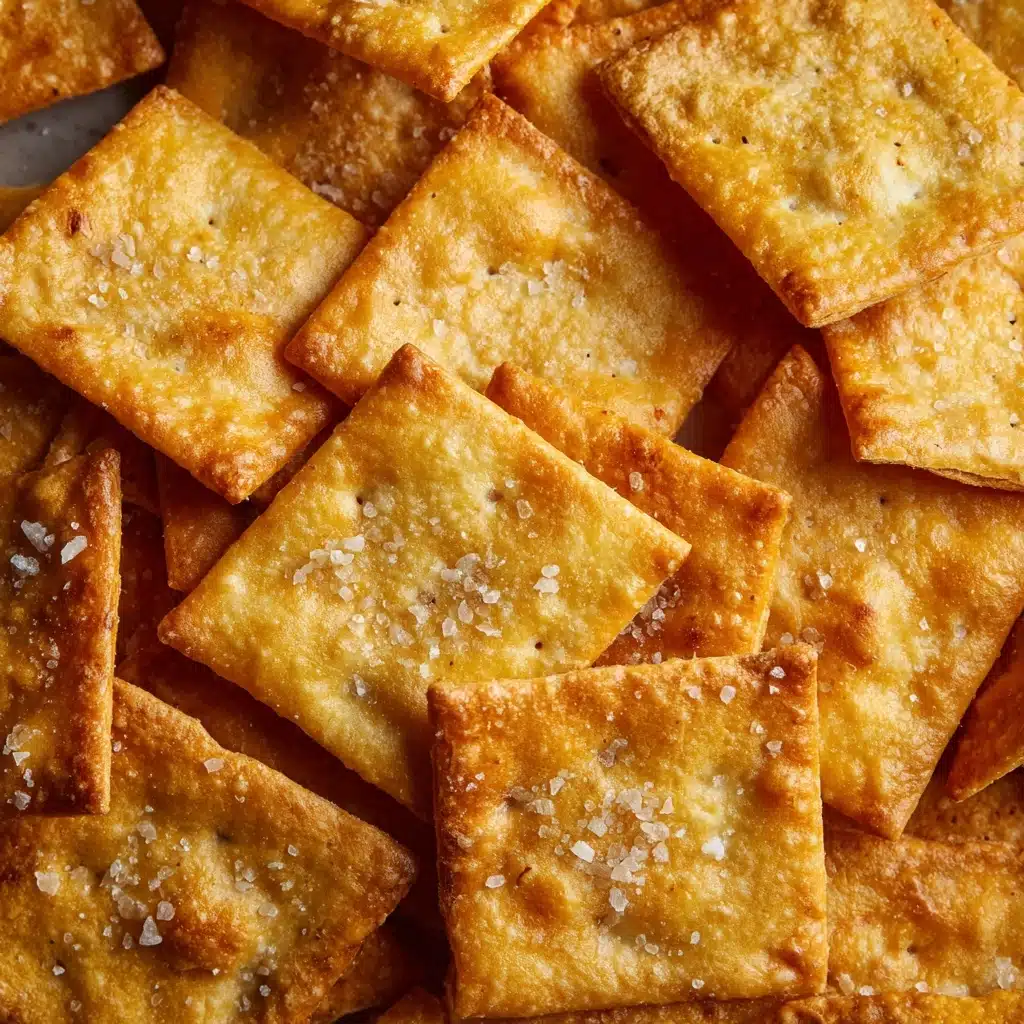
Preheat your oven to 350°F (175°C), and line two baking sheets with parchment paper. Lightly flour your work surface and roll out one dough disc at a time to about 1/8-inch thick. Using a sharp knife or pizza cutter, slice the dough into 1-inch squares—no need for perfection, rustic is charming! For that authentic Homemade Cheez-Its look, poke a small hole in the center of each cracker with a skewer or toothpick.
Step 6: Bake to Crisp, Golden Perfection
Arrange the crackers on your prepared baking sheets, leaving a little space between each so they cook evenly. Sprinkle with coarse salt if you like that classic salty finish. Bake for 12 to 15 minutes, rotating the pans halfway through for even coloring. The crackers should be lightly golden and crisp—they’ll firm up even more as they cool on a wire rack.
How to Serve Homemade Cheez-Its
Garnishes
A little extra touch can really make your Homemade Cheez-Its pop! Sprinkle with a pinch of smoked paprika or a dusting of grated Parmesan just out of the oven for a flavorful twist. Flaky sea salt gives them gourmet flair, while a drizzle of honey pairs surprisingly well for a sweet-savory snack.
Side Dishes
Pair these cheesy crackers with crisp apple slices, a cup of tomato soup, or a fresh green salad for a snack that eats like a meal. They’re fantastic as a crunchy side for lunchtime sandwiches, or crumbled into creamy dips for a homemade take on party mix.
Creative Ways to Present
Pour your Homemade Cheez-Its into jars tied with ribbon for adorable edible gifts. Make a colorful platter mixing them with other favorite crackers and nuts for game night, or use mini bowls and let guests add toppings like a cheese board. You could even cut them into fun shapes for themed parties—the possibilities are endless!
Make Ahead and Storage
Storing Leftovers
Once your Homemade Cheez-Its have cooled completely, store them in an airtight container at room temperature. They stay fresh and crispy for up to a week (if they last that long!), making them perfect for anytime snacking or packing in lunchboxes.
Freezing
If you want to get a jump on snack prep, you can freeze the unbaked dough. Wrap your discs tightly and freeze for up to 2 months; just thaw in the fridge overnight before rolling, cutting, and baking as usual. This way, you’re only ever a few minutes away from a fresh batch.
Reheating
If your crackers start to lose their snap, simply spread them on a baking sheet and heat in a 325°F (160°C) oven for 4–6 minutes. Let them cool completely and they’ll crisp right back up—good as new!
FAQs
Can I use a different type Snack
Absolutely! While sharp cheddar gives the most authentic flavor, you can experiment with pepper jack, white cheddar, or even a blend for your own signature variation.
Do I need a food processor to make the dough?
A food processor definitely makes the dough come together quickly and easily, but you can use a pastry blender or even your hands to rub the butter and cheese into the flour—it just takes a bit more elbow grease!
How do I know the Homemade Cheez-Its are done baking?
You want the crackers to look lightly golden, with crisp edges. They continue to firm up as they cool, so don’t worry if they seem slightly soft when you take them out of the oven.
Can I make these crackers gluten-free?
Yes, you can substitute your favorite all-purpose gluten-free flour blend in a 1:1 ratio. The results will still be deliciously cheesy and crisp, though the flavor and texture may vary slightly.
Is there a way to make Homemade Cheez-Its spicier?
For extra heat, mix in a pinch of cayenne pepper or a little finely chopped jalapeño to the dough. You can also sprinkle chili flakes on top before baking for a spicy kick.
Final Thoughts
There’s just something special about pulling a tray of Homemade Cheez-Its from the oven—warm, fragrant, and impossibly cheesy. These little crackers are the ultimate nostalgic snack, and once you’ve tried them fresh, there’s no turning back. So go ahead, gather your ingredients, and treat yourself (and your loved ones) to a batch of the best cheese crackers you’ll ever taste!
Print
Homemade Cheez-Its Recipe
- Total Time: 1 hour (including chill time)
- Yield: 80 crackers 1x
- Diet: Vegetarian
Description
Learn how to make your own Homemade Cheez-Its with this easy recipe. These crispy cheddar crackers are perfect for snacking and sure to be a hit with everyone!
Ingredients
Cheez-Its:
- 8 oz sharp cheddar cheese, shredded
- 4 tbsp unsalted butter, cold and cubed
- 1/2 tsp salt
- 1/4 tsp garlic powder (optional)
- 1 cup all-purpose flour
- 2–3 tbsp ice water
- Coarse salt for sprinkling (optional)
Instructions
- Prepare the Dough: In a food processor, combine shredded cheddar, butter, salt, and garlic powder. Pulse until coarse crumbs form. Add flour and pulse until combined. Gradually add ice water until dough forms.
- Chill the Dough: Divide dough, flatten into discs, and chill for 30 minutes.
- Roll and Cut: Roll out dough, cut into squares, and poke a hole in each. Sprinkle with salt.
- Bake: Bake at 350°F for 12–15 minutes until golden.
- Cool and Store: Cool on wire racks and store in an airtight container.
Notes
- Use extra-sharp cheddar for bold flavor.
- Experiment with pepper jack or white cheddar for different variations.
- Avoid overbaking to maintain crispness.
- Prep Time: 15 minutes
- Cook Time: 15 minutes
- Category: Snack
- Method: Baking
- Cuisine: American
Nutrition
- Serving Size: 10 crackers
- Calories: 130
- Sugar: 0g
- Sodium: 180mg
- Fat: 9g
- Saturated Fat: 5g
- Unsaturated Fat: 3g
- Trans Fat: 0g
- Carbohydrates: 9g
- Fiber: 0g
- Protein: 3g
- Cholesterol: 20mg