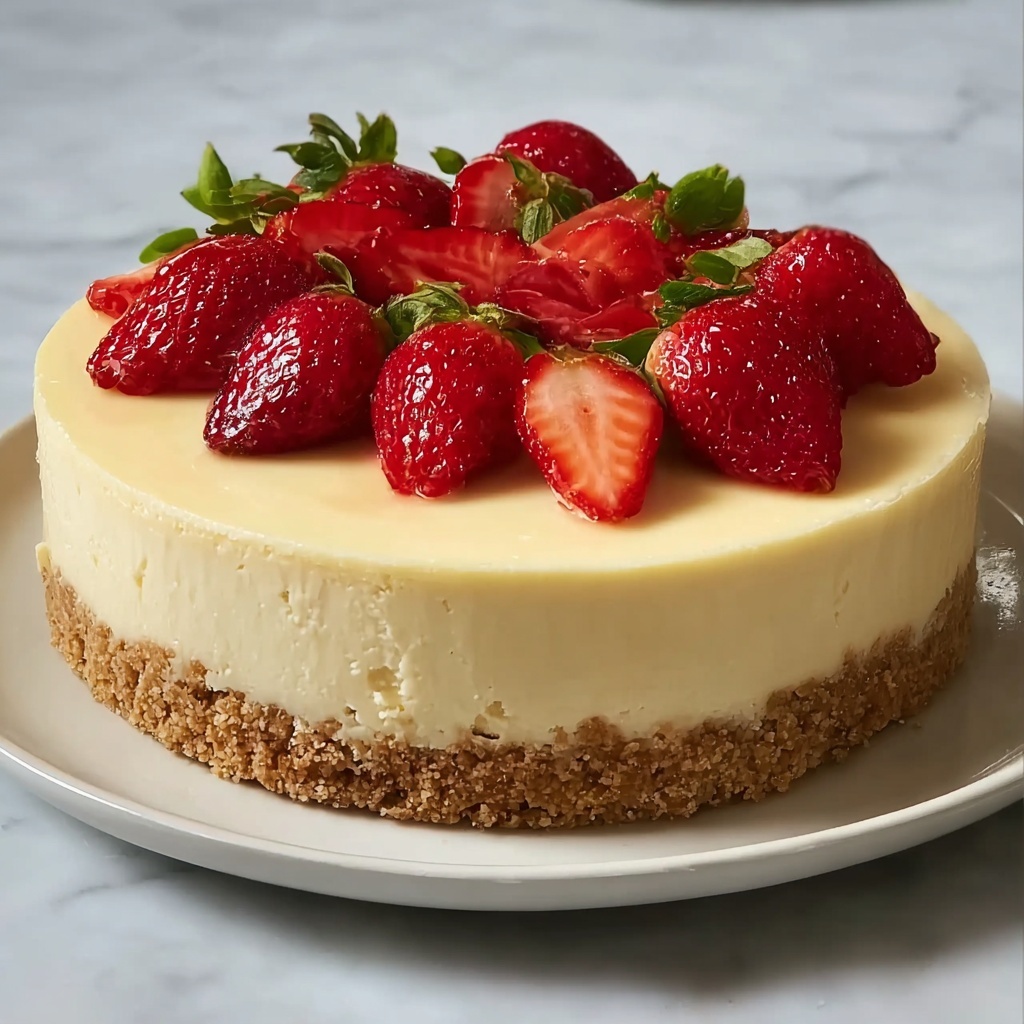
If you’re on the hunt for a dessert that satisfies your sweet tooth while keeping things health-conscious, you have to try this Greek Yogurt Protein Powder Cheesecake Recipe. It’s creamy, packed with protein, and has a subtle tang from the Greek yogurt that perfectly balances the sweetness. This cheesecake feels indulgent but sneaks in wholesome ingredients that make it a guilt-free treat. Whether you’re looking to impress guests or treat yourself after a workout, this recipe hits the mark every single time.
Ingredients You’ll Need
These ingredients are straightforward but totally essential to achieve that perfect balance of texture and flavor in your cheesecake. Each one brings something important to the table, whether it’s richness, creaminess, or sweetness.
- Graham cracker crumbs or crushed nuts: the foundation for a crunchy, flavorful crust that contrasts beautifully with the creamy filling.
- Butter or coconut oil: helps bind the crust and adds richness, with coconut oil as a great dairy-free option.
- Sweetener of choice: to add just the right touch of sweetness to the crust without overpowering the filling.
- Pinch of salt: balances flavors and enhances the overall taste of the crust.
- Plain, non-fat Greek yogurt: the star of the filling that delivers tang, creaminess, and protein.
- Protein powder (whey or plant-based): amps up the protein content while adding subtle flavor and smooth texture.
- Eggs: essential for binding the filling and creating that satisfying cheesecake structure.
- Vanilla extract: brings warmth and depth to the creamy filling.
- Low-calorie sweetener or honey/maple syrup: sweetens the cheesecake naturally without extra calories.
- Milk (dairy or non-dairy, optional): adjusts the filling’s texture to a perfectly creamy consistency.
How to Make Greek Yogurt Protein Powder Cheesecake Recipe
Step 1: Prepare the Crust
Start by preheating your oven to 350°F (175°C) to get everything ready. If you’re using nuts instead of graham crackers, pulse them in a food processor until finely crushed — this ensures a nicely textured crust. Mix your crumbs or nuts with melted butter, a sweetener if you like, and a pinch of salt until evenly coated. Press the mixture firmly into the bottom of a greased springform pan to create an even layer. Baking the crust for about 10 minutes helps it set and develop a golden color that adds a beautiful flavor note.
Step 2: Make the Filling
In a large bowl, blend the Greek yogurt and protein powder until smooth and velvety. This step is where the magic happens — the protein powder and yogurt combine for a creamy texture that’s both filling and nutritious. Add eggs one by one, mixing well each time to build structure. Stir in vanilla extract and your chosen sweetener, tailoring the sweetness to your taste. If you want an extra creamy result, a splash of milk helps loosen the batter just enough for a silky smooth finish.
Step 3: Assemble and Bake
Pour the luscious filling over your cooled crust, smoothing it out with a spatula so the surface is even. Bake at a slightly lower temperature of 325°F (163°C) for 50 to 60 minutes. Look for those telltale signs: firmly set edges and a slightly jiggly center that indicates the perfect cheesecake doneness. After baking, allow the cheesecake to cool in the pan for 15-20 minutes — this helps it settle and prevents cracking.
Step 4: Chill
This is the key to achieving that classic cheesecake texture. Transfer the cooled cheesecake to the fridge and let it chill for at least 4 hours, though overnight is best. The longer rest time allows flavors to meld, and the filling to firm up into a slice-worthy consistency you’ll love.
Step 5: Serve Greek Yogurt Protein Powder Cheesecake Recipe
Once chilled and firm, carefully release your cheesecake from the springform pan. Slice into generous pieces, and you’re ready to indulge!
How to Serve Greek Yogurt Protein Powder Cheesecake Recipe
Garnishes
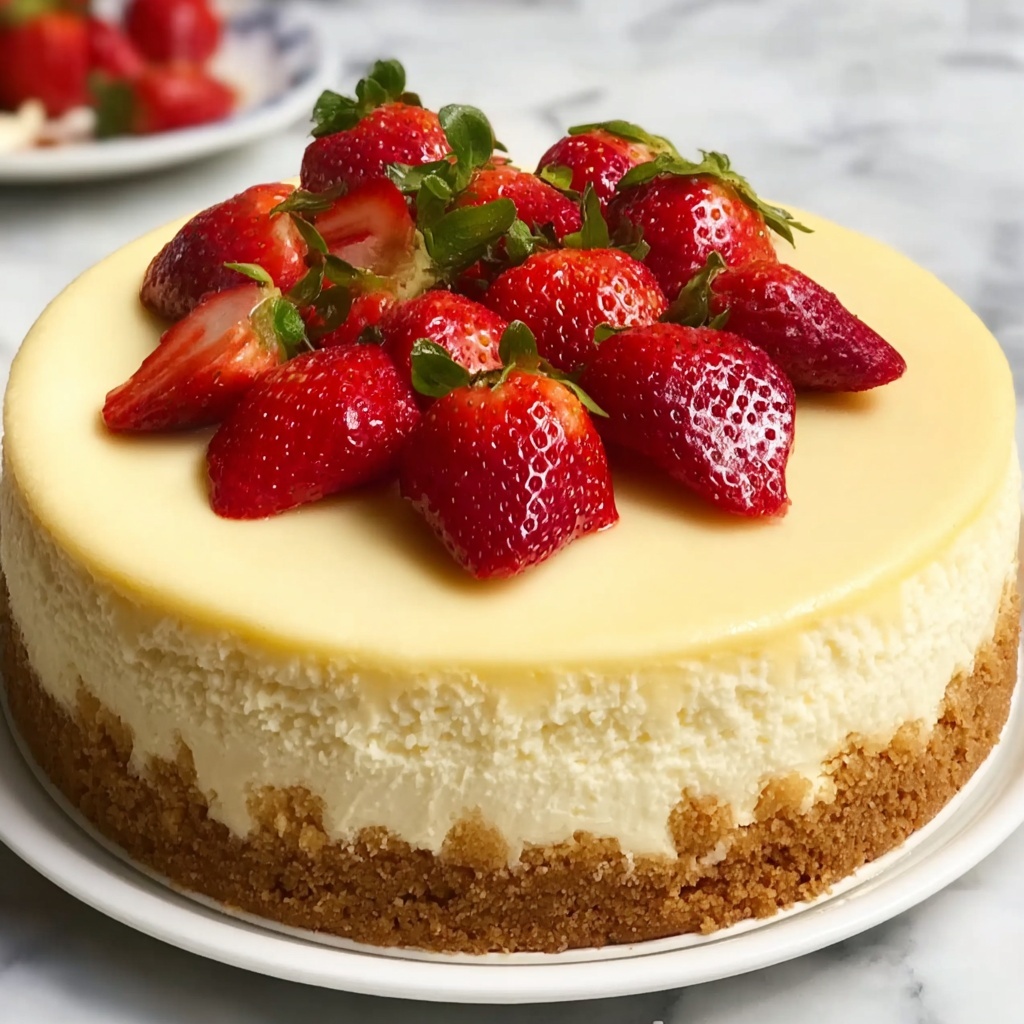
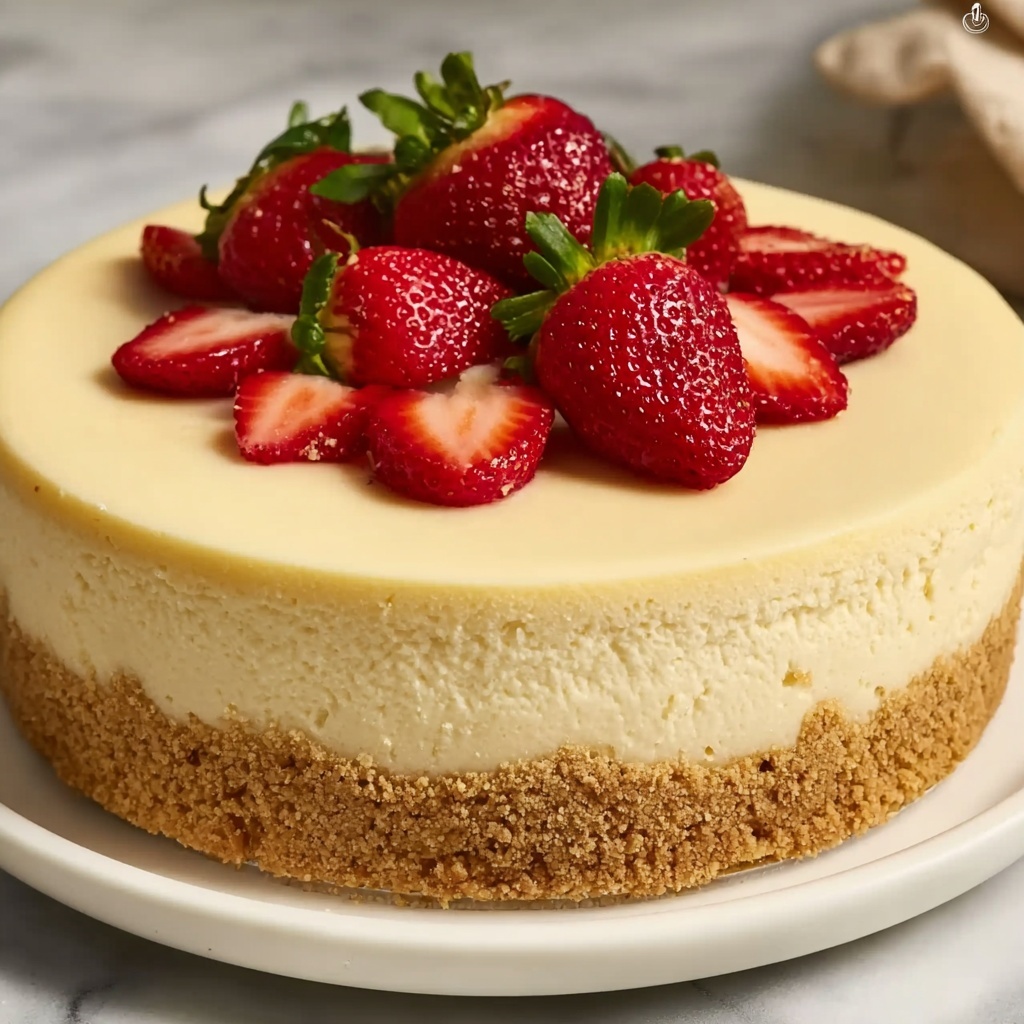
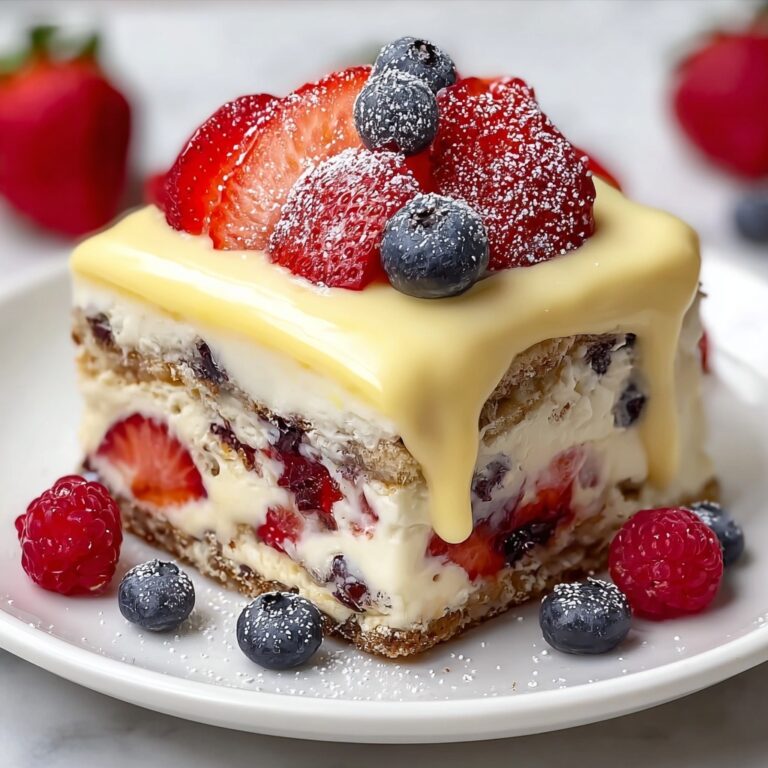
Top with fresh berries for a burst of color and natural sweetness, or drizzle with sugar-free chocolate sauce to add a touch of decadence without overpowering the protein-packed cheesecake. Whipped cream is always a welcome companion, adding lightness and creaminess to each slice.
Side Dishes
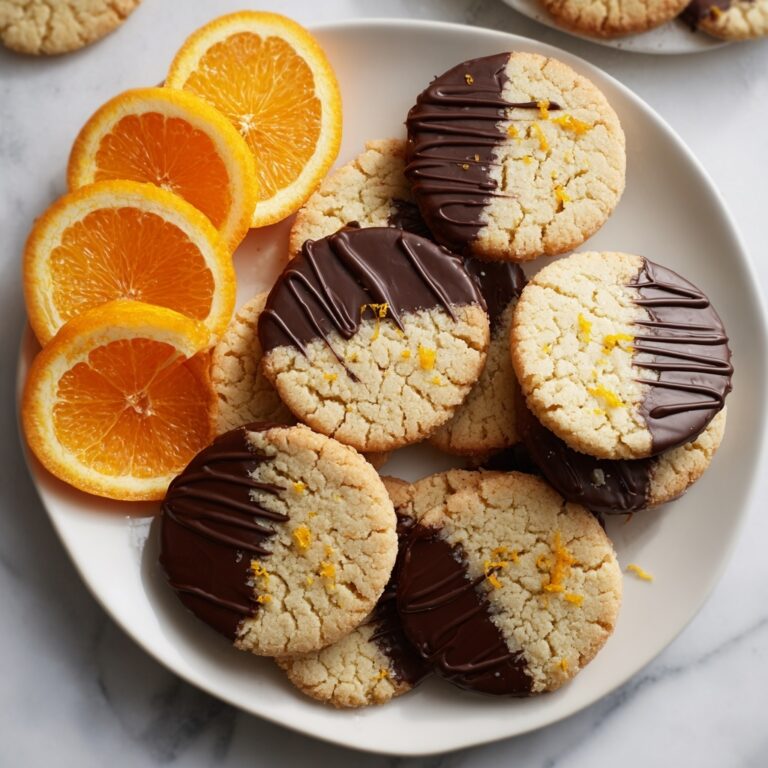
Serve alongside a light fruit salad or a scoop of frozen yogurt for a refreshing balance. A few crunchy nuts or a sprinkle of chopped dark chocolate can also complement the flavors while keeping the focus on your delicious cheesecake. These pairings turn your dessert into a full, satisfying experience.
Creative Ways to Present
For a playful twist, try serving individual cheesecake cups layered with fruit compote or granola. You can also experiment by swirling in a bit of your favorite jam into the filling before baking for a pretty marble effect. Presentation that’s both beautiful and inviting always makes the Greek Yogurt Protein Powder Cheesecake Recipe feel like a special occasion treat.
Make Ahead and Storage
Storing Leftovers
Keep any leftovers covered tightly in the refrigerator for best freshness. Your cheesecake should stay moist and delicious for up to 4 days, making it perfect for making ahead or enjoying as a quick snack.
Freezing
This cheesecake freezes wonderfully. Wrap it well in plastic wrap and aluminum foil to prevent freezer burn. When stored properly, it can last up to 2 months without losing much of its creamy texture and flavor.
Reheating
Since this cheesecake is best enjoyed cold, simply thaw frozen slices overnight in the fridge. If you prefer at room temperature, let slices sit out for about 20 minutes before serving to bring out the flavors and soften the texture just a bit.
FAQs
Can I use flavored protein powder for this Greek Yogurt Protein Powder Cheesecake Recipe?
Absolutely! Using vanilla or chocolate flavored protein powders works great, and can add an extra dimension of flavor. Just keep in mind how the flavor will blend with the other ingredients so it complements rather than overwhelms.
Is this cheesecake low-carb friendly?
Yes, especially if you use crushed nuts instead of graham cracker crumbs for the crust and a low-calorie sweetener in the filling. The Greek yogurt and protein powder boost protein while keeping carbs reasonable.
Can I make this recipe dairy-free?
Definitely. Swap Greek yogurt for a non-dairy variety like coconut yogurt, use a plant-based protein powder, and replace butter with coconut oil for the crust. The texture might be slightly different but still delicious!
What’s the best protein powder to use?
The choice depends on your dietary preferences. Whey protein gives a smooth texture and mild flavor, while plant-based powders work well for vegan or dairy-free versions. Vanilla or chocolate flavorings are your safest bets.
How do I know when the cheesecake is fully baked?
Look for set edges and a center that jiggles slightly but isn’t liquid. The cheesecake will firm up as it cools, so avoid overbaking to keep it creamy and tender.
Final Thoughts
This Greek Yogurt Protein Powder Cheesecake Recipe is a game-changer for anyone craving a dessert that’s both indulgent and nourishing. I promise you’ll love how simple ingredients yield such a satisfying, creamy slice that fits perfectly into a balanced lifestyle. Give it a try—you might just find your new favorite cheesecake!
Print
Greek Yogurt Protein Powder Cheesecake Recipe
- Prep Time: 20 minutes
- Cook Time: 1 hour 10 minutes
- Total Time: 5 hours 30 minutes
- Yield: 10 servings
- Category: Dessert
- Method: Baking
- Cuisine: Greek-American fusion
- Diet: Low Calorie
Description
This Greek Yogurt and Protein Powder Cheesecake is a healthy, protein-packed dessert perfect for those seeking a low-calorie, nutritious treat. Featuring a crunchy graham cracker or nut-based crust and a creamy, smooth filling made with non-fat Greek yogurt and your choice of protein powder, it strikes a perfect balance between indulgence and wellness.
Ingredients
For the Crust:
- 1 ½ cups graham cracker crumbs (or crushed almonds or walnuts for a low-carb option)
- 3 tbsp butter (or coconut oil for a dairy-free version)
- 1 tbsp sweetener of choice (optional, for a sweeter crust)
- Pinch of salt
For the Filling:
- 2 cups plain, non-fat Greek yogurt
- 1 cup protein powder (whey or plant-based, vanilla or chocolate flavor)
- 3 large eggs
- 1 tsp vanilla extract
- ½ cup low-calorie sweetener (such as stevia or monk fruit, or ¼ cup honey or maple syrup)
- Optional: 2-4 tbsp milk (dairy or non-dairy) for creamier texture
Instructions
- Prepare the Crust: Preheat your oven to 350°F (175°C). If using nuts for the crust, pulse them in a food processor until finely crushed. In a bowl, combine the crushed graham crackers or nuts with melted butter (or coconut oil), sweetener, and a pinch of salt. Stir to coat all ingredients evenly. Press this mixture firmly into the bottom of a greased springform pan to form an even crust layer. Bake in the preheated oven for about 10 minutes or until golden brown. Remove the crust from the oven and set aside to cool.
- Make the Filling: In a large mixing bowl, whisk together the Greek yogurt and protein powder until smooth and fully combined. Add the eggs one at a time, whisking well after each addition to ensure a smooth mixture. Stir in the vanilla extract along with your preferred sweetener (stevia, monk fruit, or honey). If you want a creamier filling, add 2 to 4 tablespoons of milk (dairy or non-dairy) and mix until the batter is smooth and uniform.
- Assemble and Bake: Pour the prepared yogurt and protein filling over the cooled crust in the springform pan. Use a spatula to smooth out the surface evenly. Bake at 325°F (163°C) for 50 to 60 minutes, or until the edges are set and the center is slightly jiggly—this indicates it will firm up as it cools. Once baked, take the cheesecake out of the oven and let it cool in the pan for 15 to 20 minutes.
- Chill: After initial cooling, transfer the cheesecake to the refrigerator and chill for at least 4 hours, preferably overnight. This chilling step helps the cheesecake set completely and develop its texture.
- Serve: Carefully run a knife around the edges before removing the cheesecake from the springform pan. Slice and serve as is or with optional toppings such as fresh berries, sugar-free chocolate sauce, or whipped cream for extra flavor and presentation.
Notes
- For a dairy-free version, use coconut oil in the crust and non-dairy milk in the filling.
- Choose protein powder flavor wisely; vanilla gives a classic taste, while chocolate adds richness.
- Adjust sweetness according to your preference and dietary needs, especially if using natural sweeteners like honey or maple syrup.
- Ensure the cheesecake cools completely before refrigerating to prevent condensation.
- Use a springform pan for easy removal of the cheesecake without damage.