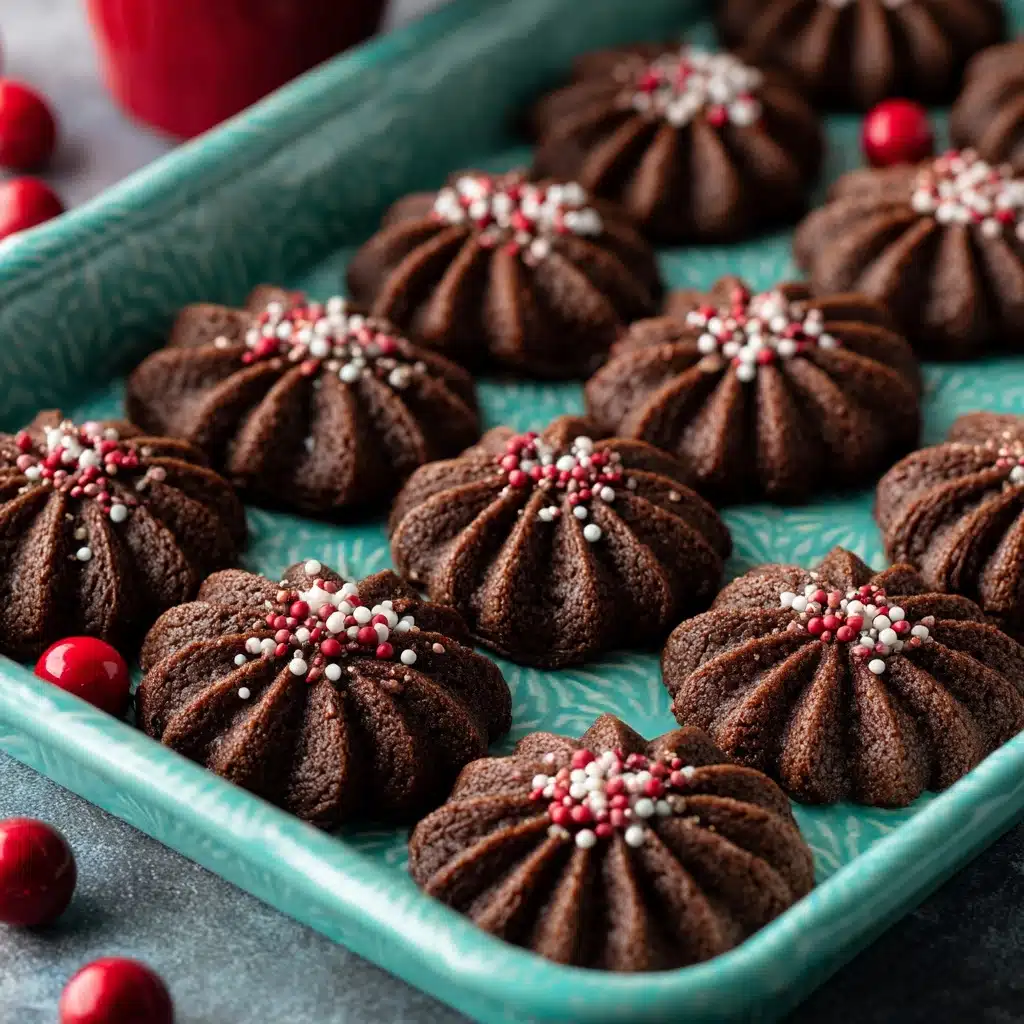
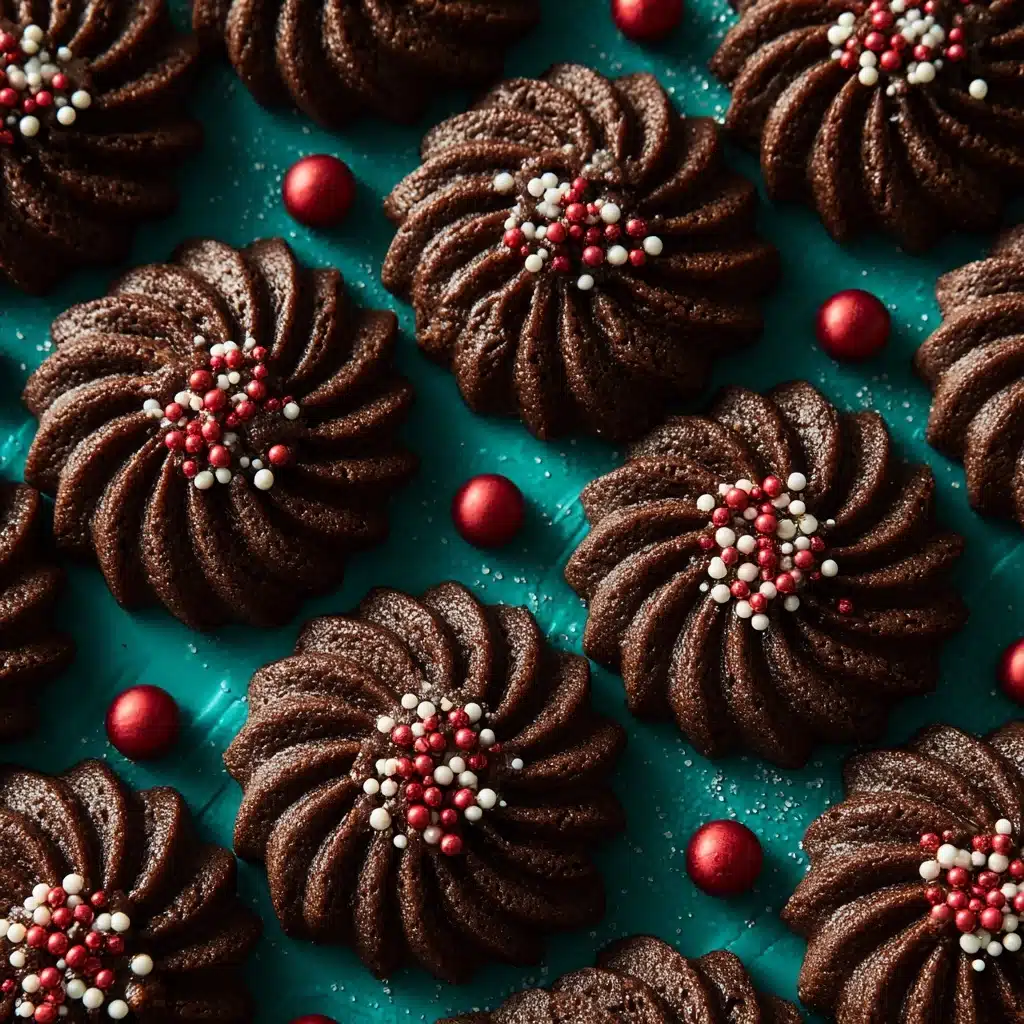
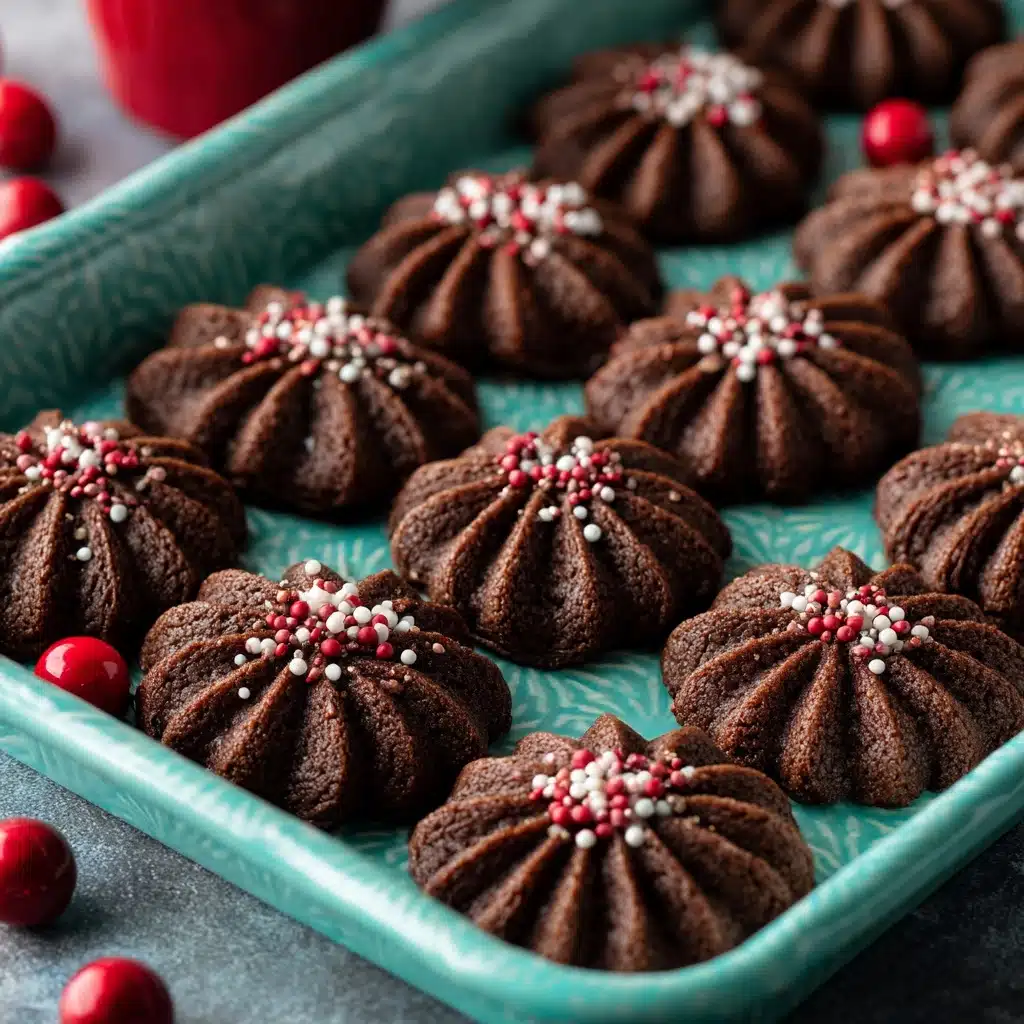
If you’re after a melt-in-your-mouth treat with just the right amount of chocolatey charm, look no further than Piped Chocolate Butter Cookies. These dazzling little cookies are light as air, beautifully chocolatey, and impossibly buttery, making them the perfect companion to a warm cup of tea, a festive gathering, or honestly, any moment when you crave a sweet bite. Crafted with simple pantry staples and shaped into elegant patterns with a piping bag, these cookies feel as special as they taste, and you won’t believe how effortless they are to whip up in your own kitchen!
Ingredients You’ll Need
Would you believe these showstopper cookies require only a handful of kitchen essentials? Each ingredient plays a role in delivering soft, delicate texture and deep flavor, making sure your Piped Chocolate Butter Cookies come out picture-perfect every time.
- Unsalted butter, softened: The absolute heart of these cookies, butter creates the extraordinary melt-in-your-mouth feel and adds rich flavor—make sure it’s truly room temperature for easy creaming.
- Powdered sugar: Gives the cookies a silky-smooth sweetness and keeps the texture fine and delicate.
- Vanilla extract: A dash of vanilla rounds out the chocolate and butter with just a hint of warmth.
- All-purpose flour: Provides structure and helps the cookies hold their iconic piped shapes while baking.
- Unsweetened cocoa powder: Brings a punch of chocolate flavor and that deep, irresistible color.
- Salt: Just a pinch is all it takes to balance the sweetness and intensify the chocolate notes.
- Milk (as needed): Adds just enough moisture for a smooth, pipeable dough—but don’t overdo it!
How to Make Piped Chocolate Butter Cookies
Step 1: Prep the Oven and Baking Sheet
Go ahead and preheat your oven to 350°F (175°C). While that warms up, line a baking sheet with parchment paper—this prevents sticking and ensures your piped shapes stay crisp and defined once baked.
Step 2: Cream the Butter and Sugar
In a large mixing bowl, beat the softened butter and powdered sugar together until the mixture is light, pale, and fluffy. This isn’t just about blending; you’re incorporating air, which gives your Piped Chocolate Butter Cookies their signature lightness. Stir in the vanilla extract until combined, savoring the sweet aroma.
Step 3: Combine the Dry Ingredients
In a separate bowl, whisk together the flour, unsweetened cocoa powder, and salt. This step helps distribute the cocoa evenly for a consistent chocolate flavor in every bite and also keeps the finished cookies smooth—nobody wants lumps here!
Step 4: Mix Dry and Wet Ingredients
Add your dry ingredients gradually into the butter mixture. Mix gently, just until a soft dough forms. If the dough feels too stiff to pipe easily, add milk 1 tablespoon at a time until it’s just soft enough—think pipeable, not runny. Resisting the urge to overmix keeps the cookies tender.
Step 5: Pipe the Cookies
Spoon the dough into a piping bag fitted with a large open star or round tip. Have fun! Pipe lovely rosettes, fancy S-curves, or simple logs onto your prepared baking sheet—just leave a little space between each for spreading. The beauty of Piped Chocolate Butter Cookies is their custom shapes!
Step 6: Bake to Perfection
Slide the tray into your preheated oven and bake for 10–12 minutes. The cookies should look just set—avoid overbaking to keep them meltingly soft. Let them cool for about 5 minutes on the tray before transferring to a wire rack to finish cooling completely.
How to Serve Piped Chocolate Butter Cookies
Garnishes
Dress up your Piped Chocolate Butter Cookies by dipping half of each cooled cookie into melted chocolate, then sprinkle with chopped nuts, festive sprinkles, or even a dusting of edible gold for a truly show-stopping effect. These simple touches take your cookies from delicious to dazzling.
Side Dishes
Pairing is half the fun! These cookies shine next to a fragrant cup of tea, robust coffee, or a glass of cold milk for the little ones. They also look charming alongside a platter of fresh berries, adding a pop of color and tartness to balance out the rich cocoa.
Creative Ways to Present
If you want that “wow” moment, arrange the piped cookies in a vintage tin lined with colorful tissue, or stack them in cellophane bags tied with ribbon for gorgeous homemade gifts. For a dessert tray, try alternating rows of piped shapes—rosettes, logs, and S-curves—for eye-catching variety.
Make Ahead and Storage
Storing Leftovers
Store any leftover Piped Chocolate Butter Cookies in an airtight container at room temperature. They’ll stay fresh for about a week—though honestly, they rarely last that long here! Keep them out of humid spots to maintain their crisp-tender texture.
Freezing
These cookies are freezer-friendly! Just wait until the cookies have cooled completely, then layer them between sheets of parchment in a container or freezer bag. They’ll keep beautifully for up to 2 months. For next-level convenience, you can also freeze unbaked piped dough shapes and bake straight from frozen, adding a minute or two to the bake time.
Reheating
If you want to revive that just-baked aroma and texture, pop cookies from the freezer or container onto a baking sheet and warm in a low oven (about 300°F) for 3–4 minutes. Let cool slightly and enjoy—almost as good as new!
FAQs
Can I use salted butter instead of unsalted?
Absolutely! If you use salted butter, reduce or skip the extra salt listed in the recipe so your Piped Chocolate Butter Cookies don’t turn out overly salty. The flavor will still be rich and delicious.
My dough is too stiff to pipe—what should I do?
If squeezing the piping bag takes too much muscle, add a tiny splash of milk, about a teaspoon at a time, just until the dough is pipeable. Be careful not to overdo it, or the cookies will spread too much when baking.
Can I make these cookies gluten-free?
Certainly! Swap in your favorite 1:1 gluten-free flour blend. Keep an eye on the dough texture and add milk if needed, since gluten-free flours can absorb liquids differently.
How do I keep the piped shapes from losing definition?
The key is to avoid overmixing and to use butter that’s soft but not melted. If your kitchen is very warm, chill the piped cookies on the sheet for 10 minutes before baking to help them hold those gorgeous lines.
What piping tips work best for this recipe?
A large open star or round tip gives you elegant, classic swirls or logs that bake evenly. If you want super-detailed cookies, try a French star tip, but keep in mind that finer details can get lost in baking—bigger is better with this dough!
Final Thoughts
There’s just something magical about baking and sharing Piped Chocolate Butter Cookies—it’s pure happiness in a bite-sized package. Whether you want to brighten up your cookie jar or give a heartfelt homemade gift, I hope you’ll fall in love with this recipe as much as I have. Give these cookies a whirl and discover just how delightful homemade treats can be!
Print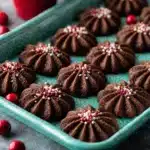
Piped Chocolate Butter Cookies Recipe
- Total Time: 32 minutes
- Yield: 24 cookies 1x
- Diet: Vegetarian
Description
Indulge in these delightful Piped Chocolate Butter Cookies that are both visually appealing and delicious. With a rich cocoa flavor and a buttery texture, these cookies are perfect for any occasion.
Ingredients
For the Cookies:
- 1 cup unsalted butter, softened
- ½ cup powdered sugar
- 1 teaspoon vanilla extract
- 1½ cups all-purpose flour
- ¼ cup unsweetened cocoa powder
- ¼ teaspoon salt
- 1–2 tablespoons milk (as needed for piping)
Instructions
- Preheat the Oven: Preheat the oven to 350°F (175°C) and line a baking sheet with parchment paper.
- Cream Butter and Sugar: In a large bowl, cream the softened butter and powdered sugar until light and fluffy. Mix in the vanilla extract.
- Prepare Dry Ingredients: In a separate bowl, whisk together the flour, cocoa powder, and salt.
- Combine Ingredients: Gradually add the dry ingredients to the butter mixture, mixing until a smooth dough forms. Add milk as needed to achieve the right piping consistency.
- Pipe the Cookies: Transfer the dough to a piping bag fitted with a large open star or round tip. Pipe shapes onto the baking sheet.
- Bake: Bake for 10–12 minutes until just set. Cool on the sheet for 5 minutes, then transfer to a wire rack to cool completely.
Notes
- For a decorative touch, dip half of each cookie in melted chocolate and sprinkle with crushed nuts or sprinkles.
- Avoid overmixing or overheating the butter to maintain cookie shape.
- Prep Time: 20 minutes
- Cook Time: 12 minutes
- Category: Dessert
- Method: Baking
- Cuisine: European
Nutrition
- Serving Size: 1 cookie
- Calories: 110
- Sugar: 4 g
- Sodium: 40 mg
- Fat: 7 g
- Saturated Fat: 4 g
- Unsaturated Fat: 3 g
- Trans Fat: 0 g
- Carbohydrates: 10 g
- Fiber: 1 g
- Protein: 1 g
- Cholesterol: 15 mg
