
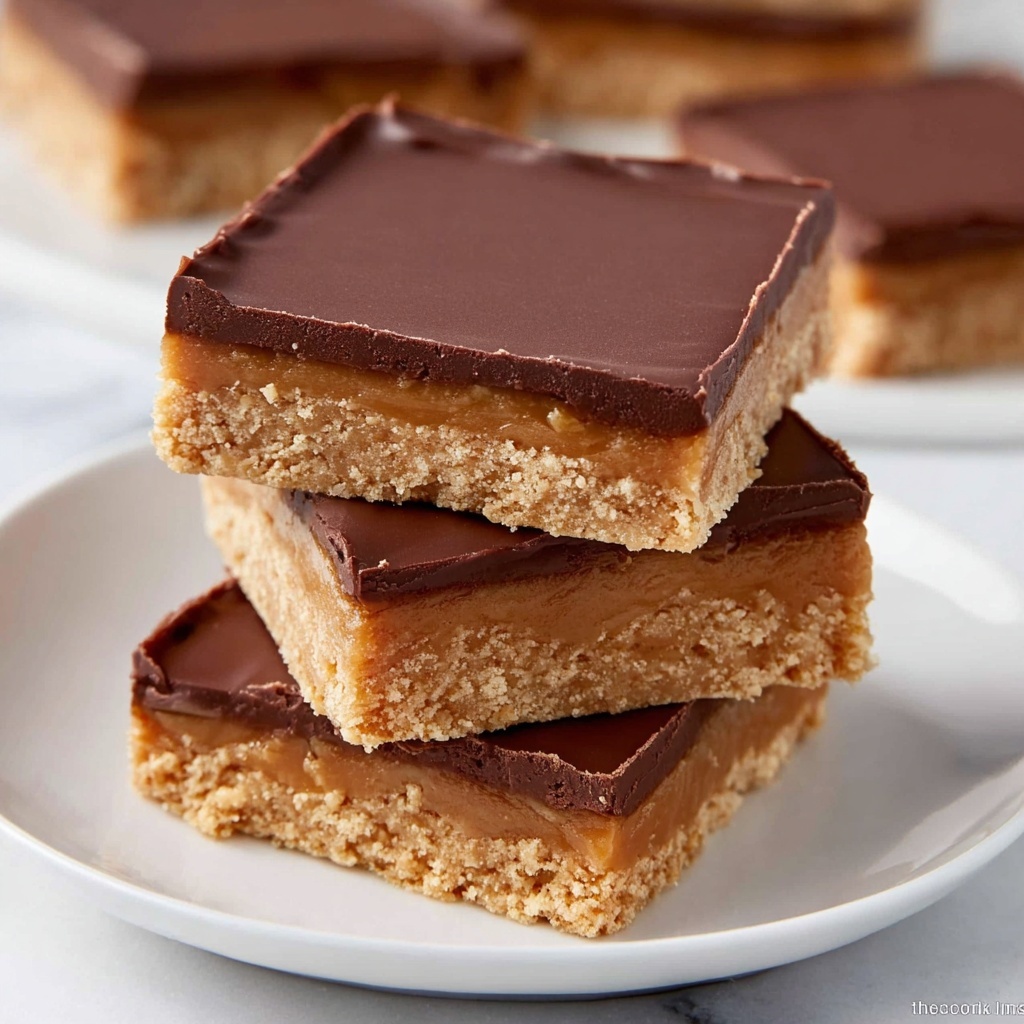
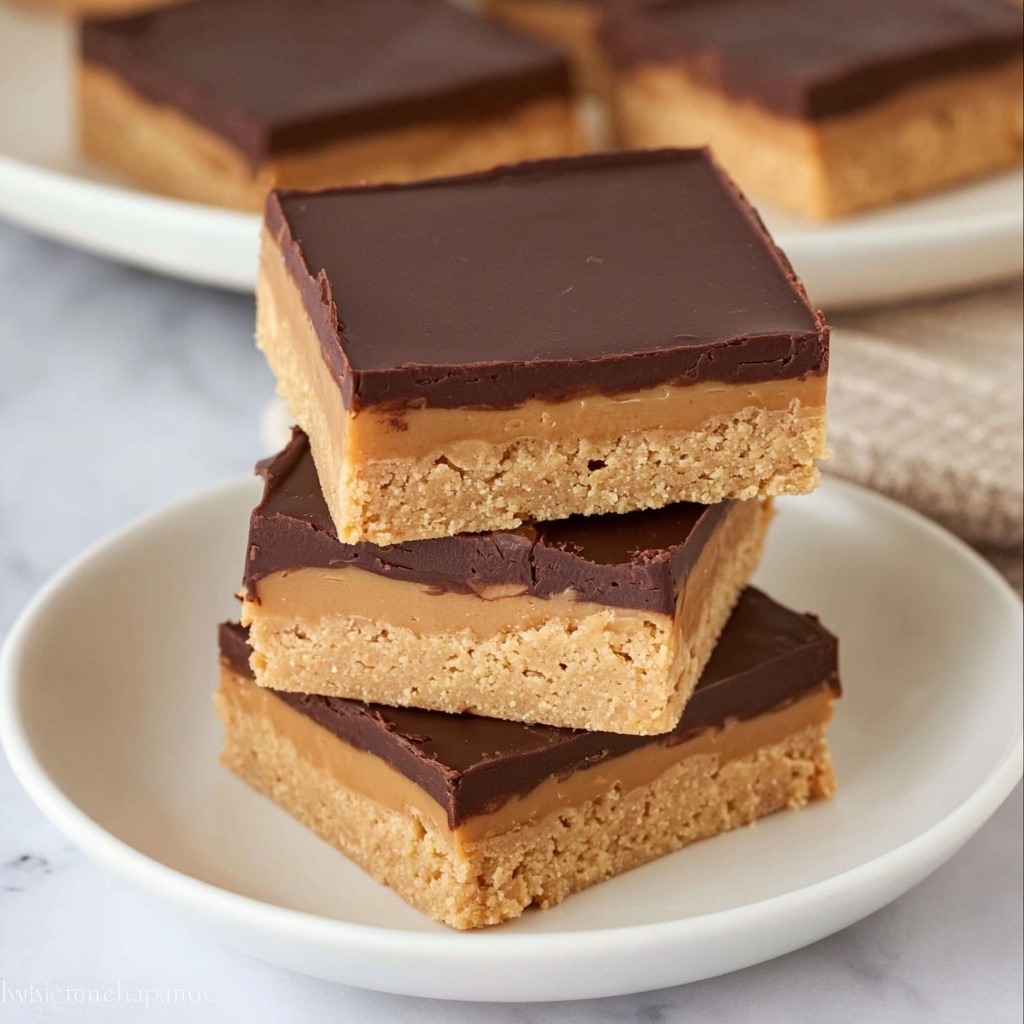
If you are on the hunt for a sweet treat that combines rich peanut butter flavor with a silky chocolate topping, look no further than this delightful No Bake Peanut Butter Bars Recipe. This easy-to-make dessert is perfect for anyone who wants a quick yet indulgent snack without turning on the oven. With a creamy, slightly crumbly peanut butter base and a luscious chocolate layer on top, these bars are the ultimate crowd-pleaser and a guaranteed hit for any occasion.
Ingredients You’ll Need
Preparing these No Bake Peanut Butter Bars is a breeze thanks to a handful of simple but essential ingredients. Each component plays a vital role in building the perfect balance of texture and flavor, delivering a bar that’s both rich and satisfying.
- Butter (½ cup, softened): Adds creaminess and helps bind the peanut butter mixture together for a smooth texture.
- Creamy peanut butter (2 cups): The star ingredient that brings that classic nutty richness and moistness to the bars.
- Powdered confectioners’ sugar (3 ½ cups): Sweetens the bars while ensuring a tender, melt-in-your-mouth feel.
- Vanilla extract (1 ½ tsp): Enhances the peanut butter’s natural depth with a subtle aromatic note.
- Chocolate chips or chunks (2 cups): Creates a decadent, glossy chocolate topping that pairs perfectly with the peanut butter.
- Butter or coconut oil (1 tbsp): Melts into the chocolate, ensuring a silky, shiny finish and easy spreading.
How to Make No Bake Peanut Butter Bars Recipe
Step 1: Create the Peanut Butter Mixture
Start by combining the softened butter, creamy peanut butter, powdered sugar, and vanilla extract in a large bowl. Beat this mixture with an electric mixer until it becomes smooth, though it will still be thick and slightly crumbly. This mixture forms the deliciously dense and creamy base of your bars.
Step 2: Press the Base into the Pan
Line a 9×13-inch pan with parchment paper to prevent sticking and make removal easy. Firmly press the peanut butter mixture into the pan, spreading it out evenly into a smooth layer. The firmer you press, the better the bars will hold together after chilling.
Step 3: Melt the Chocolate Topping
Place the chocolate chips and a tablespoon of butter or coconut oil into a microwave-safe bowl. Heat the mixture in 30-second intervals, stirring between each until the chocolate is fully melted and silky smooth. This careful melting ensures a glossy and luscious coating.
Step 4: Spread the Chocolate Layer
Pour the melted chocolate evenly over the peanut butter base. Use a spatula or the back of a spoon to smooth the chocolate layer, covering the entire surface. This rich layer will harden to create the perfect chocolate shell over the peanut butter.
Step 5: Let the Bars Set
Allow the bars to sit at room temperature for 30 to 60 minutes, giving the chocolate time to set and become firm. You’ll know it’s ready when the chocolate feels solid to the touch but not brittle.
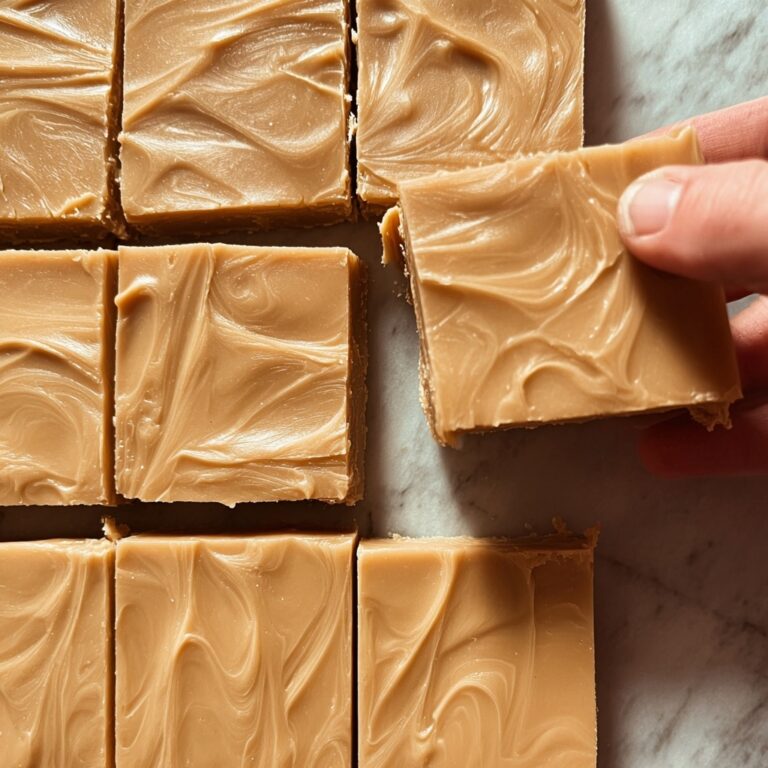
Step 6: Slice and Chill
Carefully lift the entire block of bars out of the pan using the edges of the parchment paper. Transfer them to a cutting board and slice into 16 squares with a sharp knife. For best results, refrigerate for at least 1 hour before serving, which helps the bars hold their shape and deepens the flavors.
How to Serve No Bake Peanut Butter Bars Recipe
Garnishes
These bars are quite scrumptious on their own, but you can add a personal touch with a sprinkle of crushed peanuts, a drizzle of caramel sauce, or a light dusting of cocoa powder. These garnishes create an eye-catching presentation and enhance the nutty chocolate combination.
Side Dishes
Pair your peanut butter bars with a cold glass of milk or a cup of freshly brewed coffee or tea to balance the sweetness. For a refreshing twist, serve alongside fresh berries or sliced bananas, which add a juicy contrast that complements the rich flavors.
Creative Ways to Present
Try layering these bars in a dessert trifle with whipped cream and chopped nuts for a stunning party centerpiece. You can also cut them into bite-sized squares and arrange them on a decorative platter for easy grab-and-go snacking at gatherings. Wrapping individual bars in wax paper makes a lovely homemade gift as well.
Make Ahead and Storage
Storing Leftovers
Keep any leftover peanut butter bars covered in an airtight container in the refrigerator. Properly stored, they will maintain their freshness and texture for up to one week, making them perfect for a sweet snack anytime.
Freezing
If you want to enjoy these bars later, they freeze wonderfully. Place them in a freezer-safe container with parchment paper between layers to prevent sticking. They can keep fresh for up to 3 months and thaw quickly at room temperature.
Reheating
Since these bars were never baked, reheating is not necessary. If you prefer a softer texture, simply let them sit at room temperature for 15 to 20 minutes before eating. This allows the chocolate to soften slightly and releases the peanut butter’s creamy richness.
FAQs
Can I use crunchy peanut butter instead of creamy?
Absolutely! Using crunchy peanut butter will add a delightful texture with tiny peanut bits throughout the bars, giving each bite an extra crunch.
Is there a substitute for powdered sugar?
Powdered sugar is preferred for its smoothness and ability to dissolve easily in the mixture, but you can try finely ground granulated sugar. The bars might be slightly grittier, though, so powdered sugar remains the best choice.
Can these bars be made vegan?
Yes, swap the butter for vegan butter or coconut oil, and choose dairy-free chocolate chips to make this No Bake Peanut Butter Bars Recipe completely vegan. The taste will still be fantastic!
How long do these bars last at room temperature?
They’re best kept refrigerated or stored in a cool place. At room temperature, especially on warm days, they may soften too much and lose their firm texture within a few hours.
Can I add other flavors or ingredients?
Definitely! Feel free to mix in mini chocolate chips, chopped nuts, or a dash of cinnamon into the peanut butter base for a personalized twist without losing the dessert’s classic charm.
Final Thoughts
There is something truly comforting about a simple No Bake Peanut Butter Bars Recipe that can be made easily and still delivers a luxurious taste experience. Whether you’re serving them for a casual get-together or just treating yourself, these bars hit the perfect note of creamy peanut butter and smooth chocolate every single time. Give this recipe a try—you might find it becoming your new go-to dessert!
Print
No Bake Peanut Butter Bars Recipe
- Prep Time: 15 minutes
- Cook Time: 0 minutes
- Total Time: 1 hour 15 minutes
- Yield: 16 servings
- Category: Dessert
- Method: No-Cook
- Cuisine: American
Description
These delicious No Bake Peanut Butter Bars combine a creamy, sweet peanut butter layer with a rich chocolate topping. Perfect for a quick and easy dessert or snack, they require no oven and come together with minimal effort, making them ideal for any occasion.
Ingredients
Peanut Butter Layer
- ½ cup butter, softened
- 2 cups creamy peanut butter
- 3 ½ cups powdered confectioners’ sugar
- 1 ½ tsp vanilla extract
Chocolate Topping
- 2 cups chocolate chips or chunks
- 1 tbsp butter or coconut oil
Instructions
- Prepare the Peanut Butter Mixture: In a large bowl, combine softened butter, creamy peanut butter, powdered sugar, and vanilla extract. Use an electric mixer to beat the mixture until smooth, although it will remain thick and slightly crumbly.
- Press into Pan: Line a 9×13-inch baking pan with parchment paper. Firmly press the peanut butter mixture evenly across the pan to form a solid base layer.
- Melt the Chocolate: Place chocolate chips and 1 tablespoon of butter or coconut oil in a microwave-safe bowl. Microwave in 30-second intervals, stirring well between each, until the chocolate is fully melted and smooth, approximately 1½ minutes total.
- Apply Chocolate Layer: Pour the melted chocolate evenly over the peanut butter base, spreading it gently with a spatula or the back of a spoon to cover the entire surface.
- Set the Bars: Allow the bars to sit at room temperature for 30 to 60 minutes, or until the chocolate topping has fully set and hardened.
- Slice the Bars: Use the parchment paper to lift the bars out of the pan and onto a cutting board. Slice into 16 squares with a sharp knife for easy serving.
- Chill Before Serving: Place the sliced bars in the refrigerator for at least 1 hour before serving to ensure they are firm and delicious.
Notes
- For a firmer texture, chill the bars longer before cutting and serving.
- Substitute peanut butter with almond or cashew butter for a different flavor.
- Use coconut oil instead of butter in the chocolate layer for a dairy-free option.
- Store the bars in an airtight container in the refrigerator for up to one week.


