
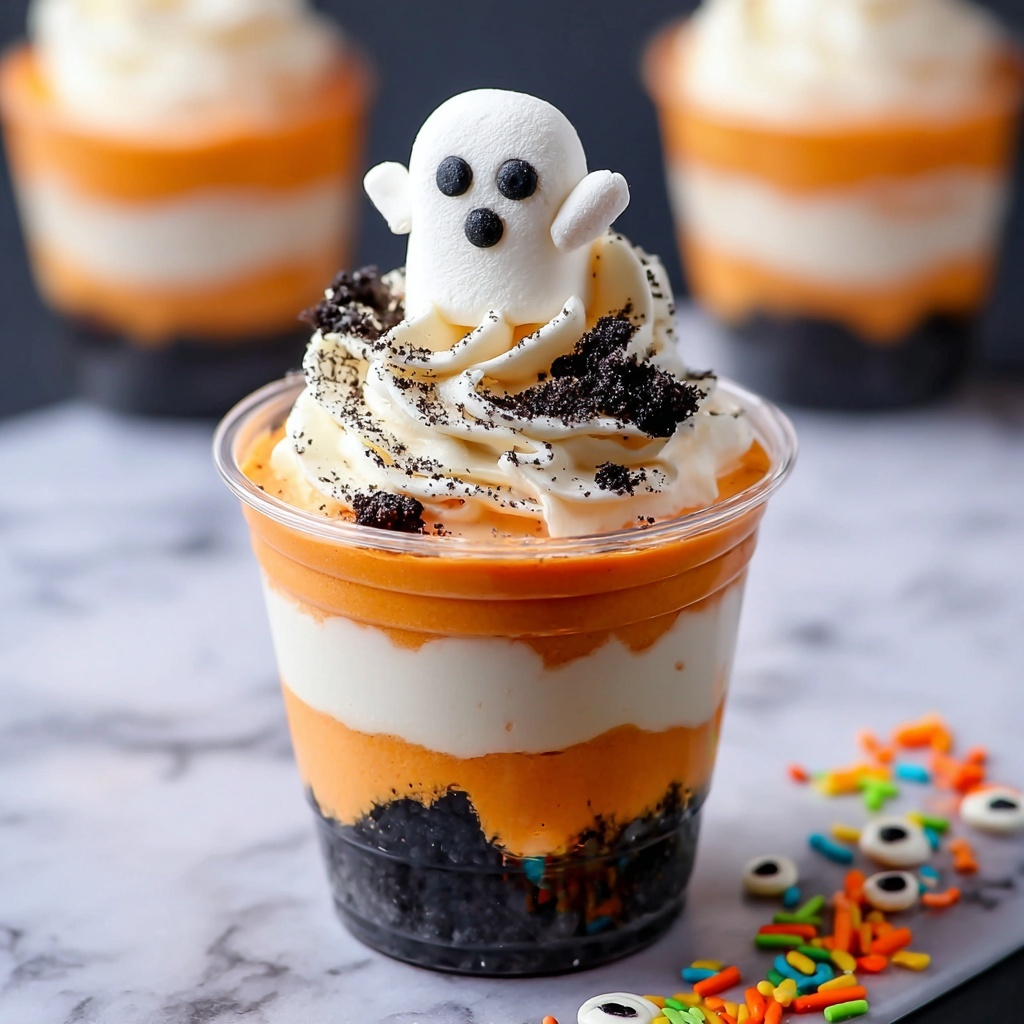
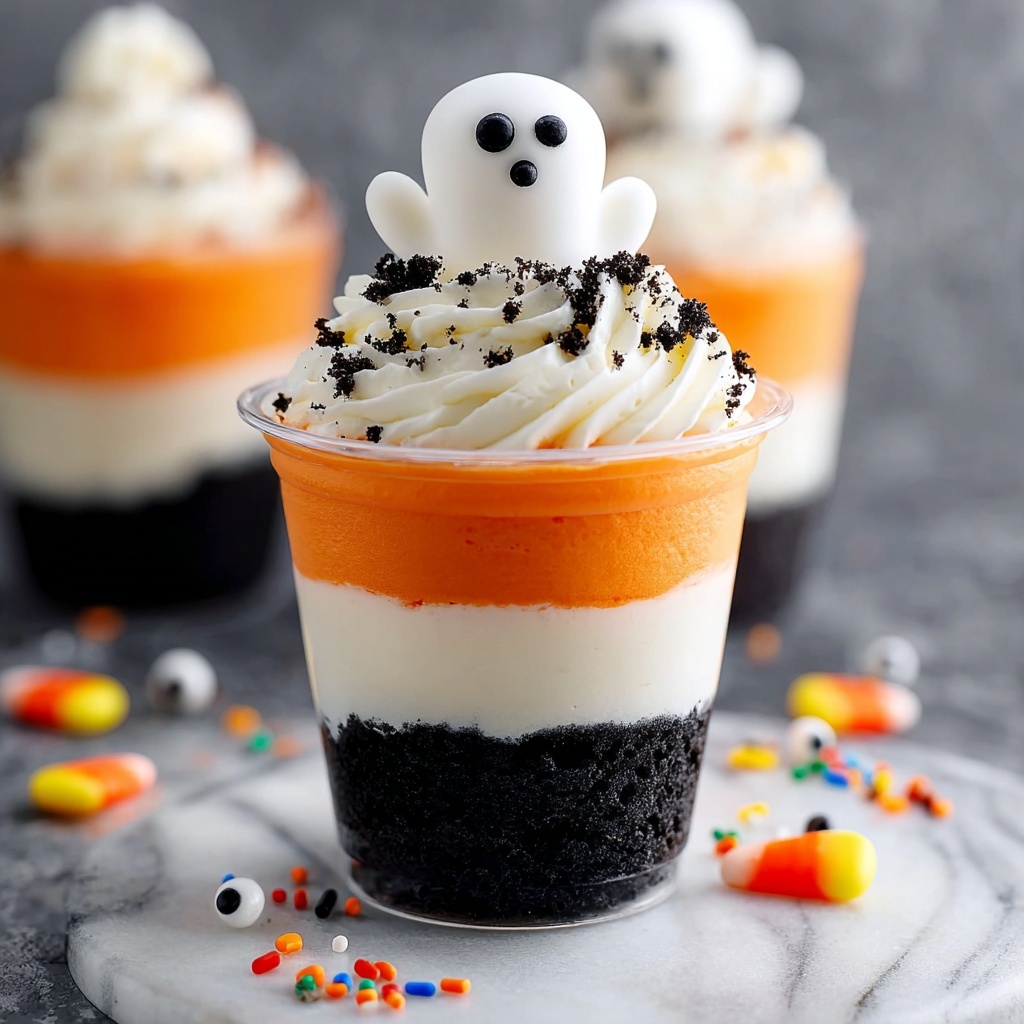
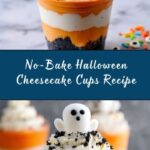
If you’re searching for a festive, fun, and utterly delicious way to celebrate spooky season, the No-Bake Halloween Cheesecake Cups Recipe is your new best friend. Imagine creamy, luscious cheesecake swirled with vibrant orange and eerie black hues, all layered over a buttery graham cracker crust and topped with playful Halloween sprinkles. This dessert not only looks spectacular on your party table but also delivers a dreamy texture and flavor that’s delightfully indulgent without ever needing the oven. Whether you’re hosting a haunted gathering or simply treating yourself to some seasonal sweetness, these no-bake cheesecake cups are a guaranteed crowd-pleaser that’s as simple as they are show-stopping.
Ingredients You’ll Need
Gathering the ingredients for this No-Bake Halloween Cheesecake Cups Recipe is straightforward and fun. Each component plays an essential role, from creating the crunchy crust to building the creamy, decadent filling with spooky colors that scream Halloween.
- 1 1/2 cups graham cracker crumbs: The foundation of your crust, providing a buttery, crispy texture that perfectly cradles the cheesecake.
- 1/4 cup unsalted butter, melted: Binds the graham cracker crumbs together for that firm, buttery base.
- 16 ounces cream cheese, softened: The rich and creamy star of the cheesecake filling, lends that classic tang and smooth consistency.
- 1/2 cup granulated sugar: Sweetens the creamy cheese mixture just right without overpowering the flavors.
- 1 teaspoon vanilla extract: Adds depth and warmth to the cheesecake’s flavor profile.
- 1 cup heavy whipping cream: Whipped to fluffy perfection, it lightens the filling for an airy texture.
- 1/4 cup powdered sugar: Sweetens the whipped cream while helping it hold peaks beautifully.
- 1/2 teaspoon orange food coloring: Brings in that iconic Halloween vibrance to one portion of the cheesecake mixture.
- 1/2 teaspoon black food coloring: Creates the perfect eerie contrast for the other half of the filling.
- Halloween-themed sprinkles or candy for decoration: Add the finishing festive touch that brings these cheesecake cups to life.
How to Make No-Bake Halloween Cheesecake Cups Recipe
Step 1: Prepare the Crust
Start by combining the graham cracker crumbs with melted butter in a medium bowl until the mixture is evenly moistened. Press about two tablespoons of this crumb mixture firmly into the bottom of each serving cup or small jar to create a sturdy base for the cheesecake layers. This step is crucial to achieve that perfect crunch and a solid structure that holds everything together beautifully.
Step 2: Make the Cream Cheese Filling
In a large mixing bowl, beat the softened cream cheese with granulated sugar and vanilla extract until you get a luxuriously smooth mixture. This creamy blend forms the sweet, tangy heart of your cheesecake filling and should be completely lump-free for the best results.
Step 3: Whip the Cream
In a separate bowl, whip the heavy cream along with powdered sugar until stiff peaks form. This step is key to achieving the light and airy texture that contrasts perfectly with the dense cream cheese mixture, elevating the dessert’s mouthfeel to something truly special.
Step 4: Fold the Mixtures
Gently fold the whipped cream into the cream cheese mixture until fully incorporated, taking care not to deflate the fluffy cream. This careful folding keeps the filling light and creamy, ensuring every spoonful is heavenly.
Step 5: Add Halloween Colors
Divide the cheesecake mixture evenly into two bowls. Tint one portion with orange food coloring and the other with black food coloring. This step gives you those festive hues that make the dessert feel truly Halloween-worthy and visually exciting.
Step 6: Assemble the Cups
Layer or swirl the colored cheesecake mixtures into each prepared cup on top of the crust. You can create a marbled effect by gently swirling the two colors together or simply layer one on top of the other for a striking contrast. These visual layers make each cup uniquely beautiful and fun to eat.
Step 7: Chill to Set
Refrigerate the cups for at least two hours to allow the cheesecake filling to firm up and the flavors to marry perfectly. This waiting time might be the hardest part, but trust me, it’s so worth it!
Step 8: Add Festive Toppings
Just before serving, decorate each cup with Halloween-themed sprinkles or small candies. This final touch adds texture, color, and an irresistible festive flair that will delight kids and adults alike.
How to Serve No-Bake Halloween Cheesecake Cups Recipe
Garnishes
Go wild with Halloween spirit by topping your cheesecake cups with themed sprinkles, edible glitter, or small candy pumpkins and bats. Even a few crushed chocolate cookies can add a delightful crunch and a spooky touch. These garnishes not only make your cups visually exciting but also add extra flavors and textures that complement the cheesecake filling beautifully.
Side Dishes
Pair these cheesecake cups with simple fall favorites like caramel-dipped apple slices or a festive pumpkin spice latte. The creamy richness of the cheesecake contrasts wonderfully with these autumnal treats and elevates your dessert spread to a perfectly themed Halloween experience.
Creative Ways to Present
For maximum wow factor, serve your No-Bake Halloween Cheesecake Cups Recipe in clear glasses or mini mason jars so the swirl colors show through. Arrange them on a tiered dessert stand amidst Halloween decorations like fake cobwebs and mini jack-o’-lanterns for a party centerpiece that’s both spooky and sweet. You can also place small plastic spiders or witch hat toothpicks into the cups for an amusing touch!
Make Ahead and Storage
Storing Leftovers
These cheesecake cups keep wonderfully in the refrigerator for up to three days. Cover them tightly with plastic wrap or use airtight containers to prevent them from absorbing other fridge odors and to maintain their creamy texture and vibrant colors.
Freezing
If you want to prepare your No-Bake Halloween Cheesecake Cups Recipe well in advance, freezing is a great option. Freeze the assembled cups without toppings in a freezer-safe container for up to one month. Thaw overnight in the refrigerator before adding garnish and serving to preserve the best taste and texture.
Reheating
Since these are no-bake cheesecake cups, they are best enjoyed cold. There’s no need to reheat; simply serve right out of the fridge once thawed or after chilling. Warming them will cause the texture to become too soft and can dull the wonderful cream cheese flavor.
FAQs
Can I use a different type of crust?
Absolutely! While graham cracker crumbs are traditional and delicious, you can substitute crushed cookies like Oreos or ginger snaps for a different flavor twist that still holds up well in your cheesecake cups.
What if I don’t have food coloring?
No worries! The cheesecake cups will still be delicious without the colors. For a natural alternative, consider using pumpkin puree for orange or activated charcoal powder for black, keeping in mind these will slightly alter texture and taste.
Can I make this dessert vegan or dairy-free?
Yes! Try swapping cream cheese and heavy cream with vegan versions like cashew cream cheese and coconut cream. Be sure to check your sweeteners and toppings to keep everything vegan-friendly.
How long will these cheesecake cups last in the fridge?
They’re best eaten within three days, as the crust can start to get soggy and the filling may lose its fresh creaminess after that time. Always store them in airtight containers for optimal freshness.
Can I double the recipe for a larger party?
Definitely! This No-Bake Halloween Cheesecake Cups Recipe is easily doubled or tripled to serve more guests. Just be sure to have enough cups or jars for serving and allow extra chilling time if you make a larger batch at once.
Final Thoughts
Making the No-Bake Halloween Cheesecake Cups Recipe is such a joyous way to bring a burst of festive fun and heavenly flavor to your Halloween celebrations. It’s simple to create, endlessly customizable, and guaranteed to impress everyone at your party. So go ahead, whip up a batch, and enjoy this creamy, colorful treat with your loved ones—it’s a delicious way to make your Halloween extra memorable!
Print
No-Bake Halloween Cheesecake Cups Recipe
- Prep Time: 20 minutes
- Cook Time: 0 minutes
- Total Time: 2 hours 20 minutes
- Yield: 8 servings
- Category: Dessert
- Method: No-Bake
- Cuisine: American
- Diet: Vegetarian
Description
These No-Bake Halloween Cheesecake Cups are a festive and creamy dessert perfect for the spooky season. Featuring a buttery graham cracker crust and creamy, colorful cheesecake layers tinted with orange and black food coloring, they are both visually striking and delicious. With no baking required, they come together quickly and make for an easy-to-serve treat for parties or family gatherings.
Ingredients
Crust
- 1 1/2 cups graham cracker crumbs
- 1/4 cup unsalted butter, melted
Cheesecake Filling
- 16 ounces cream cheese, softened
- 1/2 cup granulated sugar
- 1 teaspoon vanilla extract
- 1 cup heavy whipping cream
- 1/4 cup powdered sugar
- 1/2 teaspoon orange food coloring
- 1/2 teaspoon black food coloring
Decoration
- Halloween-themed sprinkles or candy for decoration
Instructions
- Prepare the Crust: In a medium bowl, combine the graham cracker crumbs with the melted butter until the mixture is evenly moistened. Press about 2 tablespoons of this mixture firmly into the bottom of each serving cup or small jar to create a solid crust base.
- Mix the Cream Cheese Base: In a large mixing bowl, beat the softened cream cheese, granulated sugar, and vanilla extract together until the mixture is smooth and creamy with no lumps.
- Whip the Cream: In a separate bowl, whip the heavy cream with the powdered sugar using a hand beater or stand mixer until stiff peaks form, meaning the cream holds its shape firmly when the beaters are lifted.
- Combine Mixtures: Gently fold the whipped cream into the cream cheese mixture. Use a spatula to fold carefully so the mixture stays light and airy, stirring just until completely combined.
- Divide and Tint: Split the cheesecake mixture evenly into two bowls. Add orange food coloring to one bowl and black food coloring to the other, stirring each until the colors are uniform.
- Assemble Cups: Layer or swirl the orange and black cheesecake mixtures into the prepared cups on top of the crust, creating a visually dramatic and festive effect.
- Chill to Set: Refrigerate the assembled cheesecake cups for at least 2 hours to allow them to firm up and set properly.
- Decorate and Serve: Just before serving, top each cheesecake cup with Halloween-themed sprinkles or small candy decorations for a fun and festive touch.
Notes
- For added texture, sprinkle mini chocolate chips or crushed cookies between the cheesecake layers.
- Use clear cups or jars to showcase the colorful swirl effect and for a more festive presentation.
- These cheesecake cups can be made a day in advance and stored in the refrigerator to save time on the day of your event.