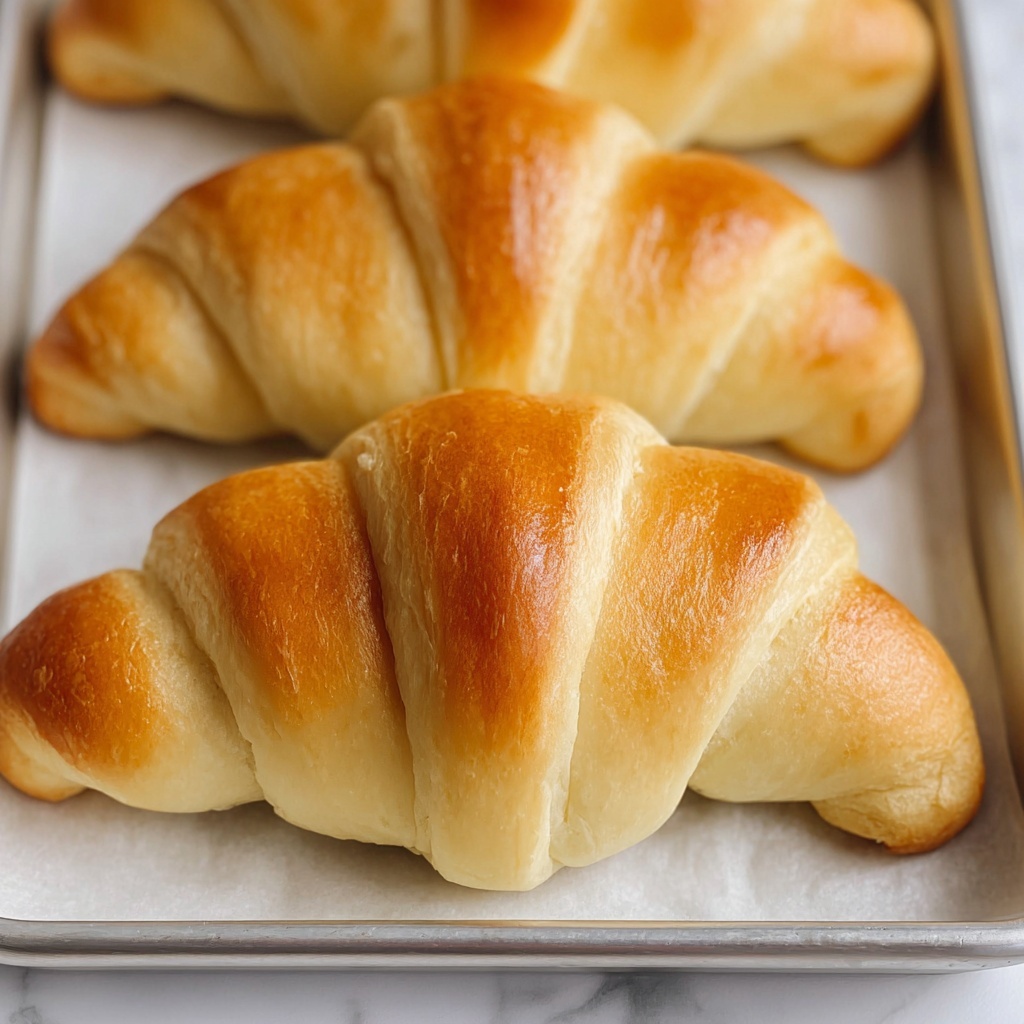
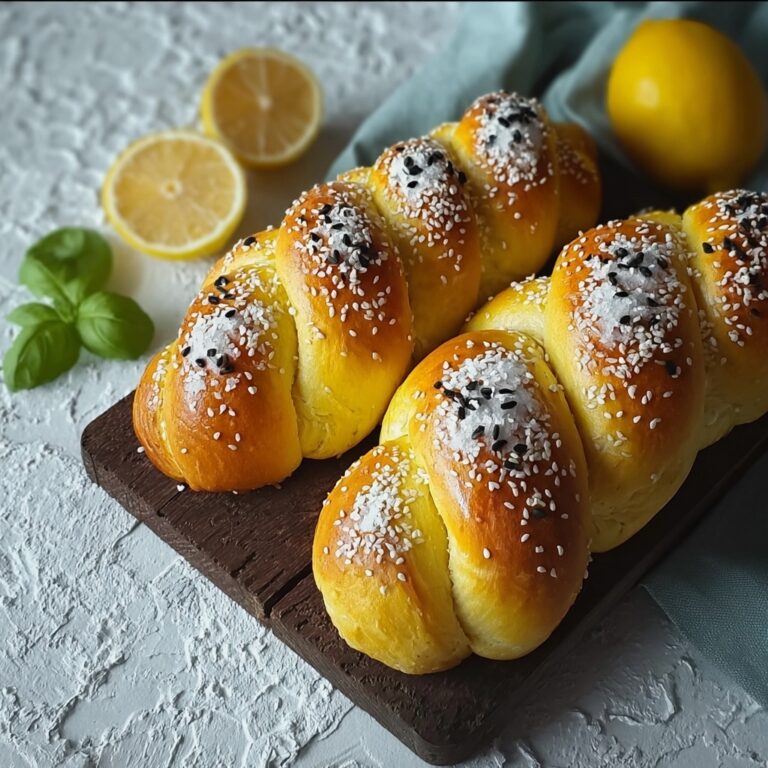
If you are craving soft, fluffy, and irresistibly buttery bread, look no further than this Amazing Classic Dinner Rolls Recipe. These dinner rolls are the perfect homemade addition to any meal, offering a wonderful balance of tenderness and slight sweetness that makes every bite feel like a warm, comforting hug. Whether you’re hosting a holiday feast or just want to elevate your weekday dinner, these rolls deliver bakery-quality results straight from your oven with simple ingredients and straightforward steps.
Ingredients You’ll Need
Now, let’s talk ingredients. What makes this Amazing Classic Dinner Rolls Recipe so special is how each simple component plays a vital role in the final texture and flavor. From the richness of the butter to the slight tang of the yeast, every item works harmoniously to create these perfect rolls.
- 3/4 cup scalded milk (whole or 2%): Warming the milk not only mellows its flavor but makes for a fluffier dough.
- 3/4 cup warm water (105°F): The ideal temperature to activate the yeast without killing it.
- 4 ½ teaspoons active dry yeast: This magical ingredient makes the rolls rise beautifully.
- 1 teaspoon granulated sugar: Feeds the yeast so it can bloom perfectly.
- 3 large eggs (beaten): Add richness and contribute to a tender crumb.
- 1/2 cup salted butter (room temperature): Brings mouthwatering moisture and flavor.
- 1/2 cup granulated sugar: Adds a touch of sweetness that keeps these rolls balanced.
- 5 ½ cups all-purpose flour: The backbone of the dough, giving structure and chew.
- 1/2 teaspoon salt: Enhances all other flavors without overpowering.
- Melted butter or vegetable shortening (for brushing): Creates a golden, glossy finish on the tops of the baked rolls.
How to Make Amazing Classic Dinner Rolls Recipe
Step 1: Scald the Milk
The first step might sound a bit old-fashioned, but it’s a game changer. Pour your milk into a saucepan and gently heat it over medium heat just until it’s warm and you see tiny bubbles around the edges—right before boiling. This process not only improves the texture but ensures your rolls will be soft and tender. Once done, let it cool until lukewarm before mixing into your dough.
Step 2: Proof the Yeast
Warm water meets sugar and yeast in your mixer bowl to get that beautiful foamy bloom. This is yeast’s time to shine, waking up and getting active. Waiting those 10 minutes until it’s bubbly is well worth it, as it guarantees those rolls will rise perfectly fluffy.
Step 3: Combine Wet Ingredients
To your activated yeast mixture, add the beaten eggs, softened butter, and sugar. Mix these gently on a low speed to combine without knocking out the air you just created — air is key to light rolls.
Step 4: Add Flour, Salt, and Scalded Milk
Start with a cup of flour and the salt, mixing just until incorporated. Then pour in your prepared milk and stir again. These steps create a smooth dough foundation, setting the stage for that tenderness we adore.
Step 5: Work in the Remaining Flour
Gradually add your flour half a cup at a time, mixing until the dough just begins to pull away from the sides but is still a little sticky to your fingers. Resist adding too much flour; a slightly tacky dough means softer rolls. Knead it on slow speed for about 8 to 10 minutes to develop that perfect stretchy texture.
Step 6: First Rise
Transfer your dough to a greased bowl, cover it, and patiently let it rise until doubled in size. This usually takes between one to one and a half hours. This is where the magic happens—the dough transforms and grows, becoming airy and ready to morph into dinner rolls you will love.
Step 7: Shape and Second Rise
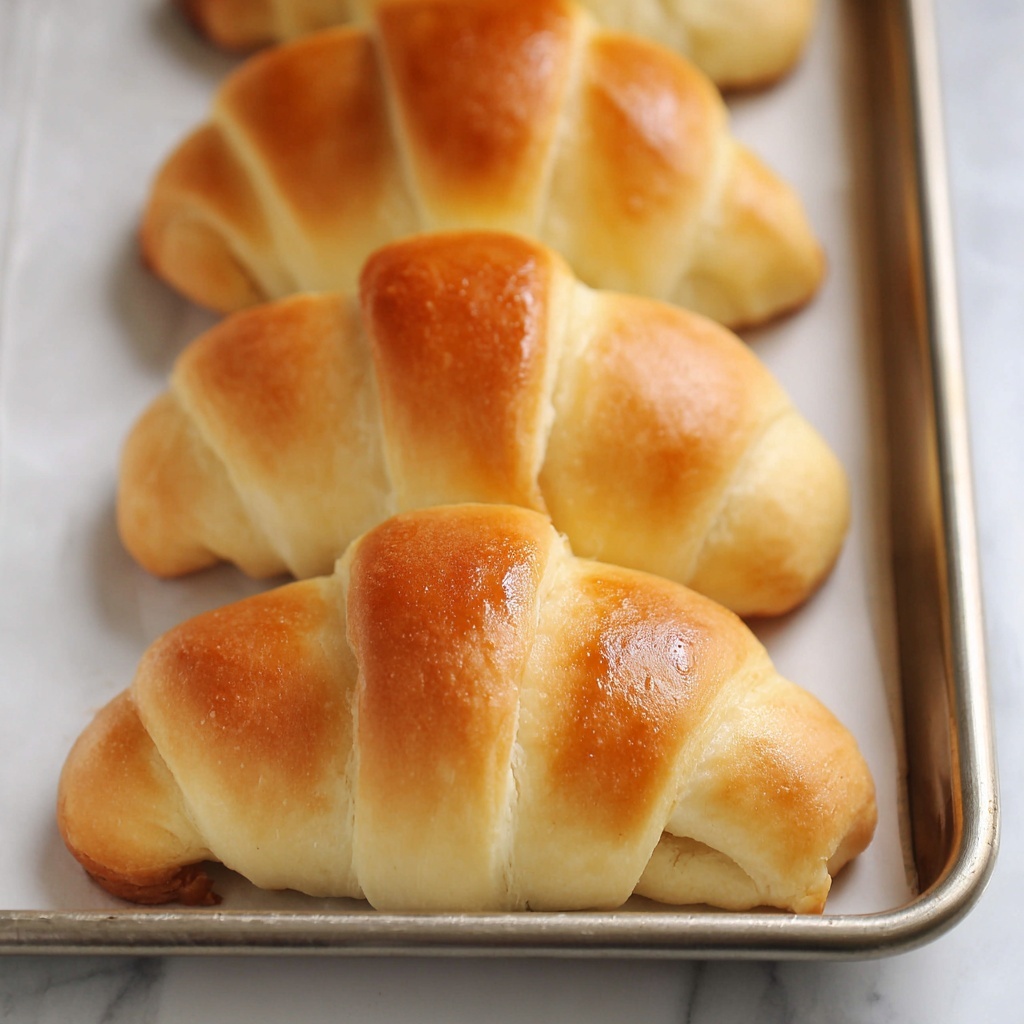
Divide your dough into two halves and roll each into a circle. Cutting each circle into 12 equal ‘pie’ wedges, roll them from the wide end to form cute crescent-shaped rolls. Arrange your rolls on a baking sheet, cover once more, and allow them to rise again for 30 minutes until they puff up gloriously.
Step 8: Bake to Perfection
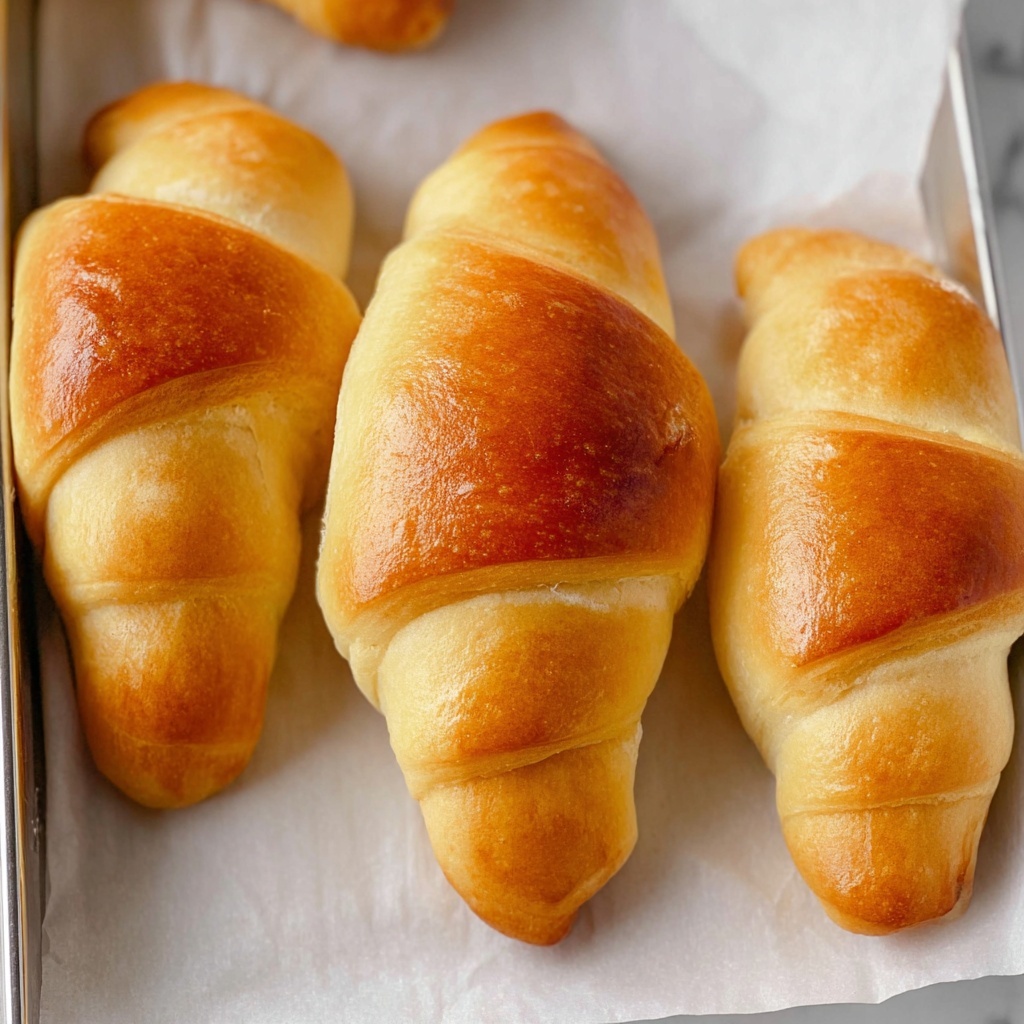
Bake at 350°F for about 14 to 16 minutes until golden brown tops signal that your efforts are rewarded. Brushing the warm rolls with melted butter straight from the oven adds a shiny, delicious finish that is hard to resist. These rolls are best enjoyed fresh and warm, but trust me, there’s plenty left to love even after cooling!
How to Serve Amazing Classic Dinner Rolls Recipe
Garnishes
While these rolls shine on their own, a gentle brush of herb-infused butter or a sprinkle of flaky sea salt can turn them into something extra special. You can also top with finely chopped rosemary or garlic butter for a fragrant twist that’s always a crowd-pleaser.
Side Dishes
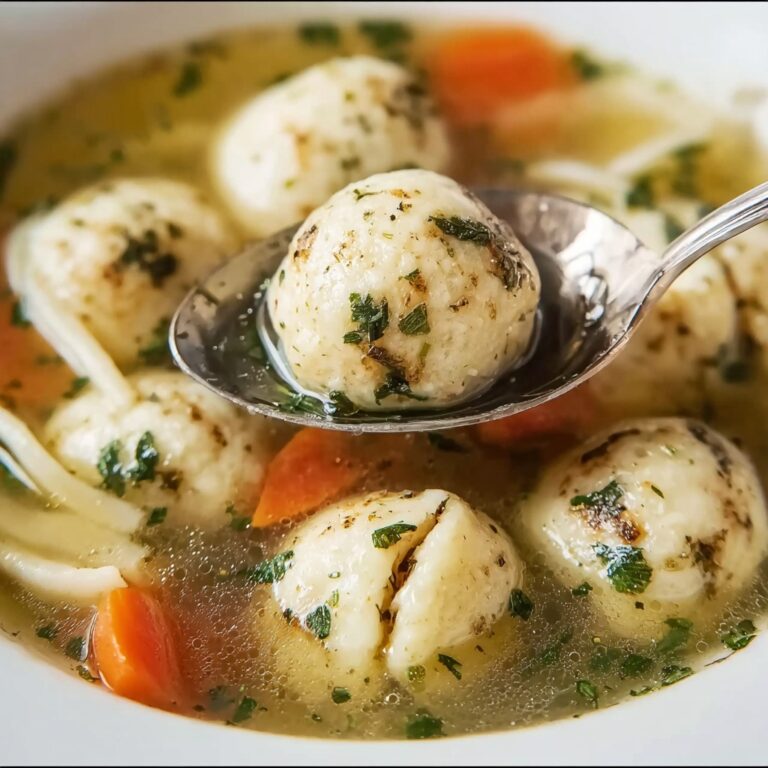
Pair these rolls with hearty soups, roasted meats, or your favorite stews. Their soft texture and subtle sweetness make them fantastic for soaking up gravy or spreading with creamy mashed potatoes and butter. They truly complement and elevate the entire meal.
Creative Ways to Present
For a charming twist, serve the rolls in a braided loaf shape or as pull-apart “finger rolls” in a cast-iron skillet. You might also try small, individual rolls shaped like mini knots or spirals to add variety to your table. Presenting them warm in a lined basket with folded cloth makes every bite inviting.
Make Ahead and Storage
Storing Leftovers
Keep leftover rolls fresh by placing them in an airtight container or resealable plastic bag at room temperature. They will hold their softness well for up to two days. If you can resist them that long, reheating gently helps revive that just-baked warmth.
Freezing
These dinner rolls freeze beautifully. Wrap them individually in plastic wrap and place in a freezer-safe bag. When properly stored, they can last up to three months and still taste like you just baked them fresh once thawed.
Reheating
To enjoy your rolls again, thaw overnight at room temperature and warm them in a 300°F oven for about 5 to 10 minutes. A quick brush of buttery goodness after reheating revives their soft crumb and delicious aroma, making them perfect any day.
FAQs
Can I use milk alternatives in this Amazing Classic Dinner Rolls Recipe?
Yes, you can substitute dairy milk with almond, oat, or soy milk, but the texture and richness might slightly differ. Make sure to scald the milk alternative just as you would with dairy.
How important is the temperature of the water and milk?
Temperature plays a crucial role in activating yeast and achieving the best dough consistency. Water that’s too hot will kill the yeast, and too cold won’t activate it properly. The milk should be warm, not hot, to help create a tender crumb.
Can I make these rolls without a stand mixer?
Absolutely! You can mix and knead by hand, though it will take a bit more elbow grease. Just be sure to knead well until the dough is smooth and elastic, about 10 to 12 minutes.
What if my dough doesn’t rise properly?
If your dough isn’t rising, it could be that the yeast is old or the liquids were too hot or cold. Make sure your yeast is fresh and the water warm enough to activate it as shown in the proofing step.
Can I add herbs or cheese to customize this recipe?
Definitely! Adding fresh herbs like rosemary or parsley, shredded cheese, or even a bit of garlic powder can turn this Amazing Classic Dinner Rolls Recipe into a personalized treat. Just gently fold in your extras during the second or third mixing step.
Final Thoughts
This Amazing Classic Dinner Rolls Recipe is truly one of those handful of recipes that become part of your family’s tradition. Soft, buttery, and downright scrumptious, these rolls are as comforting as a soft blanket on a chilly night. I encourage you to try making them soon—you’ll be amazed at how such simple ingredients and steps can lead to something so special on your dinner table.
Print
Amazing Classic Dinner Rolls Recipe
- Prep Time: 30 minutes
- Cook Time: 16 minutes
- Total Time: 2 hours 14 minutes
- Yield: 24 rolls
- Category: Baking
- Method: Baking
- Cuisine: American
Description
Soft, fluffy, and buttery dinner rolls that are perfect for any meal, made with a simple yeast dough and baked to golden perfection. These amazing dinner rolls feature a tender crumb and a slightly sweet flavor, ideal for family dinners or special occasions.
Ingredients
Dough Ingredients
- 3/4 cup scalded milk (whole or 2%)
- 3/4 cup warm water (105°F)
- 4 ½ teaspoons active dry yeast
- 1 teaspoon granulated sugar (for proofing yeast)
- 3 large eggs (beaten)
- 1/2 cup salted butter (room temperature)
- 1/2 cup granulated sugar
- 5 ½ cups all-purpose flour
- 1/2 teaspoon salt
For Brushing
- Melted butter or vegetable shortening (for brushing on top of baked rolls)
Instructions
- Scald the Milk: Pour milk into a saucepan and heat over medium heat until warm and the edges are slightly foamy and bubbly, just before boiling. Remove from heat and let it cool until lukewarm before using.
- Proof the Yeast: Pour warm water into the bowl of a stand mixer fitted with a dough hook. Add the active dry yeast and 1 teaspoon of granulated sugar. Stir and let sit for 10 minutes or until the mixture becomes foamy and bubbly, indicating the yeast is activated.
- Combine Wet Ingredients: Add beaten eggs, softened salted butter, and 1/2 cup sugar to the yeast mixture. Mix on low speed just until combined.
- Add Flour and Salt: Add 1 cup of flour and the salt to the wet ingredients. Mix until just combined. Then add the lukewarm scalded milk and mix again.
- Add Remaining Flour and Knead: Gradually add the remaining flour, 1/2 cup at a time, mixing until the dough just slightly sticks to fingers and pulls away from the sides of the bowl. Do not exceed 5 ½ cups flour. Knead the dough with the mixer on slow speed for 8 to 10 minutes until smooth and elastic.
- First Rise: Spray a large bowl with nonstick spray and place the dough inside. Cover with a kitchen towel and let it rise in a warm place until doubled in size, about 60 to 90 minutes.
- Shape the Rolls: Divide the dough in half. Roll each half into a large circle and cut into 12 equal pie-shaped pieces. Roll each triangle from the wide end toward the pointed end to form a crescent shape. Place the rolls on a greased baking sheet.
- Second Rise: Cover the rolls with a kitchen towel and let them rise for another 30 minutes or until doubled in size.
- Bake the Rolls: Preheat the oven to 350°F (175°C). Bake the rolls for 14 to 16 minutes or until the tops are golden brown.
- Brush with Butter and Serve: Remove rolls from the oven and brush the tops with melted butter or vegetable shortening. Serve warm and enjoy.
Notes
- Do not let the milk boil when scalding; it should be hot with foamy edges and then cooled to lukewarm.
- Proofing the yeast ensures the rolls will rise properly and have a light texture.
- Adjust flour slightly to get the right dough consistency—dough should be slightly sticky but manageable.
- Letting the dough rise fully during both rises will ensure soft, fluffy rolls.
- Brushing with melted butter after baking adds flavor and a beautiful shine to the rolls.
- These rolls freeze well; cool completely before freezing in an airtight container.


