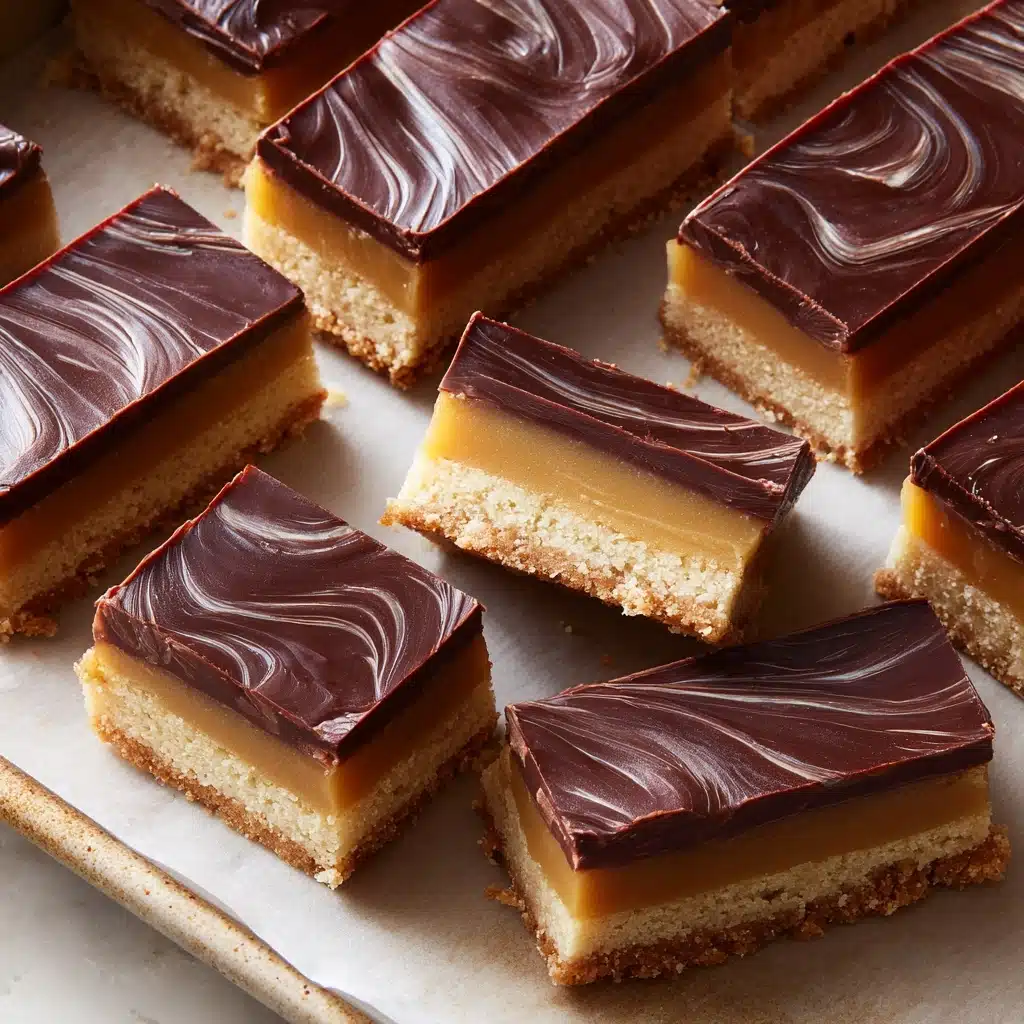
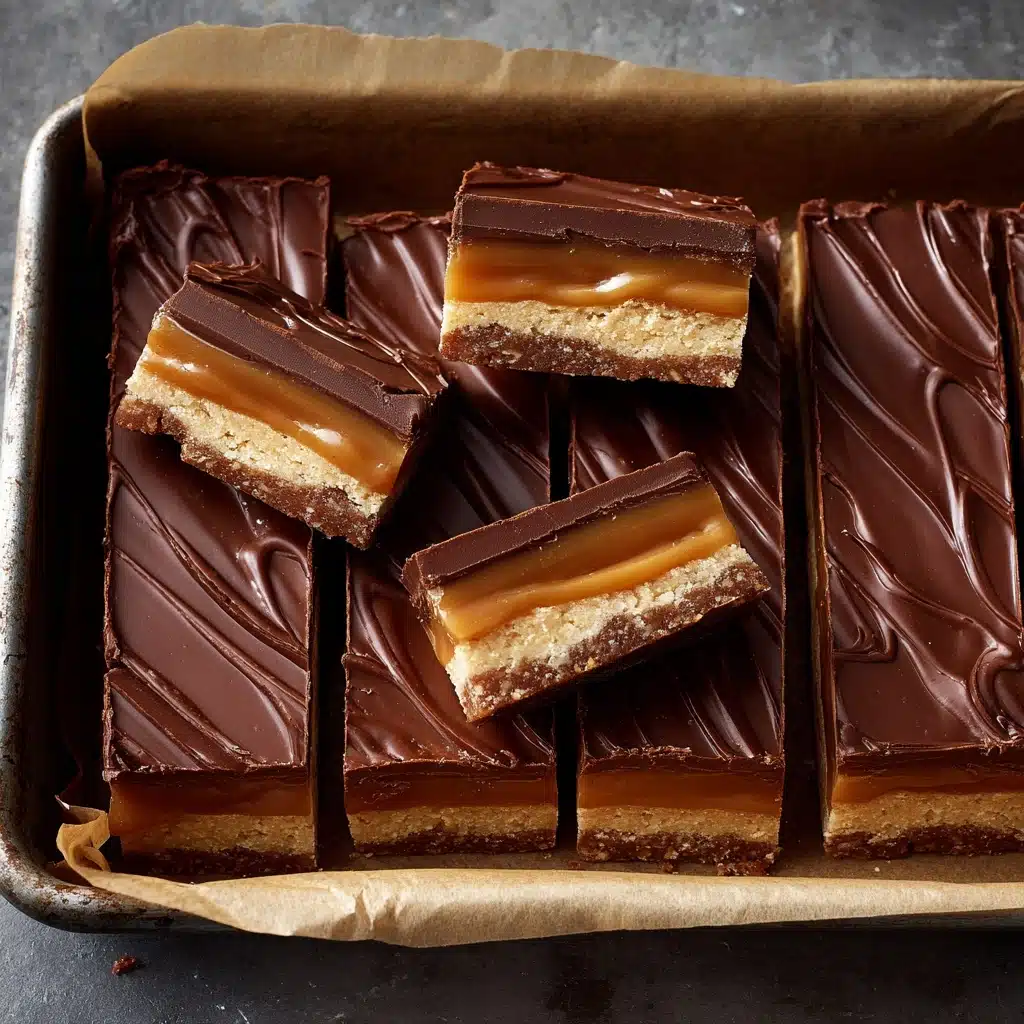
There’s something utterly irresistible about biting into a perfectly layered treat, and that’s exactly what you get with Homemade Twix Bars. Imagine the buttery shortbread base, silky caramel center, and glossy chocolate topper coming together in every bite — all made with the love and simplicity of home baking. Whether you’re chasing childhood nostalgia or just craving a snack that hits all the sweet spots, these bars promise the unmistakable joy of a favorite store-bought candy, but with a fresh, personal twist.
Ingredients You’ll Need
You’ll be thrilled at how straightforward these ingredients are, yet every one plays a crucial role in the final flavor and texture. From the foundational shortbread to that dreamy chocolate topping, each element shines on its own and truly brings the Homemade Twix Bars together.
- Unsalted butter (1 cup, softened): Provides richness and the melt-in-your-mouth texture for the shortbread base.
- Granulated sugar (½ cup): Adds just the right amount of sweetness and helps cream the butter into a fluffy foundation.
- All-purpose flour (2 cups): Gives structure to the shortbread while letting it stay tender and crumbly.
- Salt (¼ teaspoon): Enhances all the other flavors and balances the sweetness.
- Caramel sauce (1 cup): The gooey star of the show — use quality store-bought or, for extra points, a homemade batch.
- Milk chocolate chips (2 cups): Melts into a creamy top layer, echoing that classic candy bar finish.
- Coconut oil or vegetable oil (1 tablespoon): Gives the chocolate that shiny, snappy finish and makes it easier to slice.
How to Make Homemade Twix Bars
Step 1: Prepare Your Pan
Preheat your oven to 350°F (175°C) and line a 9×13-inch baking dish with parchment paper, letting a bit hang over the sides for easy removal later. This simple step makes sure your Homemade Twix Bars don’t stick and helps lift them out cleanly once set.
Step 2: Whip Up the Shortbread Base
In a large bowl, cream together the softened butter and granulated sugar until the mixture turns light and fluffy — this can take a few minutes with a mixer, but it’s worth it! Incorporate the flour and salt until a soft dough comes together. Press this evenly into your prepped pan, smoothing the surface so the base bakes up nice and even.
Step 3: Bake the Shortbread Layer
Slide the pan into the oven and bake for 20 to 22 minutes, or until the edges are just turning golden. Don’t overdo it; you want that tender, crisp bite. Once baked, set the pan aside and let the crust cool completely — a little patience here means the layers won’t run together later.
Step 4: Add the Caramel Magic
Once your base is cool, pour the caramel sauce over the top and use an offset spatula or the back of a spoon to spread it edge to edge. Pop the pan in the fridge and let the caramel firm up for at least 30 minutes; this makes slicing so much easier later on.
Step 5: Top with Silky Chocolate
In a microwave-safe bowl, combine chocolate chips with coconut or vegetable oil. Heat in 30-second bursts, stirring each time, until you have a smooth, glossy pool of chocolate. Pour this over the chilled caramel layer and gently spread it evenly — a spatula works wonders here. Return the pan to the refrigerator to set for about an hour, or until the chocolate is firm to the touch.
Step 6: Slice and Serve
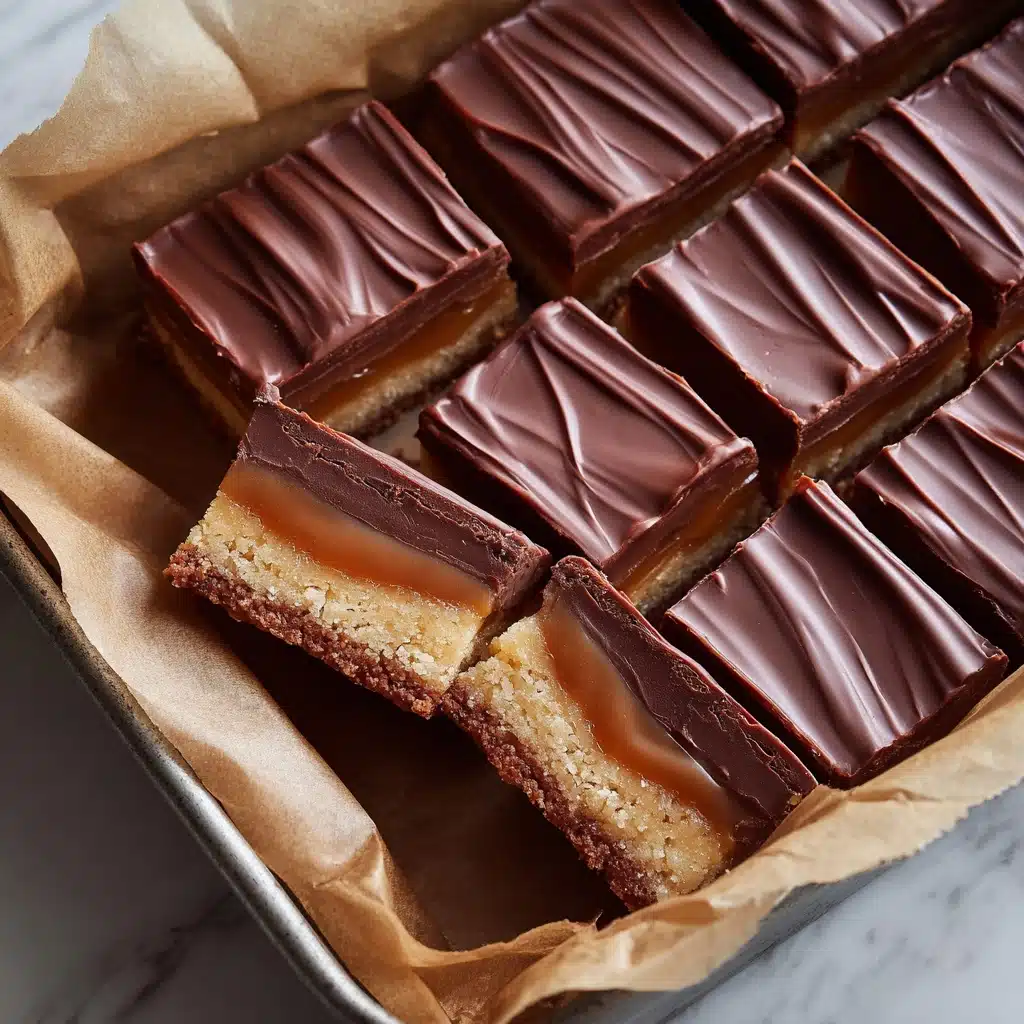
Once everything is set, use the parchment overhang to lift your batch out of the pan. Place on a cutting board and, with a sharp knife, cut into bars of your favorite size. (For neat edges, wipe the knife clean between cuts!) Now, you’re ready to enjoy your own batch of Homemade Twix Bars.
How to Serve Homemade Twix Bars
Garnishes
Sprinkle a little flaky sea salt on top of the chocolate before it sets for a sophisticated twist. For parties, a light drizzle of melted white chocolate or a scattering of chopped nuts adds extra character and color.
Side Dishes
Pair the bars with a scoop of vanilla ice cream for a knockout sundae, or serve alongside a cup of strong coffee for an amazing afternoon pick-me-up. Their sweetness also makes them a perfect companion to fresh berries or a fruit compote for contrast.
Creative Ways to Present
For a fun party platter, cut the Homemade Twix Bars into bite-sized squares and arrange in colorful cupcake liners. Wrap individual bars in parchment and tie with twine for a charming homemade gift, or stack them in clear jars for a pretty dessert display.
Make Ahead and Storage
Storing Leftovers
Homemade Twix Bars keep beautifully! Store them in an airtight container in the refrigerator for a firmer, candy-like texture; they’ll last up to a week this way. If you prefer them a bit softer, leave them at room temperature, tightly covered, for up to three days.
Freezing
These bars freeze surprisingly well. Arrange cut bars in a single layer on a baking sheet to freeze individually, then transfer to a freezer bag or airtight container with parchment between layers. They’ll keep fresh for up to two months and thaw beautifully in the fridge or at room temp.
Reheating
If you crave a softer chocolate or want that just-made feel, pop a bar in the microwave for just 5 to 10 seconds. This gently warms the chocolate and caramel, giving them a gooier bite without melting away the layers.
FAQs
Can I use dark chocolate instead of milk chocolate?
Absolutely! Dark chocolate adds a sophisticated edge and balances the sweetness of the caramel beautifully. Just swap the milk chocolate chips for your favorite dark variety and proceed as directed.
How can I make the caramel layer from scratch?
If you’re up for homemade caramel, simmer sugar, cream, butter, and a pinch of salt until it turns golden and thickens. There are plenty of easy caramel recipes out there — this swap adds an extra-special touch to your Homemade Twix Bars.
Do the bars need to be refrigerated?
Chilling helps the layers set perfectly and makes slicing easier, plus it keeps the caramel nice and firm. However, you can serve them at room temperature if you like a softer, chewier texture.
How do I cut the bars cleanly without cracking the chocolate?
Use a sharp knife dipped in hot water and wiped dry between cuts. This minimizes cracking and ensures picture-perfect bars every time.
Can I make these gluten-free?
Yes, just substitute a gluten-free all-purpose flour blend for the regular flour and ensure your caramel and chocolate are gluten-free. You’ll enjoy all the same layered deliciousness in a gluten-free Homemade Twix Bars treat!
Final Thoughts
There’s nothing quite like sharing a batch of Homemade Twix Bars with people you love. Whether for a party platter or a secret stash for late-night treats, these bars deliver classic, crave-worthy flavors with every bite. Give them a try and see for yourself how easy and rewarding it is to make your favorite candy bar at home!
Print
Homemade Twix Bars Recipe
- Total Time: 1 hour 45 minutes (includes chilling)
- Yield: 24 bars 1x
- Diet: Vegetarian
Description
Indulge in the irresistible combination of buttery shortbread, gooey caramel, and rich chocolate with these homemade Twix bars. Perfect for satisfying your sweet tooth cravings!
Ingredients
Shortbread Base:
- 1 cup unsalted butter, softened
- 1/2 cup granulated sugar
- 2 cups all-purpose flour
- 1/4 teaspoon salt
Caramel Layer:
- 1 cup caramel sauce (store-bought or homemade)
Chocolate Coating:
- 2 cups milk chocolate chips
- 1 tablespoon coconut oil or vegetable oil
Instructions
- Preheat and Prepare: Preheat oven to 350°F (175°C) and line a 9×13-inch baking dish with parchment paper.
- Mix Shortbread: Cream butter and sugar, then mix in flour and salt to form a dough. Press into pan and bake until golden.
- Add Caramel: Spread caramel over cooled crust and chill until firm.
- Coat in Chocolate: Melt chocolate with oil, pour over caramel, and chill until set.
- Slice and Serve: Once firm, cut into bars and enjoy!
Notes
- Use high-quality caramel for best results
- Store bars in the refrigerator for a firmer texture
- Bars can be stored at room temperature for a softer bite
- Prep Time: 20 minutes
- Cook Time: 22 minutes
- Category: Dessert
- Method: Baking
- Cuisine: American
Nutrition
- Serving Size: 1 bar
- Calories: 230
- Sugar: 18g
- Sodium: 60mg
- Fat: 14g
- Saturated Fat: 9g
- Unsaturated Fat: 4g
- Trans Fat: 0g
- Carbohydrates: 25g
- Fiber: 1g
- Protein: 2g
- Cholesterol: 20mg