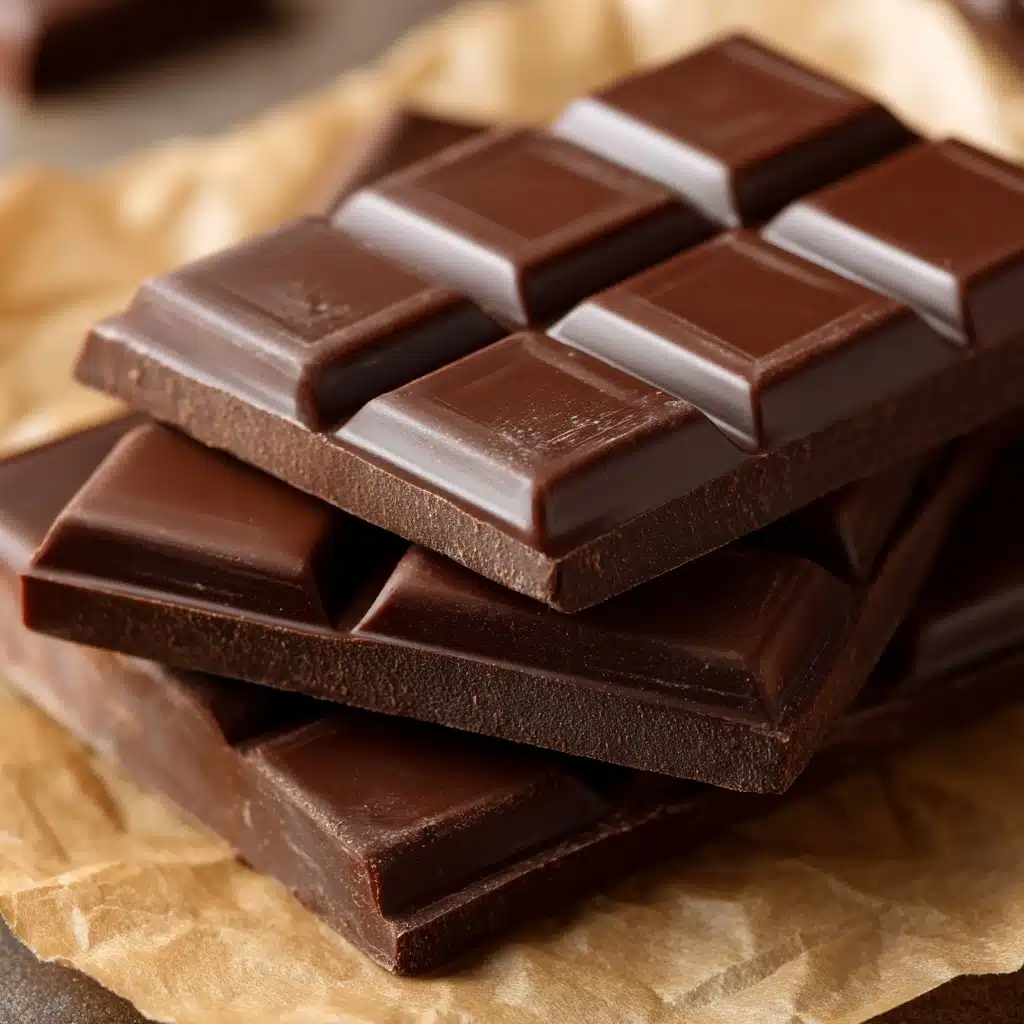
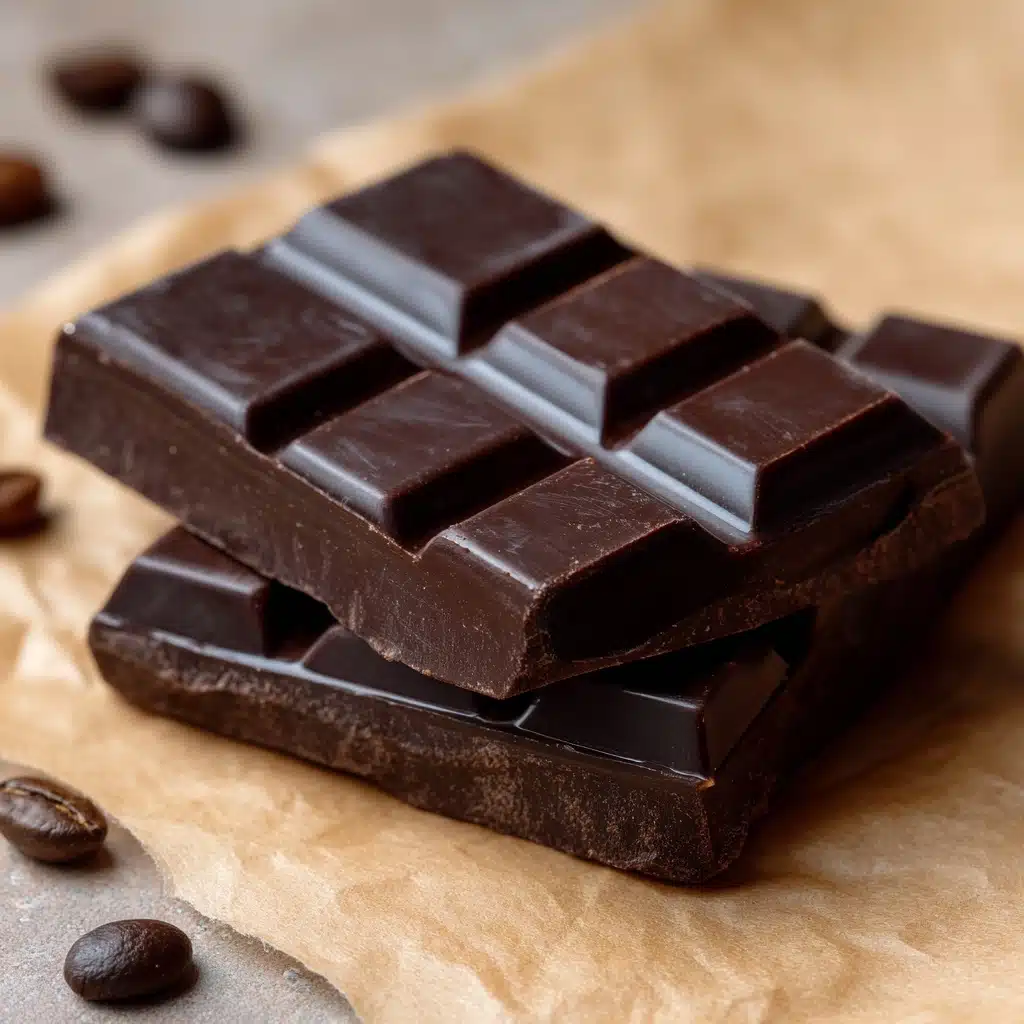
If you’re a chocolate lover, making your own Homemade Chocolate Bars is a dreamy and impressively easy way to indulge your cravings whenever you please. This recipe turns a handful of simple pantry staples into silky, melt-in-your-mouth bars that you can personalize to your heart’s content. Whether you’re aiming for vegan, gluten-free, or just looking for a more wholesome treat, these chocolate bars will become your new go-to snack or dessert. Get ready — with just a short chill in the fridge, you’ll have a chocolatey masterpiece that rivals anything from the store, but with ingredients you trust!
Ingredients You’ll Need
With lovely simplicity, each ingredient in these Homemade Chocolate Bars plays a starring role. You’ll find that using basic ingredients allows the chocolate flavor to shine and offers endless room for little touches that make each batch your own.
- Coconut oil: Gives these bars their lusciously smooth texture and effortless snap straight from the fridge.
- Unsweetened cocoa powder: The rich, chocolatey heart of the recipe; opt for good-quality cocoa for the deepest flavor.
- Honey or maple syrup: Natural sweeteners that balance out the cocoa’s boldness — maple syrup for a plant-based option!
- Vanilla extract: Adds a subtle warmth and aromatic lift that rounds out the chocolate.
- Pinch of salt: A tiny touch that makes all the chocolate flavors sing; don’t skip it!
- Optional add-ins: Chopped nuts, dried fruit, shredded coconut, or a sprinkle of sea salt flakes let you create your signature chocolate bars.
How to Make Homemade Chocolate Bars
Step 1: Gently Melt the Coconut Oil
Start by adding your coconut oil to a small saucepan and placing it over low heat. It melts in seconds, so keep an eye out and don’t let it get too hot — just enough to become liquid and clear. This is your base for luscious chocolate!
Step 2: Whisk in Cocoa, Sweetener, Vanilla & Salt
Remove the saucepan from the heat as soon as the coconut oil is melted. Add the cocoa powder, honey or maple syrup, vanilla extract, and a pinch of salt. Whisk with enthusiasm until everything is smooth, glossy, and deeply aromatic. The batter should look like rich, pourable chocolate.
Step 3: Stir in Your Favorites
This is your moment to customize. Gently fold in any chopped nuts, dried fruit, or coconut if you like a little crunch or chew in your Homemade Chocolate Bars. These mix-ins add texture, color, and flavor with every bite.
Step 4: Pour and Shape
Pour the chocolate mixture into your chosen silicone molds for professional-looking bars, or simply use a parchment-lined loaf pan and spread the chocolate evenly. Tap the pan gently to let out any air bubbles and ensure the surface is smooth.
Step 5: Chill to Set
Transfer the pan to your refrigerator or freezer and let the magic happen. In about 30 to 45 minutes, your chocolate will set beautifully. Patience is tough here, but it’s absolutely worth it for the perfect snap and creamy bite.
Step 6: Unmold, Slice, & Savor
Once firm, remove from the molds or use a sharp knife to slice the chocolate into bars. Admire your glossy, chocolate masterpieces before biting in. Store leftovers in the fridge to maintain that perfect texture.
How to Serve Homemade Chocolate Bars
Garnishes
A light sprinkle of flaky sea salt, a dusting of cocoa powder, or an artful scatter of chopped nuts or dried fruit on top just before the chocolate sets turns your Homemade Chocolate Bars into something absolutely elegant. These little touches add both flavor and flair!
Side Dishes
Pair your bars with fresh berries, a dollop of coconut whipped cream, or even a mug of warm almond milk. The slightly bitter, intense chocolate is a lovely counterpoint to anything juicy, creamy, or lightly sweet.
Creative Ways to Present
Gift-wrap each bar in wax paper and twine for a charming homemade present, or create a beautiful platter with an assortment of flavors and colorful add-ins. For a fun twist, break the bars into chunks and mix into your favorite trail mix or ice cream!
Make Ahead and Storage
Storing Leftovers
Homemade Chocolate Bars are happiest in the fridge, where they keep their perfect texture for up to two weeks. Simply store the bars in an airtight container lined with parchment to prevent sticking and transfer to the fridge right after slicing.
Freezing
Want to stash a secret chocolate reserve? Freeze your bars for up to three months! Layer them between sheets of parchment in a freezer-safe bag or container. They thaw in just a few minutes at room temperature, ready to enjoy on a whim.
Reheating
Chocolate bars are meant to be enjoyed cold or at room temperature, so no reheating required! If you prefer them softer, let them sit at room temperature for a few minutes before eating. Just avoid leaving them out too long, as coconut oil melts quickly.
FAQs
Can I use cacao butter instead of coconut oil?
Yes! In fact, cacao butter will give your Homemade Chocolate Bars a firmer, more classic chocolate feel even at room temperature. You can substitute part or all of the coconut oil with cacao butter as you like.
How do I make these bars sweeter or less sweet?
Taste the mixture before chilling and adjust the honey or maple syrup to your liking. Chocolate is personal, so don’t be shy about tailoring the sweetness to suit your mood!
What kind of cocoa powder works best?
Go with a high-quality unsweetened cocoa powder for rich flavor. Natural or Dutch-processed both work, but Dutch-processed will give you a smoother, more mellow taste, while natural brings a touch more brightness and tang.
Are these Homemade Chocolate Bars vegan?
Yes, as long as you use maple syrup as your sweetener. These bars are completely plant-based, dairy-free, and even gluten-free for a truly inclusive treat.
Can I make these without any add-ins?
Absolutely! The basic recipe produces a beautifully smooth, classic chocolate bar all on its own. The add-ins are just to mix things up if you love texture or extra flavors.
Final Thoughts
There’s something so satisfying about sinking your teeth into Homemade Chocolate Bars you made from scratch. The simplicity, the lusciousness, and the chance to get creative make this one recipe you’ll want to revisit again and again. Gather your ingredients and treat yourself — your own chocolatey adventure awaits!
Print
Homemade Chocolate Bars Recipe
- Total Time: 45 minutes
- Yield: 8 bars 1x
- Diet: Vegan
Description
Indulge in these rich and delicious homemade chocolate bars made with wholesome ingredients like coconut oil, cocoa powder, and honey. Customize with your favorite mix-ins for a treat that’s both decadent and guilt-free.
Ingredients
Main Ingredients:
- 1/2 cup coconut oil
- 1/2 cup unsweetened cocoa powder
- 1/4 cup honey or maple syrup
- 1 teaspoon vanilla extract
- Pinch of salt
Optional Add-Ins:
- Chopped nuts
- Dried fruit
- Shredded coconut
- Sea salt flakes
Instructions
- Melt Coconut Oil: In a small saucepan over low heat, melt the coconut oil.
- Mix Ingredients: Remove from heat and whisk in cocoa powder, honey/maple syrup, vanilla extract, and salt until smooth.
- Add Mix-Ins: Stir in optional nuts, fruit, or other mix-ins if desired.
- Set Chocolate: Pour mixture into molds or pan, spread evenly, refrigerate or freeze for 30-45 minutes until firm.
- Serve: Once set, remove from molds or slice into bars. Store in the refrigerator.
Notes
- For a firmer texture, substitute cacao butter for some or all of the coconut oil.
- Adjust sweetness levels to suit your taste preferences.
- Prep Time: 10 minutes
- Cook Time: 0 minutes
- Category: Dessert
- Method: No-Bake
- Cuisine: American
Nutrition
- Serving Size: 1 bar
- Calories: 160
- Sugar: 9g
- Sodium: 20mg
- Fat: 14g
- Saturated Fat: 11g
- Unsaturated Fat: 2g
- Trans Fat: 0g
- Carbohydrates: 11g
- Fiber: 3g
- Protein: 1g
- Cholesterol: 0mg