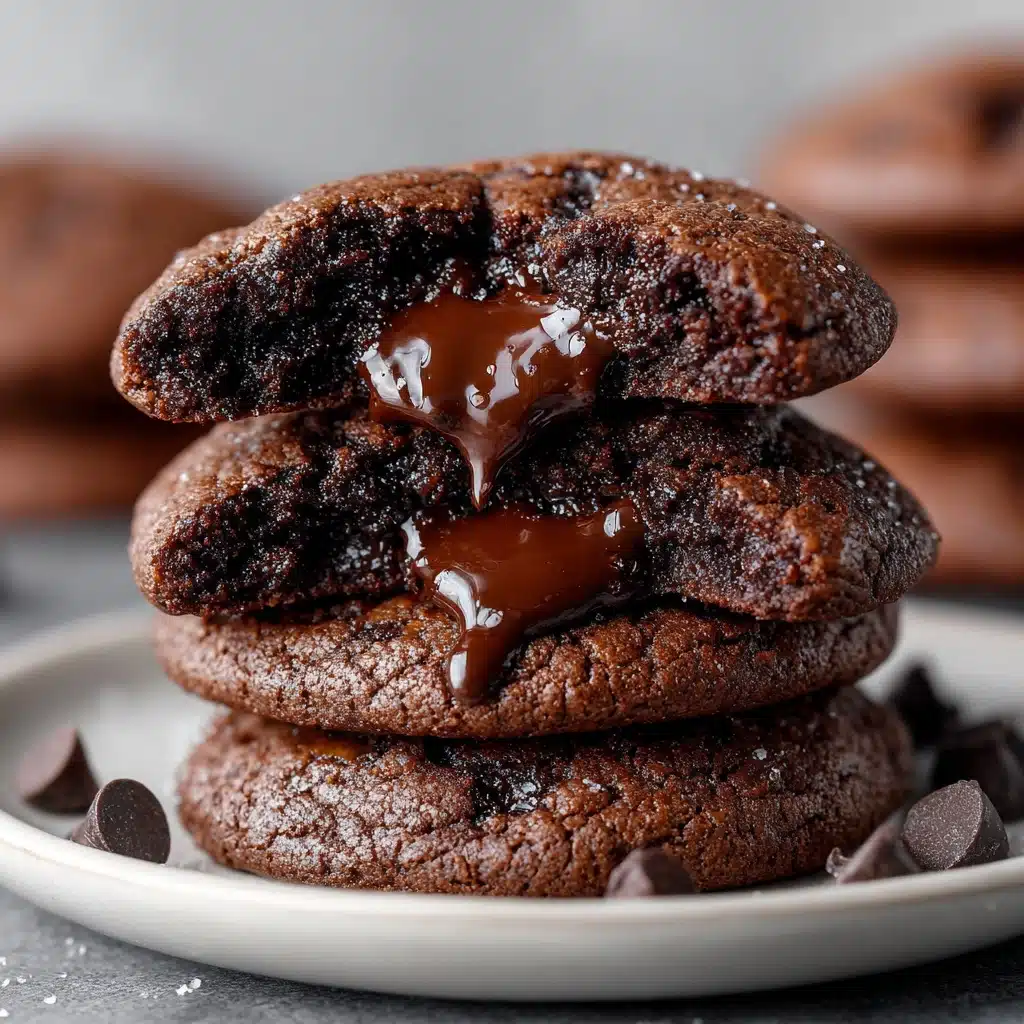
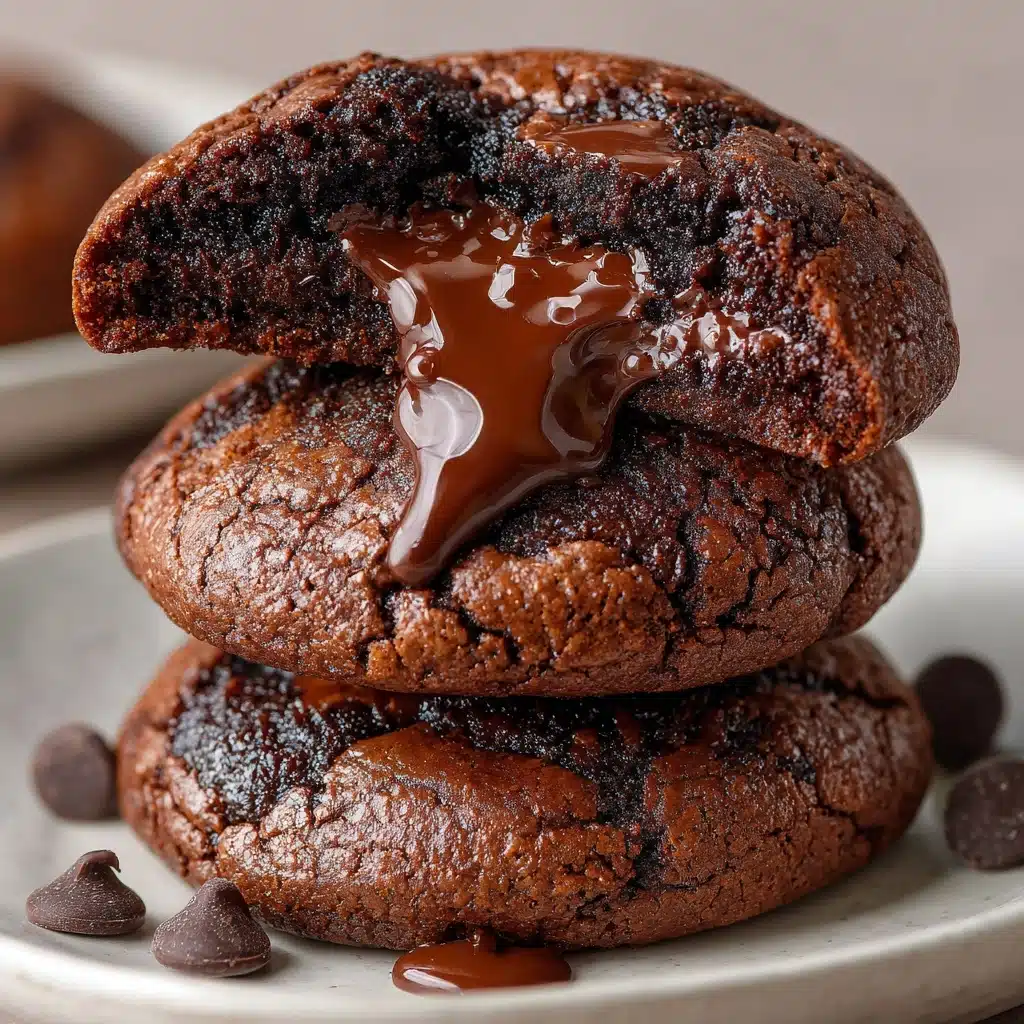
If you’re a fan of rich chocolate, gooey centers, and that just-baked aroma floating through your kitchen, then Chocolate Lava Brownie Cookies will become your new obsession. Imagine all the best parts of a molten lava cake and a fudgy brownie, packed into a hand-held cookie with an irresistible molten center. These decadent bites are as fun to make as they are to eat, whether you’re baking for friends, family, or just because you deserve a chocolatey treat. Break them open while still warm, and you’ll instantly see (and taste!) why these are so memorable.
Ingredients You’ll Need
What makes these cookies shine is the simplicity of the ingredients—each one plays an important role in delivering that crave-worthy flavor and perfect melt-in-your-mouth texture. From rich chocolate chips to everyday pantry staples, here’s what you’ll need and why:
- Unsalted butter: Adds richness and moisture to the cookies for that signature fudgy brownie bite.
- Semisweet chocolate chips: They’re the backbone of both the dough and the molten center, bringing deep chocolate flavor.
- Granulated sugar: Sweetens and helps form the crisp outer edges.
- Large eggs: Bind the dough together and contribute to the chewy texture.
- Vanilla extract: Adds warmth and rounds out the chocolatey notes.
- Salt: Just a pinch heightens every other flavor.
- All-purpose flour: Provides structure without making the cookies dry or cakey.
- Unsweetened cocoa powder: Intensifies the chocolate flavor and gives these cookies their lush color.
- Baking powder: Lends a little lift, keeping the cookies tender.
- Chocolate truffles or squares: The secret to the gooey, molten middle—choose your favorites for a personalized touch!
- Powdered sugar (optional): Perfect for an elegant (and tasty) finishing dust.
How to Make Chocolate Lava Brownie Cookies
Step 1: Prep the Oven and Baking Sheet
First, set the stage for baking success! Preheat your oven to 350°F and line a baking sheet with parchment paper. This prevents sticking and ensures those molten centers don’t get lost to the pan. Taking this minute to prep makes cleanup a breeze, too.
Step 2: Melt Butter and Chocolate
In a heatproof bowl, combine the butter and semisweet chocolate chips. Microwave in 30-second bursts, stirring each time, until everything is silky and smooth. Let the mixture cool slightly—this stops the eggs from scrambling in the next step and keeps the dough glossy.
Step 3: Whisk in Wet Ingredients
Add the granulated sugar, eggs, and vanilla extract to the cooled chocolate-butter blend. Whisk until you’re looking at a shiny, cohesive batter. You’re officially on your way to cookie bliss!
Step 4: Sift and Mix in Dry Ingredients
In a separate bowl, sift together the flour, unsweetened cocoa powder, baking powder, and salt. This not only banishes lumps but ensures the leavening is perfectly distributed. Gently stir the dry mix into the wet ingredients—stop as soon as everything comes together for the fudgiest results.
Step 5: Chill the Dough
Cover the bowl and place it in the refrigerator for 20–30 minutes. Chilling thickens the dough, making it much easier to handle while shaping and stuffing, plus it intensifies the flavors for truly decadent Chocolate Lava Brownie Cookies.
Step 6: Shape and Fill the Cookies
Scoop out about 1½ tablespoons of dough and gently flatten it in your hand. Place a chocolate truffle or square in the center, then wrap the dough around it, sealing all the edges so the filling stays hidden. Line up your cookie bombs on the prepared sheet, leaving 2 inches between each for them to spread as they bake.
Step 7: Bake to Gooey Perfection
Slide the tray into the oven and bake for 9 to 11 minutes. The edges should be set, but the centers will still look a touch soft—a sure sign of that gooey, molten middle. Don’t overbake! The allure of Chocolate Lava Brownie Cookies is that irresistible, oozing core.
Step 8: Cool, Dust, and Serve
Let the cookies cool on the baking sheet for five minutes, then carefully transfer to a wire rack. If you’re feeling fancy, dust the still-warm tops with powdered sugar. Serve these gems warm—you’ll thank yourself with every melty, chocolaty bite.
How to Serve Chocolate Lava Brownie Cookies
Garnishes
A simple sprinkle of powdered sugar is classic and gorgeous, but you can elevate these cookies with a drizzle of melted chocolate, a few fresh raspberries, or even a dollop of freshly whipped cream. Each garnish brings out the rich depth of the cookies and dazzles anyone lucky enough to grab one.
Side Dishes
Pair your Chocolate Lava Brownie Cookies with small scoops of vanilla bean ice cream, a cup of strong coffee, or a chilled glass of milk. The contrast between cold, creamy sides and the warm molten centers is pure dessert magic.
Creative Ways to Present
Stack cookies on an elegant tray and intersperse with chocolate truffles, or serve them in individual ramekins for a fancy dinner party touch. For extra wow factor at holidays, tie bundles of cookies with pretty ribbon—surprise inside, guaranteed!
Make Ahead and Storage
Storing Leftovers
Keep any leftover Chocolate Lava Brownie Cookies in an airtight container at room temperature for up to 3 days. The centers will stay soft, and a quick zap in the microwave brings back that dreamy, gooey texture.
Freezing
Want to prep ahead? Freeze the unbaked, truffle-filled dough balls on a tray, then transfer to a freezer bag. These will keep for up to 2 months—just bake from frozen and add an extra minute or two to the baking time. Baked cookies also freeze well; just thaw at room temperature when ready to enjoy.
Reheating
To relive that molten magic, reheat a cookie in the microwave for 10–15 seconds. This quick zap softens the exterior and restores the lava-like middle, so each bite tastes oven-fresh.
FAQs
Can I use milk chocolate or dark chocolate for the centers instead of truffles?
Absolutely! Feel free to use any chocolate squares that melt well. Dark chocolate gives an intense flavor, while milk chocolate makes for a sweeter, creamier center. Pick your favorite for a personal spin on Chocolate Lava Brownie Cookies.
Do I really have to chill the dough before baking?
Yes, chilling the dough allows it to firm up so you can easily shape and fill the cookies. It also helps the flavors develop and ensures a thicker, satisfying cookie that envelops the molten center perfectly.
Can I make smaller or larger cookies?
Definitely. If you go smaller, just check the cookies a little earlier in the oven; for larger, add a few extra minutes and be sure the centers are still molten when you pull them out.
How do I know when the cookies are done?
The edges should look set while the center is soft—don’t be tempted to bake until fully firm! The magic of Chocolate Lava Brownie Cookies is in the just-set edge and the gooey core, so err on the side of slightly underbaked.
Are these cookies gluten free?
As written, they contain all-purpose flour, but you can try swapping in a 1:1 gluten free baking mix with great results. Keep an eye on texture, as gluten free flours can affect spread and chew.
Final Thoughts
If you’re looking to win over a crowd or simply crave something decadently chocolatey, these Chocolate Lava Brownie Cookies are pure joy in every bite. Don’t be surprised when people beg for the recipe—there’s something truly satisfying about sharing a treat that’s just as fun to make as it is to eat. Give them a try next time you need an instant chocolate fix!
Print
Chocolate Lava Brownie Cookies Recipe
- Total Time: 30 minutes
- Yield: 12 cookies 1x
- Diet: Vegetarian
Description
Indulge in the decadent delight of Chocolate Lava Brownie Cookies. These rich, fudgy cookies are filled with molten chocolate centers, creating a heavenly treat for any chocolate lover.
Ingredients
Dough:
- 1/2 cup unsalted butter
- 1 cup semisweet chocolate chips
- 3/4 cup granulated sugar
- 2 large eggs
- 1 teaspoon vanilla extract
- 1/4 teaspoon salt
- 1/3 cup all-purpose flour
- 2 tablespoons unsweetened cocoa powder
- 1/4 teaspoon baking powder
Fillings:
- 12 chocolate truffles or squares (for molten centers)
- Optional powdered sugar for dusting
Instructions
- Preheat the oven: Preheat the oven to 350°F and line a baking sheet with parchment paper.
- Melt butter and chocolate: In a heatproof bowl, melt the butter and chocolate chips together in the microwave, stirring until smooth. Let cool slightly.
- Combine wet ingredients: Whisk in the sugar, eggs, and vanilla until glossy and combined.
- Mix dry ingredients: In a separate bowl, sift together the flour, cocoa powder, baking powder, and salt. Stir into the wet mixture until just combined.
- Chill dough: Chill the dough for 20–30 minutes until slightly firm.
- Assemble cookies: Scoop dough, place a chocolate truffle in the center, wrap dough around it, and seal the edges. Place on baking sheet.
- Bake: Bake for 9–11 minutes until edges are set but centers are still soft.
- Cool and serve: Cool for 5 minutes on the baking sheet before transferring to a wire rack. Dust with powdered sugar if desired and serve warm.
Notes
- For an extra gooey center, avoid overbaking.
- Best enjoyed warm; reheat in the microwave for 10–15 seconds to restore the molten center.
- Prep Time: 20 minutes
- Cook Time: 10 minutes
- Category: Dessert
- Method: Baking
- Cuisine: American
Nutrition
- Serving Size: 1 cookie
- Calories: 250
- Sugar: 20g
- Sodium: 90mg
- Fat: 14g
- Saturated Fat: 8g
- Unsaturated Fat: 5g
- Trans Fat: 0g
- Carbohydrates: 30g
- Fiber: 2g
- Protein: 3g
- Cholesterol: 45mg