If you’ve ever wished you could transform everyone’s favorite candy bar into a poppable dessert, you’re in for a real treat! Easy Butterfinger Balls are the ultimate no-bake indulgence, packed with creamy peanut butter, flecks of crunchy, buttery Butterfinger bits, and a thick coat of irresistible chocolate. With just a handful of pantry staples and a fun, straightforward process, these bite-sized candies let you serve up decadent flavor for any occasion, from party trays to quick weeknight cravings!
Ingredients You’ll Need
You’ll be amazed at how a few easy ingredients come together to create such an addictive sweet. Each item brings its own unique magic, from the creamy base to the signature candy crunch and the velvety chocolate shell.
- Creamy Peanut Butter: The heart of the dough—choose a classic, smooth peanut butter for best texture and balanced flavor.
- Unsalted Butter (softened): Blends smoothly into the filling and gives every bite a rich, buttery undertone.
- Powdered Sugar: Sweetens the dough and helps it come together into a pliable, fudge-like consistency.
- Crushed Butterfinger Candy Bars: The star of the show—these add unmistakable caramelized, peanut-buttery crunch and bursts of orange color.
- Semi-Sweet or Milk Chocolate Chips: Melted to make the luscious coating—pick your favorite for that perfect chocolate shell!
- Shortening or Coconut Oil (optional): A little bit makes your melted chocolate silky-smooth and easier for coating the balls.
How to Make Easy Butterfinger Balls
Step 1: Make the Peanut Butter Mixture
Start by beating together the creamy peanut butter and softened butter in a large bowl. This duo should look fluffy and totally blended. Using a hand mixer (or a good old-fashioned spoon with a little elbow grease) makes this step fast and fuss-free, ensuring every Butterfinger Ball will be extra creamy inside.
Step 2: Add the Powdered Sugar
Gradually add the powdered sugar to your peanut butter blend, mixing until it becomes a thick, moldable dough. Don’t rush this step—add the sugar in batches and keep mixing until your dough starts pulling away from the sides of the bowl. This is the secret to that classic, fudge-like texture.
Step 3: Fold in the Butterfinger Pieces
Now for the magic touch! Fold in one cup of your crushed Butterfinger candy bars, making sure those golden shards are evenly scattered throughout the dough. Every bite should get a pop of that buttery, candy-bar crunch!
Step 4: Shape and Chill
Using a small cookie scoop or spoon, shape the dough into 1-inch balls and place them on a baking sheet lined with parchment paper. Don’t worry if they’re not perfect—a little character never hurt! Pop the tray into the freezer for at least 30 minutes, so they firm up and are easy to dip.
Step 5: Dip in Chocolate
While the balls are chilling, melt your chocolate chips (add the shortening or coconut oil now if you’re using it) in a microwave-safe bowl, heating in 30-second bursts and stirring until smooth. Take each chilled ball and dip it into the melted chocolate, swirling to coat completely. Lift out with a fork, let the excess drip off, and set back on the parchment-lined pan.
Step 6: Top and Set
While the chocolate is still glossy, sprinkle each ball with a pinch of the remaining crushed Butterfinger pieces for extra crunch and a pop of color. Transfer the tray to the fridge and chill until the chocolate is set and the Easy Butterfinger Balls are ready to serve!
How to Serve Easy Butterfinger Balls

Garnishes
Dress up your Easy Butterfinger Balls with a drizzle of melted white chocolate, an extra dusting of Butterfinger crumbs, or even a sprinkle of sea salt. This little finish turns candy into a real showstopper, adding both flavor and a bit of flair to your dessert tray.
Side Dishes
These sweet bites pair beautifully with a scoop of vanilla ice cream, a mug of rich hot chocolate, or even a fresh fruit platter if you’re going for a dessert spread at parties. Their snap of chocolate shell and creamy center make them perfect alongside anything creamy or light.
Creative Ways to Present
For the most fun, arrange your Easy Butterfinger Balls in mini cupcake liners and pile them on a tiered cake stand. Or skewer them on fancy toothpicks for a no-mess treat at potlucks. You can even tuck a few into clear cellophane bags tied with ribbon for a gift that never fails to delight!
Make Ahead and Storage
Storing Leftovers
Place your Easy Butterfinger Balls in an airtight container and refrigerate them—this keeps them fresh and delicious for up to two weeks. Stack them with a little parchment paper in between the layers to keep the chocolate coatings pristine.
Freezing
If you want to save treats for later, you can freeze Easy Butterfinger Balls for up to three months! Once the chocolate shell is completely set, stash the balls in a freezer-safe container or zippered bag. Thaw in the fridge overnight before serving, and they’ll taste freshly made.
Reheating
These treats are meant to be enjoyed chilled or at room temperature—no reheating required. But if they’re just out of the fridge and you want them a little softer, let them sit at room temperature for 10–15 minutes to take off the chill.
FAQs
Can I make these in advance for a party?
Absolutely! Easy Butterfinger Balls are actually even better when made a day ahead, since chilling gives the flavors time to come together and keeps the chocolate coating perfectly crisp.
Do I have to use Butterfinger bars, or can I swap in another candy?
Butterfingers are the classic choice for their unique crispy texture and peanut butter flavor, but you can get creative! Try using toffee bars, chopped up Reese’s, or even a combination of chocolate candies if you want a twist.
Is it possible to make these without a mixer?
Yes, you can mix the dough by hand with a sturdy spoon. Just be sure your butter is very soft, and prepare for a little arm workout. The end result will be just as delicious!
How do I crush the Butterfinger bars easily?
Pop the candy bars in a sealed plastic bag, then bash them with a rolling pin or meat mallet. Don’t worry about making perfectly uniform pieces—the variety adds texture!
Can I make Easy Butterfinger Balls gluten-free?
Old-school Butterfinger bars are gluten-free, but be sure to double-check packaging if you need to avoid gluten. Otherwise, all the other ingredients in this recipe are naturally gluten-free, making these treats a good option for many guests.
Final Thoughts
With no baking and just a few simple steps, Easy Butterfinger Balls are a true delight to make and share. Perfect for sweet tooth cravings, potlucks, or just treating yourself, they’ll always steal the show—trust me, you’ll want to double the batch! Go ahead and stir up some chocolatey, peanut buttery joy. I can’t wait for you to try them!
Print
Easy Butterfinger Balls Recipe
- Total Time: 1 hour (including chilling time)
- Yield: 24 balls 1x
- Diet: Vegetarian
Description
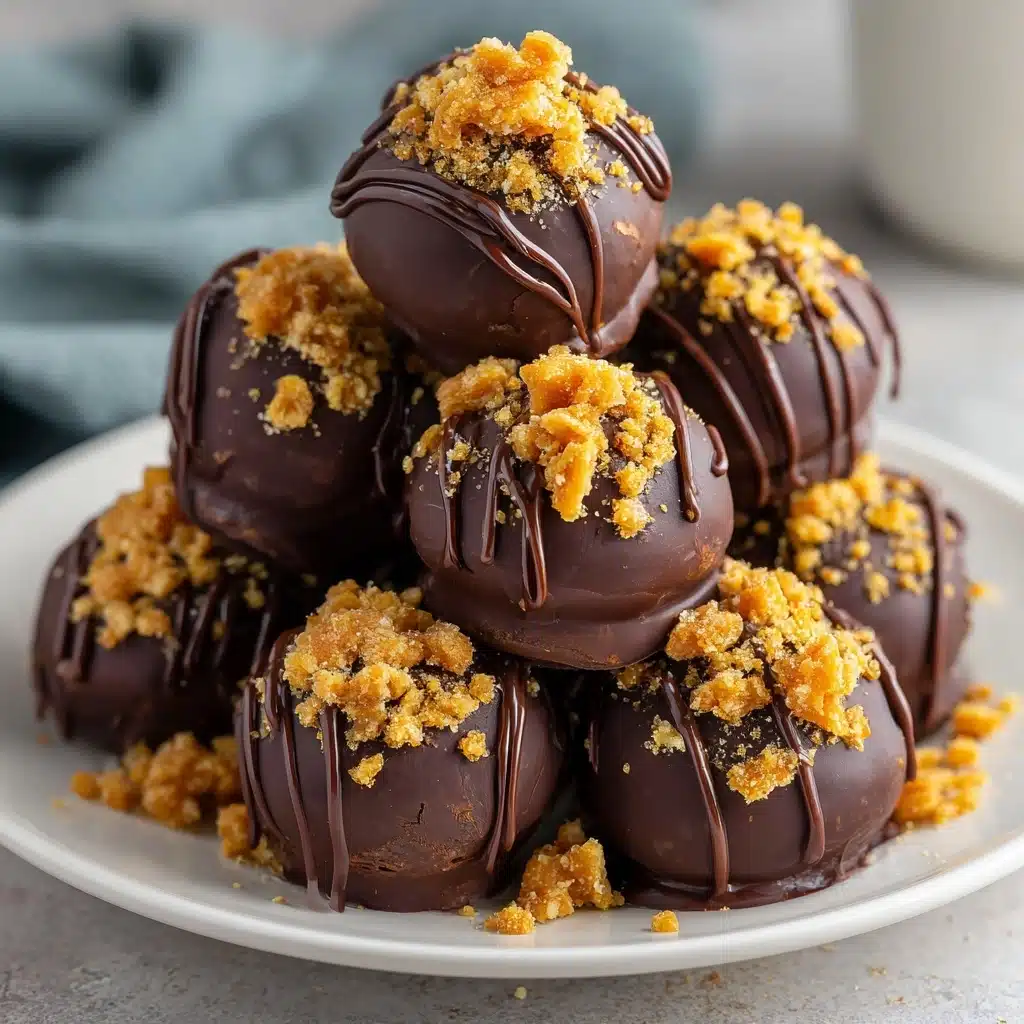
These Easy Butterfinger Balls are a delightful no-bake treat perfect for satisfying your sweet tooth. Creamy peanut butter, powdered sugar, and crushed Butterfinger candy bars are rolled into bite-sized balls, dipped in chocolate, and topped with more Butterfinger bits for a crunchy finish. Simple to make and always a hit!
Ingredients
Peanut Butter Mixture:
- 1 cup creamy peanut butter
- 1/4 cup unsalted butter, softened
- 2 cups powdered sugar
Additional Ingredients:
- 1 1/2 cups crushed Butterfinger candy bars (about 5 regular bars)
- 12 ounces semi-sweet or milk chocolate chips
- 2 tablespoons shortening or coconut oil (optional, for smoother chocolate)
Instructions
- Prepare Peanut Butter Mixture: In a large bowl, beat together peanut butter and softened butter until smooth. Gradually add powdered sugar and mix until a thick dough forms.
- Combine Ingredients: Fold in 1 cup of crushed Butterfinger pieces until evenly distributed.
- Form Balls: Roll mixture into 1-inch balls and place on a parchment-lined baking sheet. Chill in the freezer for at least 30 minutes.
- Melt Chocolate: Meanwhile, melt chocolate chips and shortening (if using) in the microwave in 30-second intervals until smooth.
- Dip Balls: Dip each chilled ball into melted chocolate, coating completely.
- Finish: Place coated balls on parchment paper, sprinkle with remaining crushed Butterfinger pieces, and refrigerate until set.
Notes
- Store Butterfinger Balls in the refrigerator for up to 2 weeks or freeze for longer storage.
- Great for holiday trays or as a quick sweet treat!
- Prep Time: 20 minutes
- Cook Time: 0 minutes
- Category: Dessert
- Method: No-Bake
- Cuisine: American
Nutrition
- Serving Size: 1 ball
- Calories: 180
- Sugar: 16g
- Sodium: 55mg
- Fat: 10g
- Saturated Fat: 4g
- Unsaturated Fat: 5g
- Trans Fat: 0g
- Carbohydrates: 20g
- Fiber: 1g
- Protein: 3g
- Cholesterol: 5mg