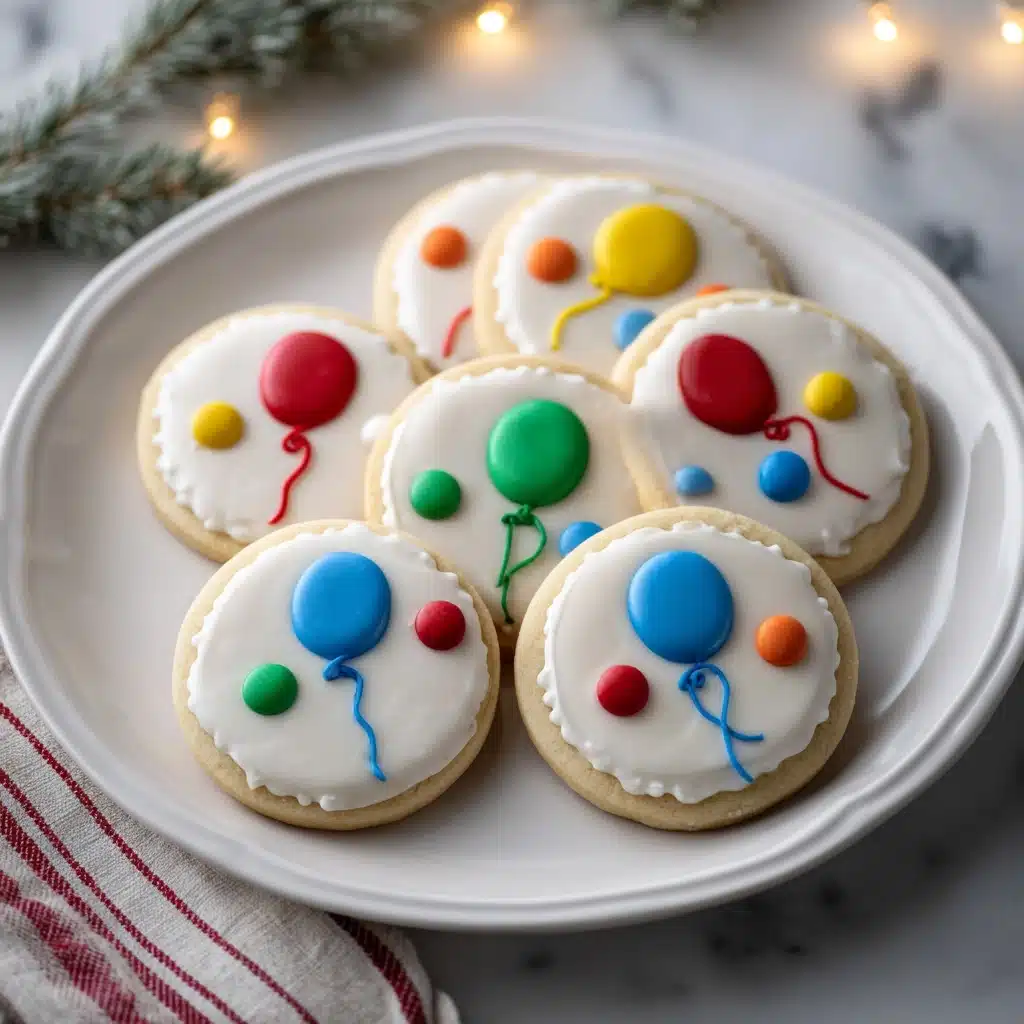
Get ready to light up your holiday dessert table with these enchanting Christmas Lights Royal Icing Sugar Cookies! Buttery, tender cookies meet a crisp flood of royal icing and are festooned with a string of colorful “lights” that look almost too pretty to eat—almost! This festive treat is not only a joy to decorate with friends and family, but also a guaranteed crowd pleaser from first glance to last sweet crumb. Whether you’re gifting a cookie tin, bringing treats to a party, or adding sparkle to your own cozy celebration, these Christmas Lights Royal Icing Sugar Cookies are simply magic in every bite.
Ingredients You’ll Need
Baking up Christmas Lights Royal Icing Sugar Cookies doesn’t require a pantry overhaul—just tried-and-true ingredients that each play an essential role. Here’s what you’ll need, plus helpful tips for each component to guarantee delicious results and picture-perfect decorations!
- All-purpose flour: Provides the sturdy, tender base every classic sugar cookie needs for perfect cut-outs.
- Baking powder: Gives your cookies just a touch of gentle lift so they’re not too dense.
- Salt: Brings out the buttery flavor and balances sweetness in every bite.
- Unsalted butter (softened): The secret to that soft, melt-in-your-mouth crumb—just be sure it’s at room temperature for easy blending.
- Granulated sugar: Delivers the essential sweetness and helps cookies hold their shape.
- Large egg: Adds moisture and helps bind everything together for a supple dough.
- Vanilla extract: Brings a warm, comforting aroma that’s the heart of any sugar cookie.
- Almond extract (optional): Adds a subtle nutty depth—try it for an extra-special bakery touch!
- Powdered sugar (for royal icing): Guarantees a silky-smooth icing that dries to a beautiful finish.
- Meringue powder: This magic ingredient provides structure to the royal icing so your decorations stay crisp and vibrant.
- Warm water: Starts the icing off with the ideal consistency for beating and mixing.
- Assorted food coloring gels: The brighter, the better—get creative with the colors for your “lights!”
- Black edible marker or black icing: Essential for drawing the string that ties the whole “Christmas lights” look together.
- Mini round or bulb-shaped piping tips: These tips make it easy to create perfect little bulbs for your festive light strand.
How to Make Christmas Lights Royal Icing Sugar Cookies
Step 1: Prepare the Dough
Start your Christmas Lights Royal Icing Sugar Cookies journey by whisking together flour, baking powder, and salt in a medium bowl. In a separate large bowl, cream the softened butter and granulated sugar together until the mixture becomes fluffy and pale—it should look a bit like fresh snow! Beat in the egg, vanilla, and almond extract (if you’re feeling fancy), until fully incorporated. Slowly add your dry ingredients, mixing just until the dough comes together. Divide it in half, flatten each into a disc, and wrap tightly in plastic. Chill your dough for at least one hour—this helps it firm up for cleaner, neater cookie shapes.
Step 2: Roll, Cut, and Bake
Once your dough is chilled and ready to roll, preheat your oven to 350°F (175°C), and line some baking sheets with parchment. On a lightly floured surface, roll the dough to about 1/4-inch thickness. Use your favorite cookie cutters—stars, circles, or classic bulbs—to cut out shapes, placing them about an inch apart on your prepared sheets. Bake for 8 to 10 minutes; the edges should just begin to turn golden, keeping the centers soft. Let your cookies cool completely before diving into the decorating fun!
Step 3: Make the Royal Icing
While the cookies cool, it’s time to whip up that glossy, smooth royal icing! In a stand mixer (or with a handheld mixer), blend powdered sugar, meringue powder, and warm water on low until combined, then beat on medium-high for 5 to 7 minutes until you have stiff, fluffy peaks. Divide your icing into bowls for each color you plan to use and tint them with your chosen food gels. For the base layer, thin some icing with a few drops of water for flooding consistency—it should flow easily, but not run off the edge of a spoon.
Step 4: Decorate with Icing and Details
Now comes the heart of Christmas Lights Royal Icing Sugar Cookies: decorating! Pipe an outline on your completely cooled cookies, then flood the center with your thinned icing. Let the base dry (patience is a virtue here!). Once set, draw a gentle winding line across each cookie in black edible marker or black icing to mimic the string for your lights. Use colorful icing in mini piping bags fitted with small round tips to dot bulbs along the string—this is your chance to get creative and bring the cookies to life. Allow all the icing to dry thoroughly before handling or packaging.
How to Serve Christmas Lights Royal Icing Sugar Cookies

Garnishes
Dress up your Christmas Lights Royal Icing Sugar Cookies by sprinkling a touch of edible glitter on the bulbs or around the edges for extra sparkle. You can also add pearlized sugar beads or mini sprinkles atop each light to really make them shine and create a festive “glow.”
Side Dishes
Pair these cookies with mugs of hot cocoa, creamy eggnog, or spicy chai lattes to turn every nibble into a cozy holiday retreat. If you want a spread, serve alongside chocolate-dipped pretzels, holiday popcorn, or a platter of fresh fruit for a balanced (and beautiful) dessert board.
Creative Ways to Present
Arrange your Christmas Lights Royal Icing Sugar Cookies on a large platter in the shape of a Christmas tree, or box them up in festive tins with tissue paper for gifting. Try stringing a few cookies together with ribbon for an edible garland centerpiece—watch them disappear as guests admire your handiwork!
Make Ahead and Storage
Storing Leftovers
Once the royal icing is fully dry (ideally overnight), store your decorated cookies in an airtight container at room temperature. Layer them between sheets of parchment or wax paper to keep the icing pristine—these beauties stay fresh for up to one week, perfect for make-ahead holiday magic.
Freezing
Unfrosted cookies freeze wonderfully: just pop them in a freezer-safe bag or container, squeezing out as much air as possible. For iced cookies, separate layers with parchment and freeze in a rigid container. Thaw at room temperature before serving and let any condensation dry before stacking or packaging.
Reheating
Cookies like these are best enjoyed at room temperature, so skip reheating. If you want to refresh their flavor, leave them out on a plate for fifteen minutes and let them “breathe”—they’ll taste just-baked again!
FAQs
Can I make the dough in advance?
Absolutely! You can prepare the dough up to three days ahead and keep it tightly wrapped in the fridge before rolling and baking. This makes the Christmas Lights Royal Icing Sugar Cookies perfect for planning ahead during holiday chaos.
What’s the best way to get vibrant light bulb colors in the icing?
Gel food colorings are your best friend! They’re extra-concentrated, so you can achieve bold reds, blues, yellows, and greens without thinning your icing and losing that perfect piping consistency.
My royal icing is too stiff/runny—how can I fix it?
If your icing is too stiff, add water a few drops at a time and mix. If it’s too runny, sift in additional powdered sugar until you reach the desired thickness. The goal is smooth and glossy for piping, and slightly looser for flooding.
Can kids help with decorating?
Definitely! Decorating Christmas Lights Royal Icing Sugar Cookies is a fantastic activity for kids (and adults). Just set up a decorating station and give little ones piping bags with bigger openings or squeeze bottles for easier control.
How long should I let the icing dry before storing?
For best results, let your decorated cookies dry undisturbed overnight. This ensures they stay crisp, and your designs won’t smudge when stored or gifted.
Final Thoughts
Nothing captures the holiday spirit quite like a tray of Christmas Lights Royal Icing Sugar Cookies twinkling with color and sweetness. I hope you feel inspired to bake, decorate, and share these gorgeous cookies with all your favorite people—let these edible little “lights” fill your season with joy and plenty of delicious memories!
Print
Christmas Lights Royal Icing Sugar Cookies Recipe
- Total Time: 2 hours (including chilling and decorating)
- Yield: 24 cookies 1x
- Diet: Vegetarian
Description
These Christmas Lights Royal Icing Sugar Cookies are a festive and delicious holiday treat that will brighten up any cookie platter. The buttery sugar cookie base is topped with colorful royal icing designs resembling Christmas lights, making them perfect for holiday gatherings and cookie exchanges.
Ingredients
Sugar Cookies:
- 2 3/4 cups all-purpose flour
- 1 teaspoon baking powder
- 1/2 teaspoon salt
- 1 cup unsalted butter, softened
- 1 1/2 cups granulated sugar
- 1 large egg
- 2 teaspoons vanilla extract
- 1/2 teaspoon almond extract (optional)
Royal Icing:
- 4 cups powdered sugar
- 3 tablespoons meringue powder
- 6 tablespoons warm water
- Assorted food coloring gels
- Black edible marker or black icing for string design
- Mini round or bulb-shaped piping tips
Instructions
- Prepare the Cookie Dough: In a medium bowl, whisk together the flour, baking powder, and salt. In a large bowl, beat the softened butter and granulated sugar until light and fluffy. Add the egg, vanilla extract, and almond extract if using, and mix until combined. Gradually add the dry ingredients and mix until the dough comes together.
- Chill and Shape: Divide the dough in half, shape into discs, wrap in plastic wrap, and chill for at least 1 hour. Preheat the oven to 350°F (175°C) and line baking sheets with parchment paper.
- Bake: Roll out the chilled dough to 1/4-inch thickness on a floured surface. Cut out desired shapes and place on baking sheets. Bake for 8-10 minutes until edges are golden. Cool completely.
- Make Royal Icing: Beat powdered sugar, meringue powder, and warm water until stiff peaks form.
- Decorate: Divide and tint icing, thinning as needed. Outline and flood cookies with base colors. Once dry, draw a black string and pipe colorful bulbs. Allow to dry completely.
Notes
- Ensure cookies are completely cool before icing.
- Store decorated cookies in an airtight container at room temperature for up to a week.
- For best results, let the royal icing dry overnight.
- Prep Time: 45 minutes
- Cook Time: 10 minutes
- Category: Dessert
- Method: Baking
- Cuisine: American
Nutrition
- Serving Size: 1 cookie
- Calories: 180
- Sugar: 20g
- Sodium: 50mg
- Fat: 7g
- Saturated Fat: 4g
- Unsaturated Fat: 3g
- Trans Fat: 0g
- Carbohydrates: 28g
- Fiber: 0g
- Protein: 2g
- Cholesterol: 25mg