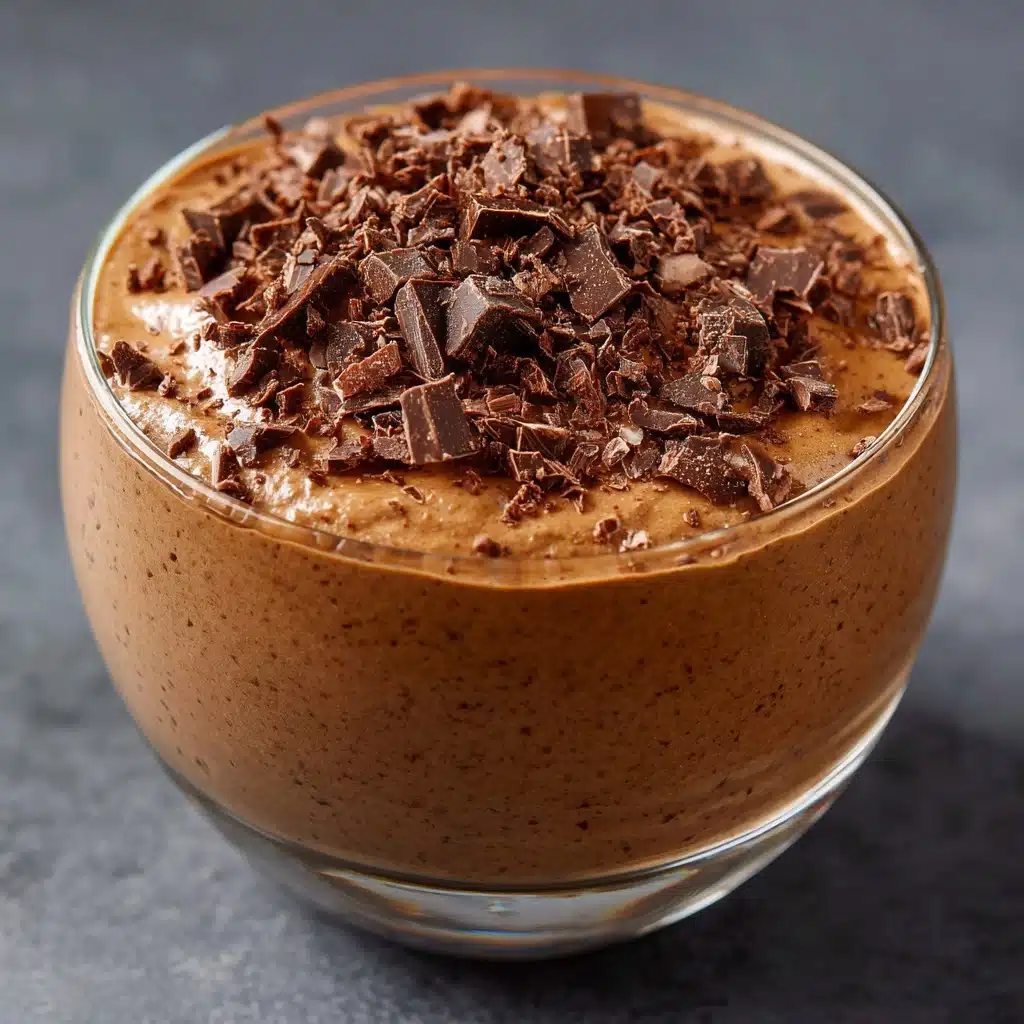
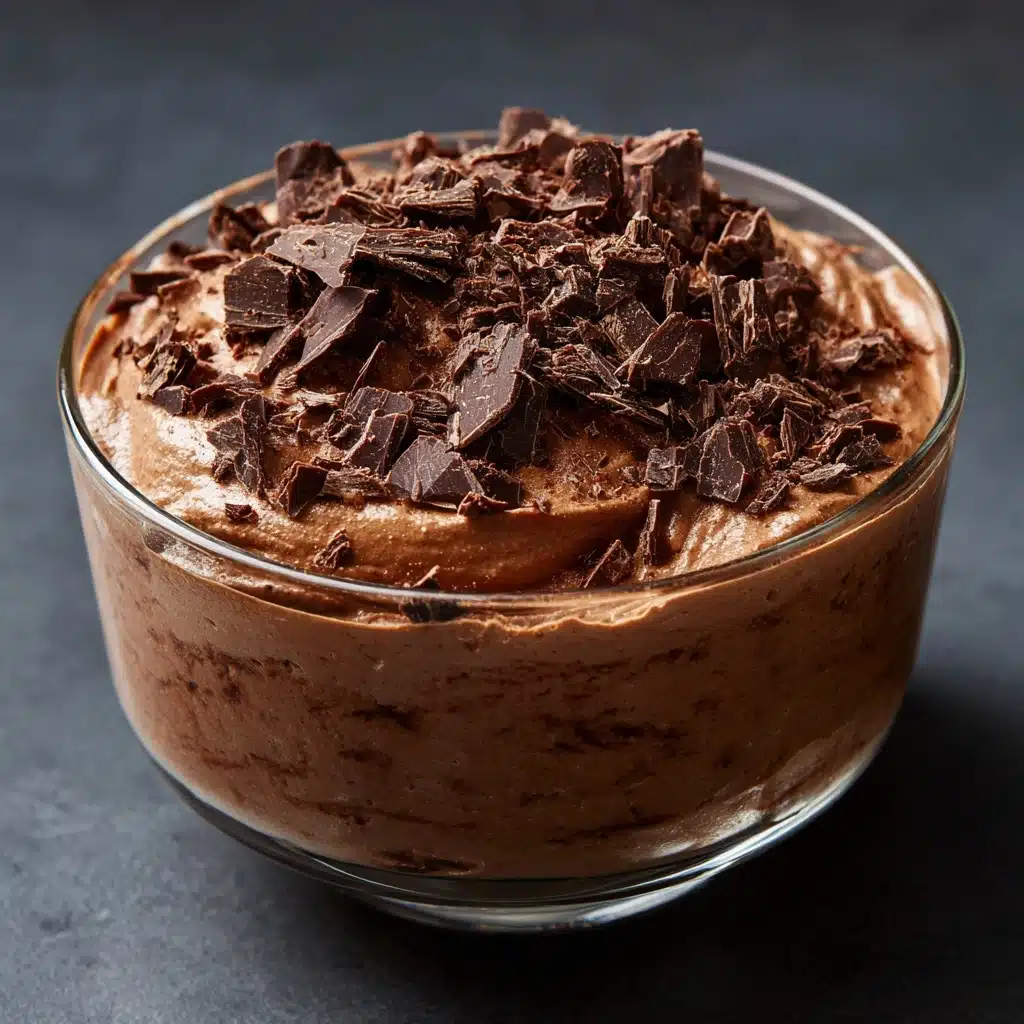
Meet your new favorite snack, Protein Pudding! This luscious, creamy treat is pure magic for anyone craving a treat that’s equally nutritious and indulgent. Think silky chocolate (or vanilla!) flavor, a velvety texture, and a punch of protein in every spoonful—all made from wholesome ingredients you probably already have at home. Perfect for a healthy snack, a smart dessert swap, or a post-workout refuel, Protein Pudding truly checks all the boxes for flavor, versatility, and ease.
Ingredients You’ll Need
All you need are a handful of staple ingredients, and each one adds something special to both the taste and nutrition profile of your Protein Pudding. Here’s what you’ll need (and why you need it!):
- Unsweetened almond milk (2 cups): This keeps the pudding light and dairy-free, but you can use any milk you like for extra creaminess.
- Protein powder (1 scoop, about 30g): The essential base that packs in the protein while delivering the rich flavor of either chocolate or vanilla.
- Unsweetened cocoa powder (3 tablespoons, if using chocolate): Deepens the chocolate flavor, making each bite satisfyingly rich and decadent.
- Cornstarch (3 tablespoons): This is your main thickening agent, responsible for that classic pudding texture.
- Maple syrup or honey (2 tablespoons, optional): Adds just the right amount of natural sweetness—feel free to adjust or skip for a lower-sugar option.
- Vanilla extract (1 teaspoon): Rounds out all the flavors and brings a cozy bakery aroma to your pudding.
- Pinch of salt: Enhances every other flavor, making the chocolate (or vanilla) pop.
How to Make Protein Pudding
Step 1: Whisk Your Dry Ingredients
In a medium saucepan, whisk together the protein powder, cocoa powder (if using), cornstarch, and salt. This step ensures that all the powders get evenly distributed and it prevents any clumps, so your Protein Pudding will be perfectly smooth every time.
Step 2: Slowly Add the Almond Milk
Gradually pour in the almond milk while whisking constantly. This is key—adding the milk slowly allows all those dry ingredients to dissolve properly, making for a lump-free mixture. You’ll see it transform into a silky liquid base right before your eyes.
Step 3: Cook to Thicken
Set your saucepan over medium heat and keep whisking as the mixture warms up. In about 5-8 minutes, it will start to bubble and thicken (watch as it magically turns from milky to pudding consistency!). Don’t stop whisking—this is how you get that dreamy, velvety finish.
Step 4: Sweeten and Flavor
Remove the pan from the heat, then stir in the maple syrup or honey for sweetness, and finish with the vanilla extract. These last-minute touches make your Protein Pudding utterly irresistible.
Step 5: Chill and Set
Pour the hot pudding into small bowls or jars, then press a piece of plastic wrap directly onto the surface of the pudding to keep it skin-free. Pop them in the refrigerator for 1 to 2 hours. When you return, you’ll have perfect, chilled Protein Pudding, set and ready to enjoy!
How to Serve Protein Pudding

Garnishes
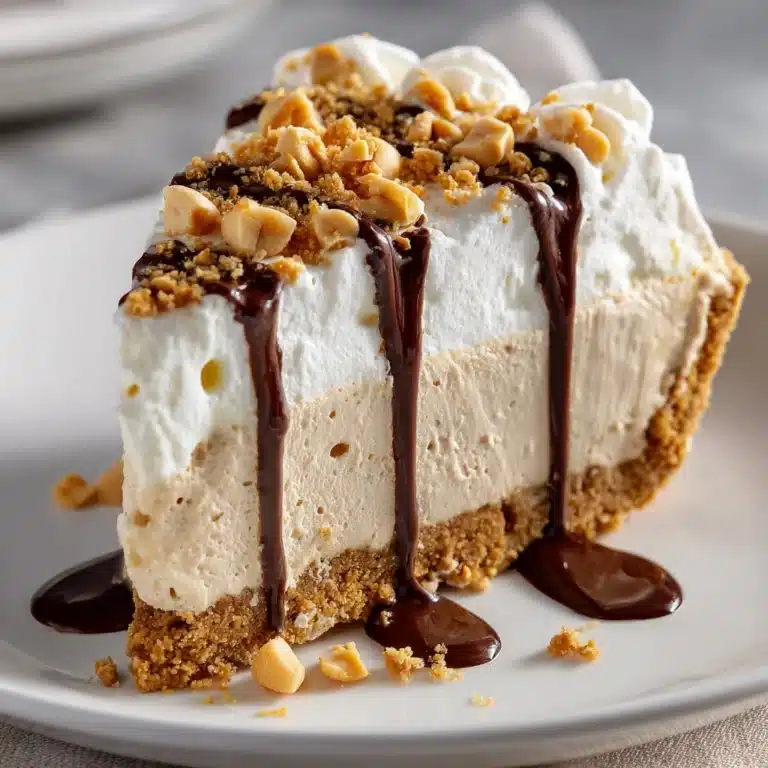
The right garnish takes Protein Pudding from yummy to wow! A dollop of Greek yogurt, a swirl of nut butter, or a sprinkle of cacao nibs add flavor and texture. If you’re feeling fancy, try fresh berries or a dusting of extra cocoa powder on top.
Side Dishes
Protein Pudding is substantial on its own, but you can serve it with a handful of granola or some sliced banana for extra fuel. A small scoop of coconut whipped cream on the side never hurt anyone either!
Creative Ways to Present
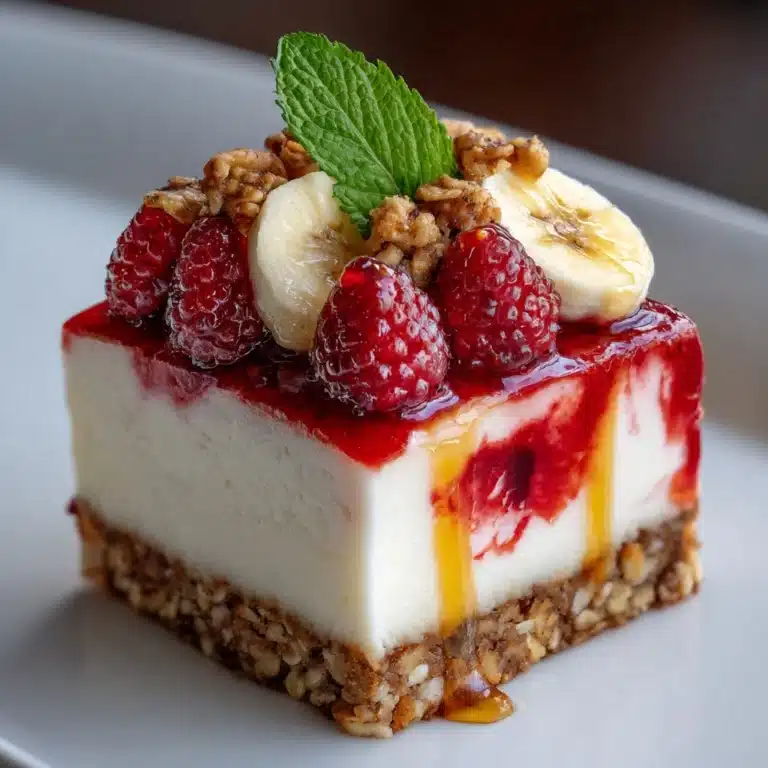
Turn this into a parfait by layering Protein Pudding with chopped fruit, oats, or crushed nuts. For a party, pipe portions into shot glasses with tiny spoons. Kids love it layered in little jars with sprinkles—dessert meets after-school snack!
Make Ahead and Storage
Storing Leftovers
Leftover Protein Pudding keeps beautifully in the fridge—just cover the bowls or transfer to airtight containers. It’ll stay fresh and luscious for up to four days, making it perfect for meal prep or grab-and-go snacks.
Freezing
If you want to store Protein Pudding longer, you can freeze it in individual portions. Thaw overnight in the fridge and then stir well—you may lose a bit of the creamy texture, but the flavor will still be great, and it becomes a fun frosty treat.
Reheating
Protein Pudding is meant to be served chilled, so there’s no need to reheat. If you prefer it warm (especially in winter!), gently heat brief portions in the microwave and stir well. Just keep an eye out so it doesn’t overcook and get too thick.
FAQs
Can I use a different type Snack
Absolutely! Any dairy or plant-based milk will work, so feel free to experiment with oat, soy, or regular cow’s milk for different flavors and creaminess levels in your Protein Pudding.
Can I skip the sweetener or use a sugar substitute?
Yes, you can skip the maple syrup or honey entirely, or use a sugar-free alternative like stevia or monk fruit to taste. Customize the sweetness to fit your preferences or dietary needs.
Does protein powder type matter?
Whey, casein, or plant-based all work; just know that flavors and textures will change slightly. Use your favorite—just make sure it tastes good to you, since the pudding will highlight that flavor!
What if I want to make vanilla Protein Pudding?
Easy! Simply use vanilla protein powder and skip the cocoa powder. The vanilla extract will shine, and you’ll get a creamy vanilla treat that pairs well with any topping.
Can this be used as meal prep?
Definitely! Divide Protein Pudding into single-serve containers and you’ll have quick, nourishing snacks or breakfasts ready to go for days. It saves time and keeps you fueled all week long.
Final Thoughts
Whether you crave a healthy treat, a high-protein snack, or simply love a smooth, chocolatey dessert, Protein Pudding is the answer. It’s easy enough to whip up any day of the week, endlessly customizable, and absolutely delicious. Give it a try—you might just find it becomes as much a staple in your kitchen as it is in mine!
Print
Protein Pudding Recipe
- Total Time: 2 hours 15 minutes (includes chilling)
- Yield: 4 servings 1x
- Diet: Vegetarian
Description
Indulge in a guilt-free treat with this protein pudding recipe. Creamy and satisfying, it’s a high-protein dessert or snack option perfect for a sweet craving without sacrificing nutrition.
Ingredients
Base Pudding:
- 2 cups unsweetened almond milk (or milk of choice)
- 1 scoop (about 30g) chocolate or vanilla protein powder
- 3 tablespoons unsweetened cocoa powder (if using chocolate flavor)
- 3 tablespoons cornstarch
- 1 teaspoon vanilla extract
- Pinch of salt
Sweetener (optional):
- 2 tablespoons maple syrup or honey
Instructions
- Mix Dry Ingredients: In a medium saucepan, whisk together the protein powder, cocoa powder, cornstarch, and salt until well combined.
- Add Wet Ingredients: Slowly add the almond milk while whisking to prevent lumps. Place the saucepan over medium heat and cook, whisking constantly, until thickened, about 5-8 minutes.
- Finish: Remove from heat and stir in the maple syrup or honey (if using) and vanilla extract. Pour into bowls, cover, and refrigerate for 1-2 hours until set.
Notes
- Customize with your favorite protein powder flavor.
- Enhance creaminess by topping with Greek yogurt or nut butter.
- Store in the fridge for up to 4 days.
- Prep Time: 5 minutes
- Cook Time: 8 minutes
- Category: Snack
- Method: Stovetop
- Cuisine: American
Nutrition
- Serving Size: 1/2 cup
- Calories: 120
- Sugar: 4g
- Sodium: 120mg
- Fat: 2g
- Saturated Fat: 0g
- Unsaturated Fat: 2g
- Trans Fat: 0g
- Carbohydrates: 12g
- Fiber: 1g
- Protein: 10g
- Cholesterol: 0mg