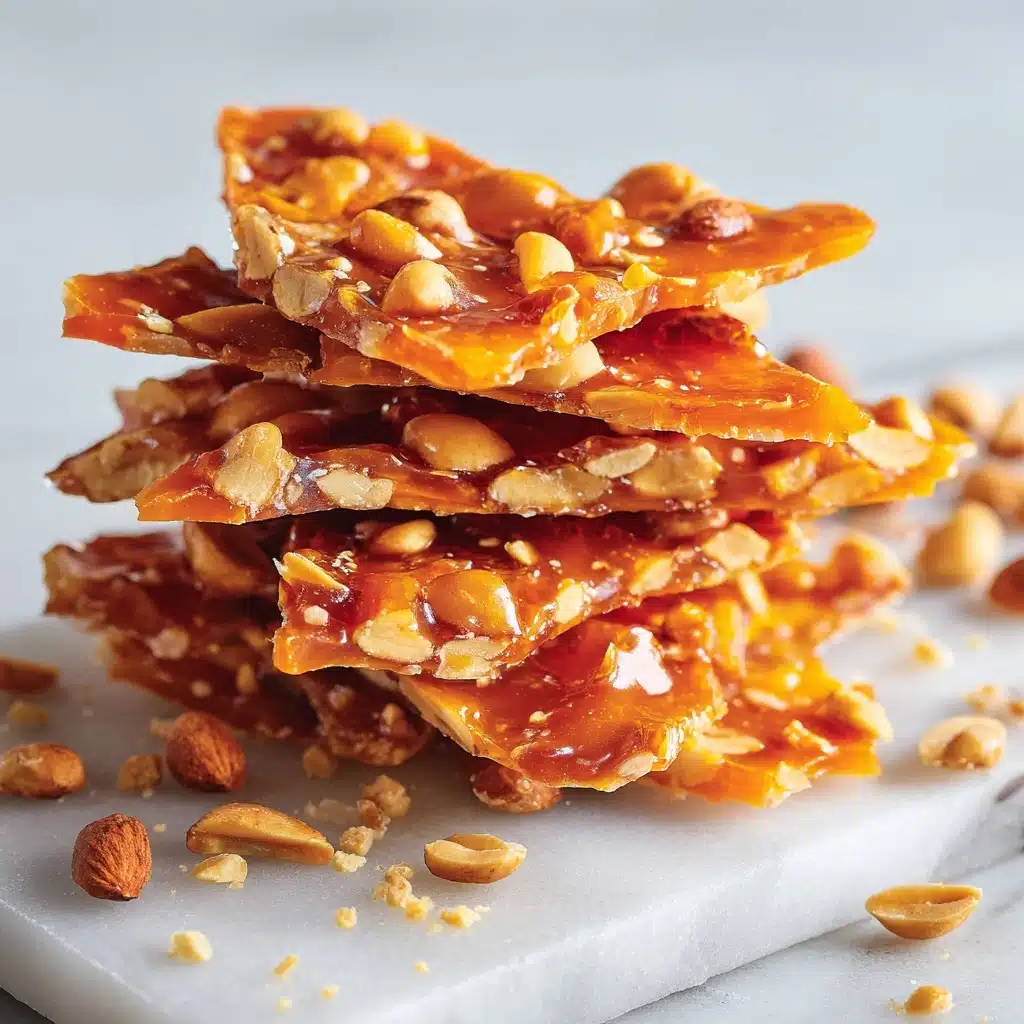
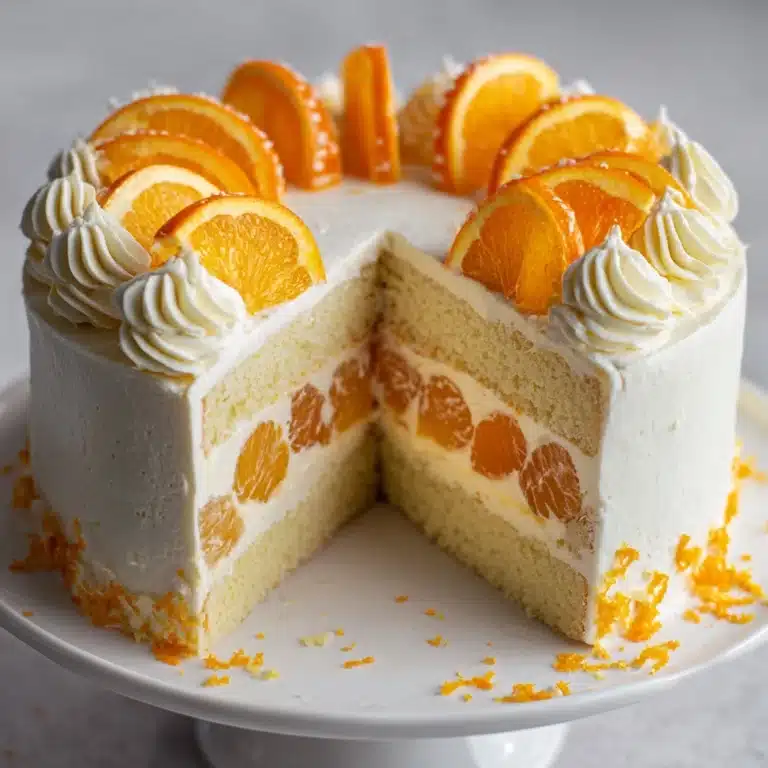
Nothing quite captures the magic of childhood or a holiday gathering like Old-Fashioned Candy. These jewel-toned treats shimmer with nostalgia and delight, blending the simplest pantry ingredients into glistening, crunchy pieces perfect for sharing or gifting. The bright snap and classic flavors transport you straight to grandma’s kitchen, whether you’re making peppermints for winter or lemon candies for sunny days. With a little care and creativity, this timeless recipe lets you become a confectioner right in your own home!
Ingredients You’ll Need
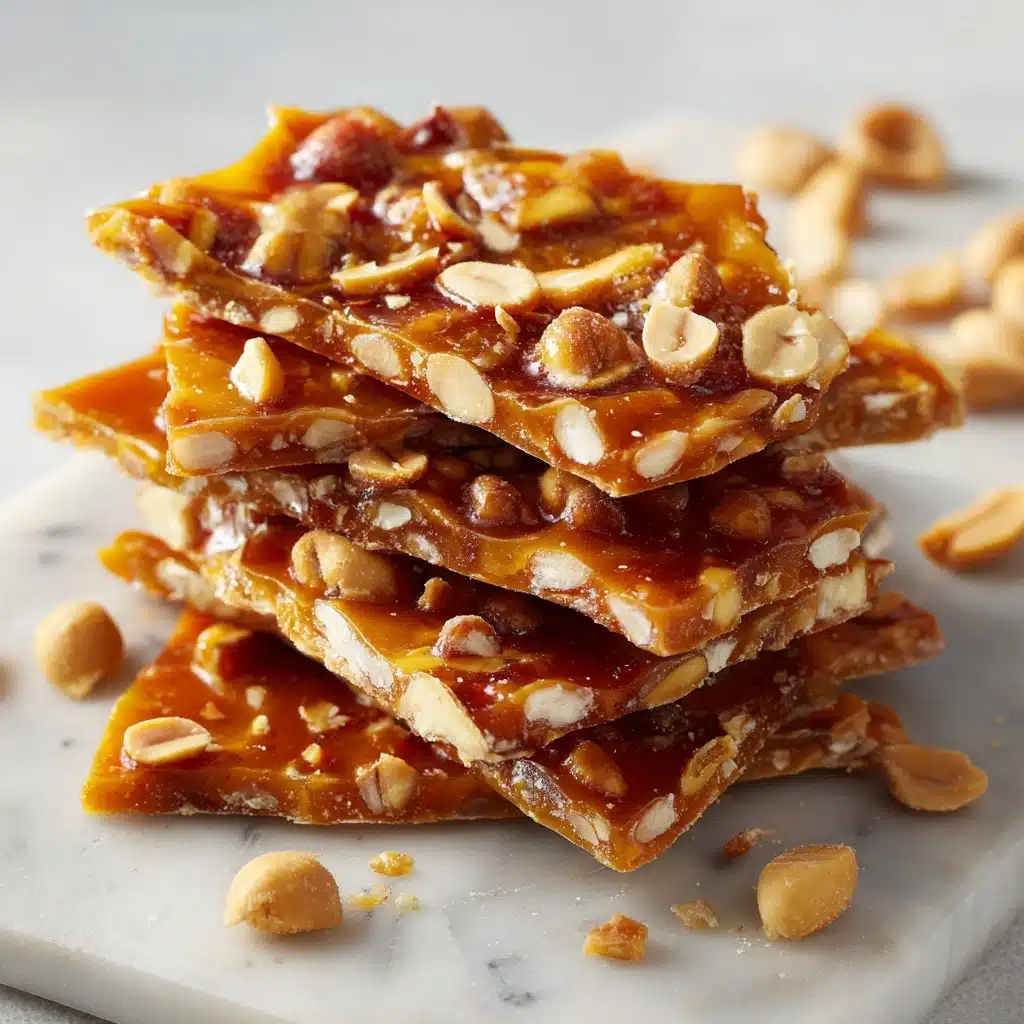
Ingredients You’ll Need
The beauty of Old-Fashioned Candy is how a handful of straightforward ingredients transform into something extraordinary. Each one serves an important purpose, ensuring your candies have the perfect sheen, snap, and clean flavor. Here’s what you’ll need, and why every bit matters:
- Granulated sugar: This is the backbone of classic candy. It provides the crisp texture and glossy finish.
- Light corn syrup: Acts as a stabilizer, preventing the sugar from crystallizing so your candies stay smooth and shiny.
- Water: Helps the sugar melt and dissolve evenly during cooking, making sure your mixture cooks up crystal clear.
- Flavored extract (such as peppermint, cinnamon, or lemon): The fun, flavorful spark—change this up depending on your mood or the holiday!
- Food coloring (optional): A few drops give your Old-Fashioned Candy that nostalgic, festive look (think pastel pinks, sunny yellows, or icy blues).
- Powdered sugar for dusting: Not just for looks—this keeps the pieces from sticking together once they’re cooled and broken.
How to Make Old-Fashioned Candy
Step 1: Prep Your Pan
Start by lining a baking sheet with parchment paper and giving it a gentle dusting of powdered sugar. This nonstick base is a lifesaver once your hot syrup is ready—it’ll make the finished candy easy to remove and keep each piece pristine. Dusting with sugar is that clever little trick that echoes true Old-Fashioned Candy tradition, keeping those shiny cubes from sticking as they cool.
Step 2: Combine and Dissolve
In a medium heavy-bottomed saucepan, pour in your granulated sugar, light corn syrup, and water. Stir the trio together gently over medium heat until the sugar dissolves completely, forming a smooth syrup. Patience at this stage ensures there are no gritty spots in your finished treats.
Step 3: Cook to Hard Crack
Attach a candy thermometer to the side of your pan—this is key for that crisp, glassy texture. Let the mixture cook without stirring until the thermometer reads 300°F, also known as the hard crack stage. It’ll bubble and turn almost clear; don’t walk away! This is one of those times in the kitchen where you witness pure magic.
Step 4: Add Flavor and Color
The moment your syrup reaches 300°F, remove it from the heat. Now’s the time to add your flavored extract and a few drops of food coloring if you love a pop of color. Be ready—the mixture might bubble up a bit, so add with care and give it a quick, gentle stir to combine.
Step 5: Pour and Shape
Quickly and carefully pour the hot mixture onto your prepared baking sheet. Tilt the pan just a bit to help it spread into an even layer. Let it cool for a minute or two, then use a greased knife or pizza cutter to score the candy into bite-size squares. This step is so satisfying—the lines mark where you’ll later break apart your gleaming, homemade Old-Fashioned Candy.
Step 6: Cool, Break, and Toss
Allow the candy to cool completely. Once it’s set, break along your scored lines to make perfect little pieces. Toss everything lightly in powdered sugar—this makes each piece as beautiful and touchable as those in an old candy jar. Voila! You’ve just made a batch of Old-Fashioned Candy fit for any celebration.
How to Serve Old-Fashioned Candy
Garnishes
A light dusting of powdered sugar does more than prevent stickiness—it turns every piece into a frosted, wintery gem. You can also sprinkle colored sugar or a pinch of edible glitter for extra sparkle, especially if you’re gifting or serving at a holiday gathering.
Side Dishes
Old-Fashioned Candy shines when paired with a cup of hot cocoa, coffee, or even alongside a cheese platter for a uniquely sweet-and-salty twist. The candies’ crunchy texture and clear flavors act as a perfect contrast to rich drinks or creamy snacks.
Creative Ways to Present
Presentation is where you get to have the most fun! Fill vintage mason jars or holiday tins with your candies and tie them with bright ribbons for homemade gifts. Arrange different-colored candies in stripes or ombré patterns for an eye-catching centerpiece. Or, set out bowls at your next gathering for a playful, nostalgic treat everyone will remember.
Make Ahead and Storage
Storing Leftovers
Keep your Old-Fashioned Candy in an airtight container at room temperature, away from sunlight or moisture. If dusted with plenty of powdered sugar, the pieces will stay crisp and beautiful for up to three weeks—making them perfect for advance holiday prep or unexpected sweet cravings.
Freezing
Freezing isn’t usually necessary, but if you live somewhere very humid or want to save a batch for a special occasion, you can pop the candy (well-wrapped and airtight) into the freezer for up to three months. Just allow it to come fully to room temperature before opening the container, or condensation may make it sticky.
Reheating
Reheating Old-Fashioned Candy isn’t recommended, as the pieces are meant to be enjoyed crunchy and cold. If you find they’ve softened slightly due to humidity, you can spread them on a baking sheet and let them air-dry for an hour or two to help crisp them up again—no heat required!
FAQs
Can I double or halve this Old-Fashioned Candy recipe?
Absolutely! Just adjust the size of your saucepan and make sure your candy thermometer can still be attached securely. Watch the syrup closely—smaller or larger batches can reach temperature a bit faster or slower.
What’s the best way to avoid crystallized or grainy candy?
The key is to dissolve the sugar fully before the mixture starts to boil and avoid stirring after it begins to bubble. Corn syrup helps prevent crystallization too. If any sugar crystals appear on the pan’s edge, you can brush them down with a wet pastry brush while the syrup cooks.
Can I use natural food coloring or skip it?
Definitely! Natural food colorings (like beet juice, turmeric, or spirulina) work beautifully, though the hues can be softer. Or, skip the coloring entirely for clear, elegant Old-Fashioned Candy that catches the light just like the sweets of yesteryear.
How do I safely work with hot sugar syrup?
Always use a heavy-bottomed saucepan and a long-handled spoon or spatula. Keep children and pets clear of your workspace, and set out all your tools ahead of time—the syrup will be extremely hot and can burn. Don’t try to taste or touch until the candy is fully cool!
What are some fun flavor variations to try with Old-Fashioned Candy?
The sky’s the limit! Classic peppermint and cinnamon are always a hit, but you can venture into orange, cherry, almond, or even rosewater. Mix and match extracts with different food colors for a rainbow of Old-Fashioned Candy flavors that everyone will want to try.
Final Thoughts
If you’re ready to capture the old-school magic of a candy shop in your own kitchen, Old-Fashioned Candy is just the recipe to try. These crunchy, glistening sweets are easier than you think—and nothing beats the satisfaction (or the smiles!) that come from sharing a batch with friends and family.
Print
Old-Fashioned Candy Recipe
- Total Time: 20 minutes
- Yield: About 50 pieces 1x
- Diet: Vegetarian, Gluten-Free
Description
Learn how to make old-fashioned candy at home with this simple recipe. Create sweet and flavorful hard candies in various shapes and colors to enjoy or share with loved ones.
Ingredients
Sugar Mixture:
- 2 cups granulated sugar
- 2/3 cup light corn syrup
- 3/4 cup water
Flavoring and Coloring:
- 1/2 teaspoon flavored extract (such as peppermint, cinnamon, or lemon)
- Food coloring (optional)
Finishing Touch:
- Powdered sugar for dusting
Instructions
- Prepare Baking Sheet: Line a baking sheet with parchment paper and lightly dust with powdered sugar.
- Cook Sugar Mixture: Combine granulated sugar, corn syrup, and water in a saucepan. Cook until sugar is dissolved and reaches 300°F.
- Flavor and Color: Remove from heat, add extract and food coloring. Pour onto baking sheet.
- Cool and Cut: Let candy cool slightly, score into squares, then break into pieces.
- Storage: Toss candy with powdered sugar and store in an airtight container.
Notes
- Experiment with different extracts and colors for a festive assortment.
- Handle hot sugar syrup with caution to prevent burns.
- Prep Time: 5 minutes
- Cook Time: 15 minutes
- Category: Dessert
- Method: Stovetop
- Cuisine: American
Nutrition
- Serving Size: 1 piece
- Calories: 35
- Sugar: 9g
- Sodium: 0mg
- Fat: 0g
- Saturated Fat: 0g
- Unsaturated Fat: 0g
- Trans Fat: 0g
- Carbohydrates: 9g
- Fiber: 0g
- Protein: 0g
- Cholesterol: 0mg
