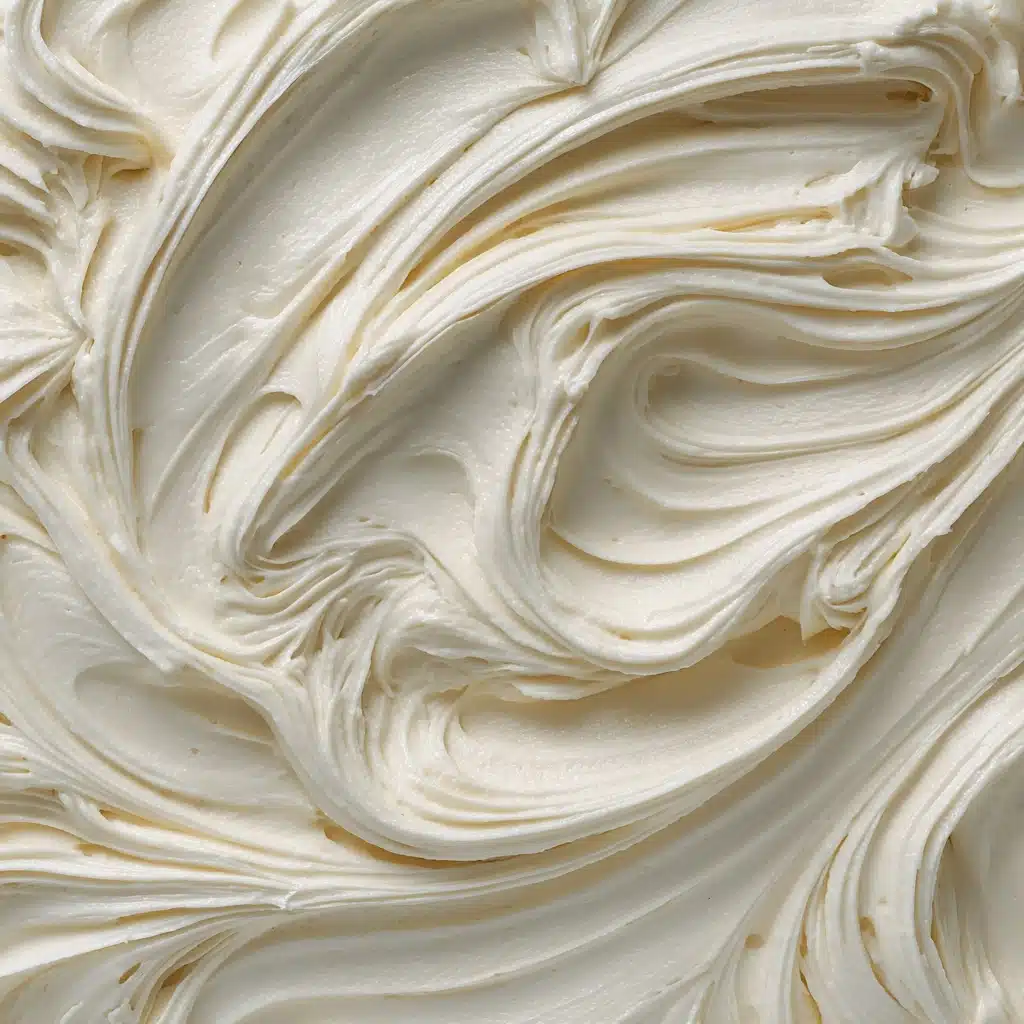
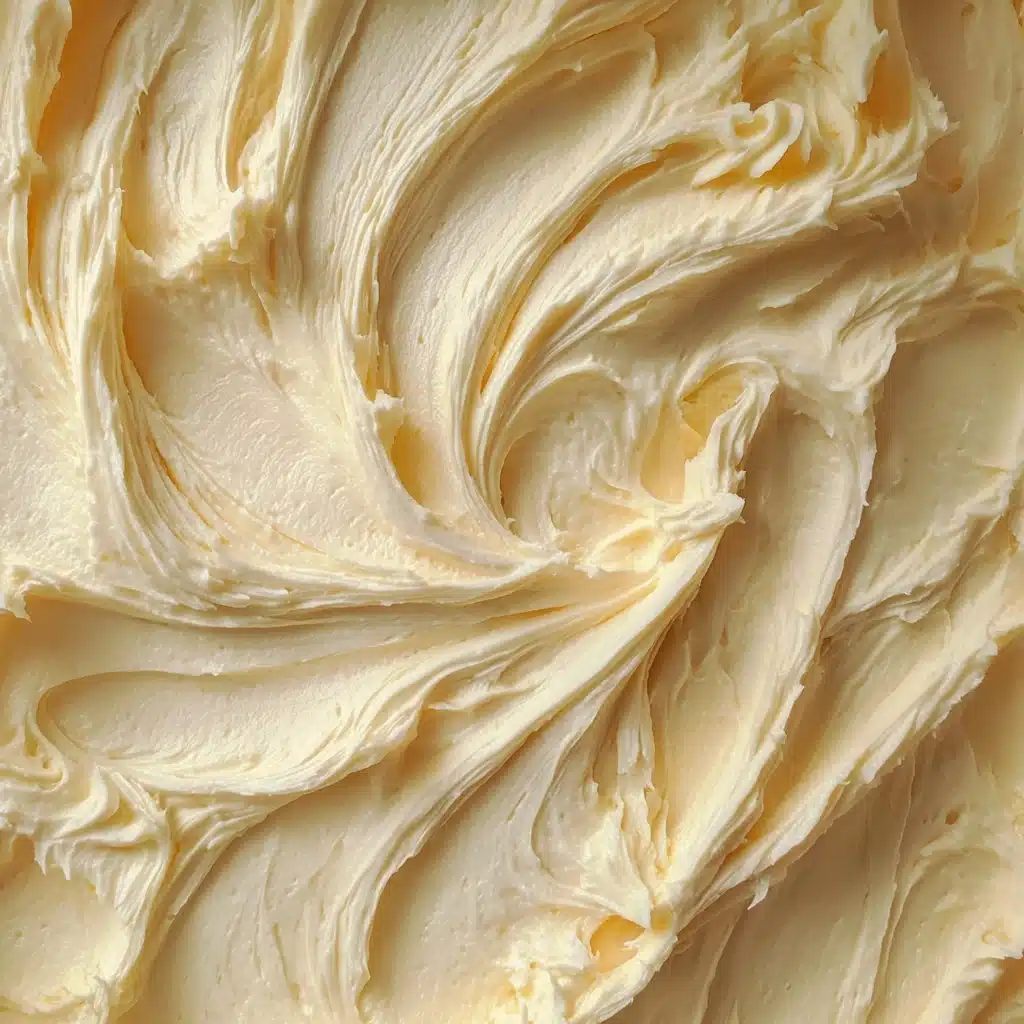
If there’s one treat that brings smiles to every gathering, it’s Classic Vanilla Ice Cream. Dreamy, rich, and universally adored, this custard-style ice cream has a creamy texture that’s both nostalgic and luxuriously satisfying. With just a handful of staple ingredients, you’ll create a gorgeous blank canvas perfect for toppings, mix-ins, or simply relishing by the spoonful — and every scoop will remind you why this flavor never goes out of style.
Ingredients You’ll Need
Classic Vanilla Ice Cream is the ultimate lesson in balance: a handful of simple ingredients, each lending its magic to flavor, texture, and that signature pale glow. Here’s a breakdown of what you’ll need and why every item matters.
- Heavy Cream: This is your ticket to that luxuriously smooth, velvety mouthfeel that distinguishes homemade ice cream from store-bought varieties.
- Whole Milk: Adds lightness and helps perfect the creamy-but-not-too-heavy consistency of your classic vanilla ice cream.
- Granulated Sugar: Sweetness is only part of the story — sugar also ensures the perfect scoopability straight from the freezer.
- Vanilla Extract (or Vanilla Bean): The defining flavor; vanilla bean offers intriguing speckles and a nuanced taste, while extract delivers a swift, fragrant punch.
- Pinch of Salt: Just a bit elevates all the sweet, subtle notes, making the vanilla truly sing.
- Large Egg Yolks: Responsible for that gorgeous custard base, egg yolks add depth, color, and that unmistakable silkiness.
How to Make Classic Vanilla Ice Cream
Step 1: Combine the Dairy, Sugar, Salt, and Vanilla
Start by pouring your heavy cream, whole milk, and granulated sugar into a medium saucepan set over medium heat. Add your pinch of salt and the vanilla — either the extract or the split-and-scraped vanilla bean, pod and all. Stir frequently as the mixture heats and watch until it’s steaming, but not boiling; this gentle heat helps dissolve the sugar while infusing every drop with the warm scent of vanilla.
Step 2: Temper the Egg Yolks
In a separate bowl, whisk those golden egg yolks until they’re smooth and slightly lightened in color. To avoid scrambling the eggs, slowly ladle about half a cup of the hot cream mixture into the yolks while whisking constantly. This “tempering” step gradually brings the yolks up to temperature — a trick for silky custard every time.
Step 3: Cook the Custard Base
Now, gently pour the egg yolk mixture back into the saucepan, whisking as you go. Cook over low heat, stirring constantly — a rubber spatula works wonders here — until the mixture thickens just enough to coat the back of a spoon, typically at around 170 to 175°F. Watch it closely and don’t let it boil: patience leads to creamy Classic Vanilla Ice Cream, not scrambled eggs.
Step 4: Strain the Mixture
Take the pan off the heat and pour the custard through a fine mesh sieve into a clean bowl. If you used a vanilla bean, fish out the pod and discard it. Straining catches any tiny bits of cooked egg, guaranteeing an ultra-smooth ice cream base that feels downright irresistible on your tongue.
Step 5: Chill Thoroughly
Let the custard cool to room temperature, then cover and refrigerate for at least 4 hours, or even overnight. This thorough chilling is the secret to getting your ice cream to freeze beautifully and churn like a dream — no shortcuts here!
Step 6: Churn and Freeze
Once perfectly cold, pour your base into your ice cream maker and churn according to the manufacturer’s instructions. When the mixture reaches that magical soft-serve texture, transfer it to a freezer-safe container and let it firm up for about 4 hours more. At last, scoop into your first creamy taste of homemade Classic Vanilla Ice Cream — pure joy!
How to Serve Classic Vanilla Ice Cream
Garnishes
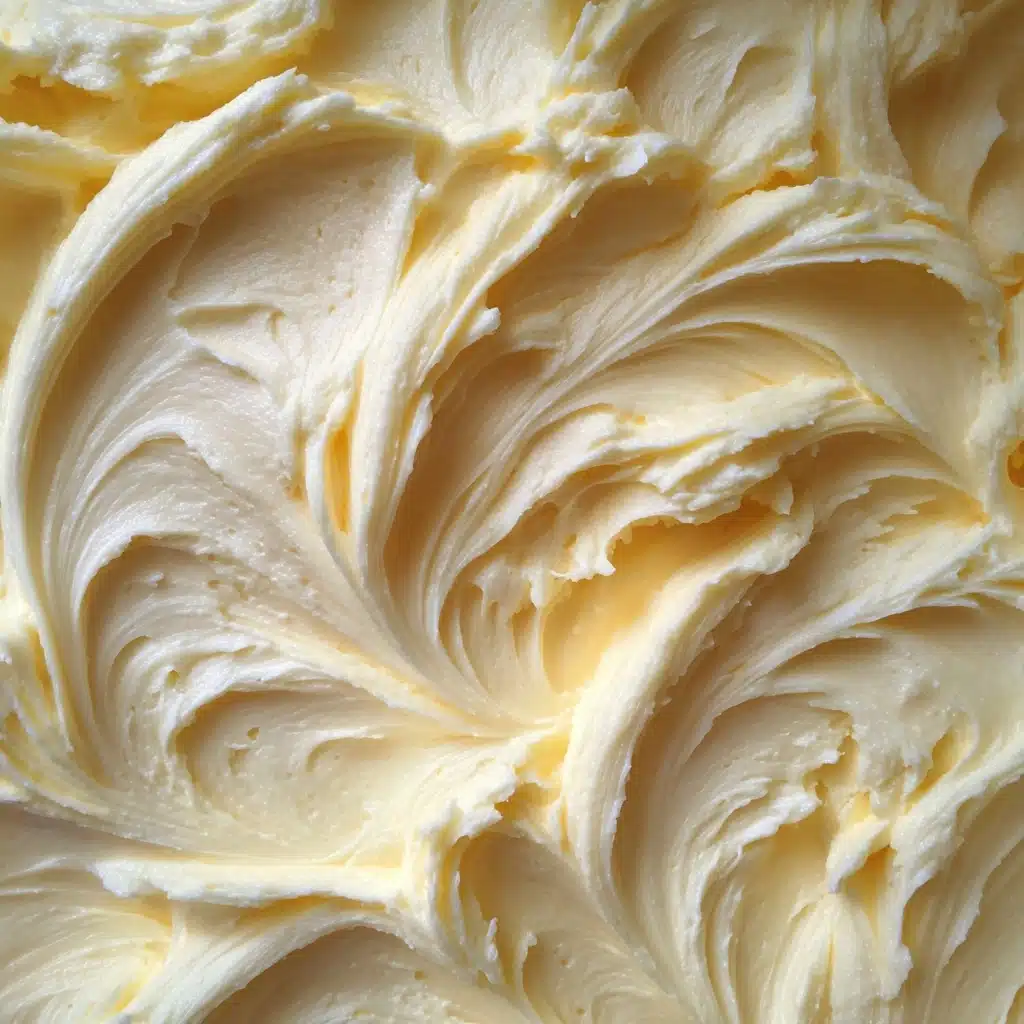
It’s hard to beat the beauty of a scoop of Classic Vanilla Ice Cream crowned with just the right finishing touches. Try a sprinkle of toasted nuts, a drizzle of fudge sauce, vibrant fresh berries, or a scatter of rainbow sprinkles. For a touch of elegance, a few flecks of sea salt or shards of dark chocolate go a long way. Let your mood — or your pantry — inspire your final flourish.
Side Dishes
This ice cream is the ultimate team player: serve it alongside warm fruit pies, sizzling crisps, fudgy brownies, or even sandwiched between crispy cookies. The subtle sweetness and classic vanilla notes lift every dessert they join, from a gooey apple crumble to a decadent slice of chocolate cake.
Creative Ways to Present
For a playful twist, serve Classic Vanilla Ice Cream in homemade cones, as the base of a classic banana split, or piled high in a frosty mason jar sundae. Hosting a party? Create an ice cream bar with bowls of toppings for guests to craft their own masterpieces. Or keep it elegant with tiny scoops served in espresso cups, finished with a crisp cookie.
Make Ahead and Storage
Storing Leftovers
Any extras (if you have them!) keep best in an airtight, freezer-safe container. For bonus points, press a piece of parchment directly onto the surface to prevent ice crystals from forming and preserve that luscious texture. Classic Vanilla Ice Cream will stay fresh and flavorful for up to two weeks, though chances are it’ll disappear much sooner.
Freezing
For optimal results, ensure your ice cream is completely chilled before going into the freezer after churning. Give the finished product at least four hours to set, or leave it overnight for truly scoopable perfection. Store your container at the back of the freezer, where the temperature stays constant, to keep your ice cream at its creamiest.
Reheating
While you won’t need to reheat Classic Vanilla Ice Cream, if it’s become a tad too firm, just let it sit out at room temperature for five to ten minutes before serving. This short wait transforms rock-hard scoops into perfectly creamy bites without any melting drama.
FAQs
Can I make Classic Vanilla Ice Cream without an ice cream maker?
Absolutely! While the churned method gives the best texture, you can still make this recipe by freezing the custard base, stirring every 30 minutes for a few hours until it firms up. The result will be a bit denser, but still incredibly delicious.
How do I use a vanilla bean instead of extract?
Simply split the vanilla bean lengthwise, scrape out the seeds, and add both seeds and pod to the milk and cream in Step 1. The bean infuses a subtly complex flavor and charming specks throughout the ice cream — just remember to strain out the pod before chilling the custard.
Can I add mix-ins like chocolate chips or fruit?
Definitely! Stir in your favorite goodies (think chocolate chips, swirls of caramel, chopped cookies, or berries) right after the ice cream has finished churning but before it goes into the freezer to firm up. This way, your classic vanilla base stays creamy, and your add-ins stay well distributed.
Is there a way to make this ice cream lighter?
You can substitute half-and-half for some of the cream or use 2% milk for a lighter version, but keep in mind that the classic richness and silky texture come from the original heavy cream and whole milk combo. It’s worth the splurge!
How long should I chill the custard before churning?
For the creamiest results, chill your custard for at least four hours, though an overnight rest is ideal. The colder your base, the better it will churn and freeze, giving you that professional, scoopable consistency classic vanilla ice cream is known for.
Final Thoughts
There’s a special kind of joy in sharing something you’ve made from scratch, and Classic Vanilla Ice Cream never fails to delight. Whether you tuck it beside a slice of cake or savor it on its own, every spoonful feels comfortingly familiar and yet wholly celebratory. Give this timeless favorite a try — your freezer (and your friends!) will thank you.
Print
Classic Vanilla Ice Cream Recipe
- Total Time: 40 minutes (plus chilling and freezing time)
- Yield: 1 quart 1x
- Diet: Vegetarian
Description
Learn how to make a rich and creamy Classic Vanilla Ice Cream at home with this easy-to-follow recipe. This timeless dessert is perfect for any occasion and will satisfy your sweet cravings.
Ingredients
Ice Cream Base:
- 2 cups heavy cream
- 1 cup whole milk
- ¾ cup granulated sugar
- 1 tablespoon vanilla extract (or 1 vanilla bean, split and scraped)
- pinch of salt
- 5 large egg yolks
Instructions
- Prepare the Ice Cream Base: In a saucepan, heat cream, milk, sugar, salt, and vanilla until steaming. If using a vanilla bean, add seeds and pod.
- Temper the Eggs: Whisk egg yolks, then slowly mix in some hot cream. Return mixture to saucepan.
- Cook the Custard: Heat and stir until thickened (170–175°F). Strain and cool.
- Chill and Churn: Chill custard, then churn in ice cream maker. Freeze until firm.
Notes
- For enhanced flavor, infuse milk and cream with vanilla bean overnight.
- This base is versatile for adding mix-ins like chocolate chips or fruit.
- Prep Time: 20 minutes
- Cook Time: 20 minutes
- Category: Dessert
- Method: Churned
- Cuisine: American
Nutrition
- Serving Size: ½ cup
- Calories: 260
- Sugar: 21g
- Sodium: 40mg
- Fat: 18g
- Saturated Fat: 11g
- Unsaturated Fat: 6g
- Trans Fat: 0g
- Carbohydrates: 23g
- Fiber: 0g
- Protein: 4g
- Cholesterol: 155mg
