Get ready to fall in love with Homemade Nesquik, your new favorite way to enjoy chocolatey drinks and beyond! This simple, no-cook recipe lets you whip up a mix that brings back those classic childhood flavors, but with wholesome ingredients and total control over the sweetness. Whether you’re mixing up a cozy mug of chocolate milk on a rainy afternoon or looking for a fun DIY kitchen project, Homemade Nesquik delivers rich cocoa taste in seconds—and it’s just as delicious in your morning coffee or baked treats. If you like a pantry staple that’s easy, affordable, and endlessly versatile, this is the recipe to keep on hand!

Ingredients You’ll Need
The magic of Homemade Nesquik is all about a handful of pantry staples that combine to create that iconic flavor and creamy texture. Each ingredient offers a special touch, so don’t skip any if you want that perfect cocoa experience.
- Unsweetened Cocoa Powder: The star of the show! Choose a good-quality cocoa powder for deep, authentic chocolate flavor.
- Powdered Sugar: This dissolves easily and provides just the right amount of sweetness, making every sip smooth.
- Salt: Don’t overlook it! A dash of salt brings out the chocolate notes and rounds out the flavor.
- Cornstarch (optional): This helps the mix blend more easily into milk without clumping—especially handy if you love cold chocolate milk.
- Vanilla Powder (optional): Adds a subtle depth and classic bakery aroma. Go for it if you want that nostalgic Nesquik twist!
How to Make Homemade Nesquik
Step 1: Combine Your Dry Ingredients
Start by grabbing a medium mixing bowl. Add in your unsweetened cocoa powder, powdered sugar, and salt. If you’re using cornstarch and vanilla powder, toss those in, too. Don’t just pile them in—sprinkle them around to start the mixing magic right away.
Step 2: Whisk Until Lump-Free
Take a sturdy whisk and mix the ingredients together thoroughly. You’re looking for a smooth, consistent powder with no lumps hiding in the corners. The cornstarch, if you choose to include it, really helps everything blend and stay light.
Step 3: Store Properly
Once your Homemade Nesquik mix is silky and uniform, transfer it to an airtight jar or container. Keep it at room temperature where it’ll stay delicious and fresh for weeks—quick chocolate cravings, solved!
Step 4: Mix Up a Chocolate Drink
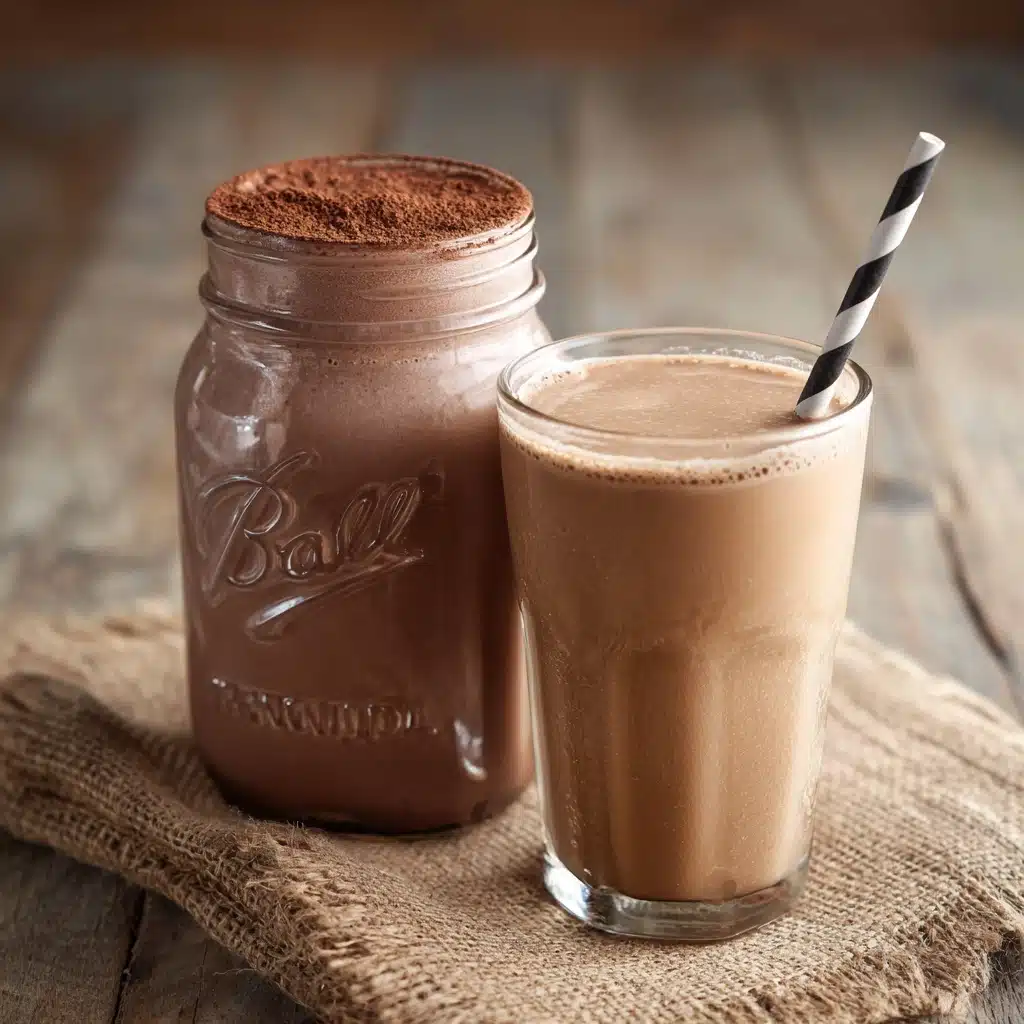
To make that perfect cup of chocolate milk, add 2 to 3 tablespoons of your Homemade Nesquik mix to 1 cup of cold or warm milk. Stir thoroughly or use a milk frother or even a blender if you want extra creaminess. Adjust the amount of mix if you want your drink richer or lighter.
How to Serve Homemade Nesquik

Garnishes
Take your glass or mug up a notch by sprinkling a touch of extra cocoa powder on top, adding a dollop of whipped cream, or dusting with chocolate shavings. For fun, drop in a few mini marshmallows or swirl a bit of chocolate sauce around the inside of the glass before pouring in your drink.
Side Dishes
Pair your chocolate milk with soft cookies, buttery croissants, or a warm slice of banana bread for a perfect snack. It also makes a classic after-school treat with graham crackers or fresh strawberries, bringing out the kid in everyone.
Creative Ways to Present
Don’t stop at basic chocolate milk! Swirl Homemade Nesquik into your morning coffee for a mocha kick, blend it into smoothies, or use it as a secret-ingredient dusting for pancakes and waffles. You can even pack the mix in a jar with a pretty ribbon as a thoughtful homemade gift.
Make Ahead and Storage
Storing Leftovers
Keep any extra Homemade Nesquik in a tightly sealed container, stored at room temperature. It’s shelf-stable and ready for instant chocolate cravings whenever you need it—use a dry spoon each time for best freshness.
Freezing
Though there’s really no need to freeze this mix (it lasts for weeks as is), you can pop it into the freezer in an airtight, moisture-proof bag for up to 3 months. Just let it come back to room temperature before you use it so it blends smoothly.
Reheating
Since Homemade Nesquik is a dry mix, there’s no reheating needed! For a warm treat, just add the powder to hot milk and stir well. A hand frother or mini whisk does wonders for a creamy, steamy cup.
FAQs
Can I use a sugar substitute to make sugar-free Homemade Nesquik?
Absolutely! Opt for a powdered sugar alternative like stevia or monk fruit blend for a naturally sweet, low-sugar version. The important thing is to use a powdered option—they dissolve much better in milk than granulated sugar substitutes.
What type Beverage, DIY Mix
Unsweetened, natural cocoa powder gives you the most classic taste, but Dutch-process cocoa works well too if you prefer a deeper, slightly less acidic chocolate flavor. Just make sure it’s pure cocoa for best results.
Is this mix dairy-free and vegan?
Yes! The Homemade Nesquik powder itself is dairy-free and vegan if you stick to non-dairy milk options like oat, almond, or soy when mixing up your drink. The whole recipe is totally plant-based if you skip the traditional dairy milk.
Can I add Homemade Nesquik to hot drinks?
Definitely! Stir it into hot milk, coffee, or even warm oats for instant chocolatey comfort. If you’re making hot chocolate, you might want to add a touch more mix for an extra-rich result.
How long does Homemade Nesquik keep?
Stored properly in an airtight container at room temperature, Homemade Nesquik will last at least a month (and usually longer). Keep it dry and away from heat or sunlight for the freshest flavor.
Final Thoughts
If you’ve ever craved a nostalgic, perfectly sweet mug of chocolate milk, you simply have to give Homemade Nesquik a try. With just a few everyday ingredients, you can treat yourself and your family to a classic treat, free from extra additives. Mix it, gift it, or keep it all for yourself—you’ll be so glad you made it!
Print
Homemade Nesquik Recipe
- Total Time: 5 minutes
- Yield: 12 servings (about 1 tablespoon each) 1x
- Diet: Vegetarian
Description
Learn how to make your own homemade Nesquik chocolate mix with this simple recipe. Customize the sweetness and flavor to your liking, perfect for making delicious chocolate milk or adding to other recipes.
Ingredients
Dry Mix:
- 1 cup unsweetened cocoa powder
- 2/3 cup powdered sugar
- 1/2 teaspoon salt
- 1 tablespoon cornstarch (optional, for better mixing)
- 1 teaspoon vanilla powder (optional)
Instructions
- Mix Dry Ingredients: In a medium bowl, whisk together cocoa powder, powdered sugar, salt, and cornstarch until well combined.
- Store: Keep the mixture in an airtight container at room temperature.
- Make Chocolate Milk: To prepare chocolate milk, stir 2-3 tablespoons of homemade Nesquik into 1 cup of cold or warm milk. Mix well, or use a frother or blender for a smoother texture.
Notes
- For a sugar-free version, use a powdered sugar substitute.
- Try oat, almond, or soy milk for a dairy-free option.
- This mix is versatile and can be used in smoothies, coffee, or baking.
- Prep Time: 5 minutes
- Cook Time: 0 minutes
- Category: Beverage, DIY Mix
- Method: No-Cook
- Cuisine: American
Nutrition
- Serving Size: 1 tablespoon
- Calories: 40
- Sugar: 6 g
- Sodium: 80 mg
- Fat: 1 g
- Saturated Fat: 0.5 g
- Unsaturated Fat: 0.5 g
- Trans Fat: 0 g
- Carbohydrates: 8 g
- Fiber: 1 g
- Protein: 1 g
- Cholesterol: 0 mg