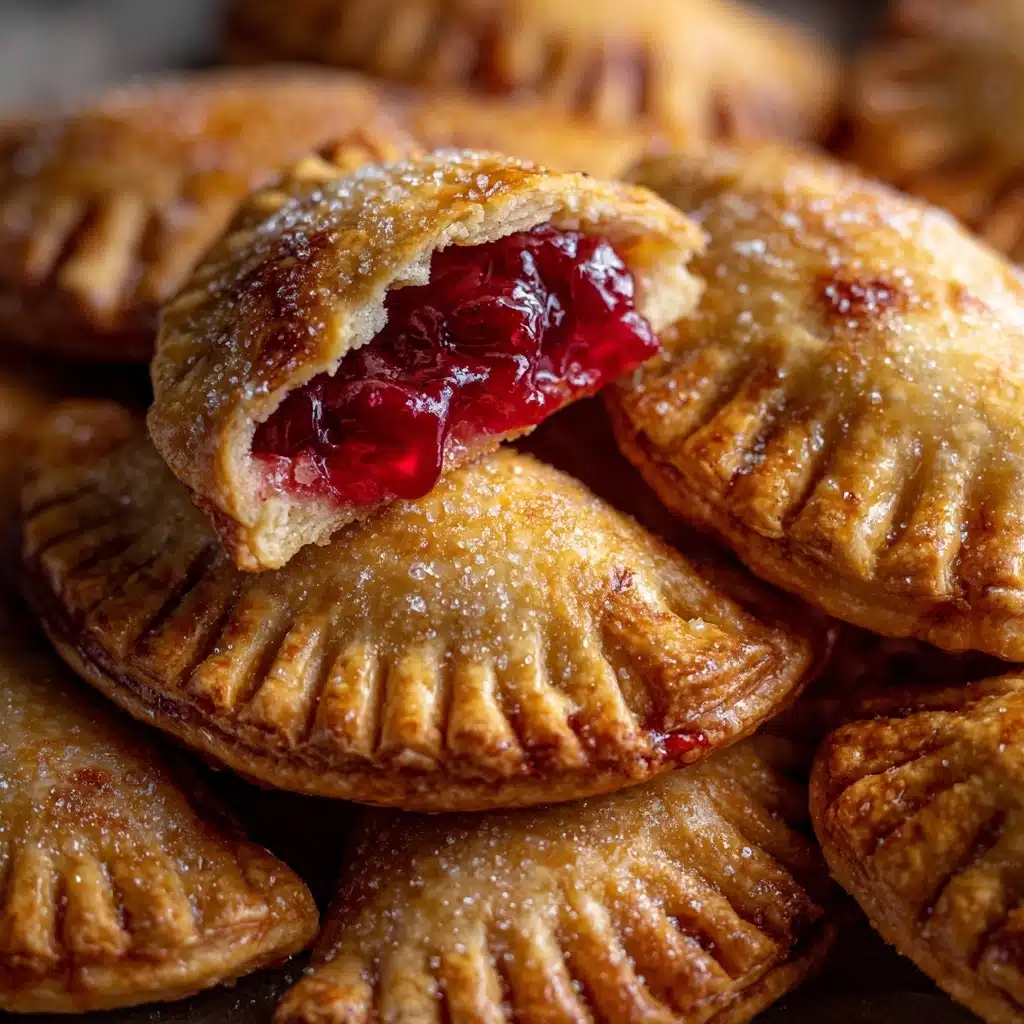
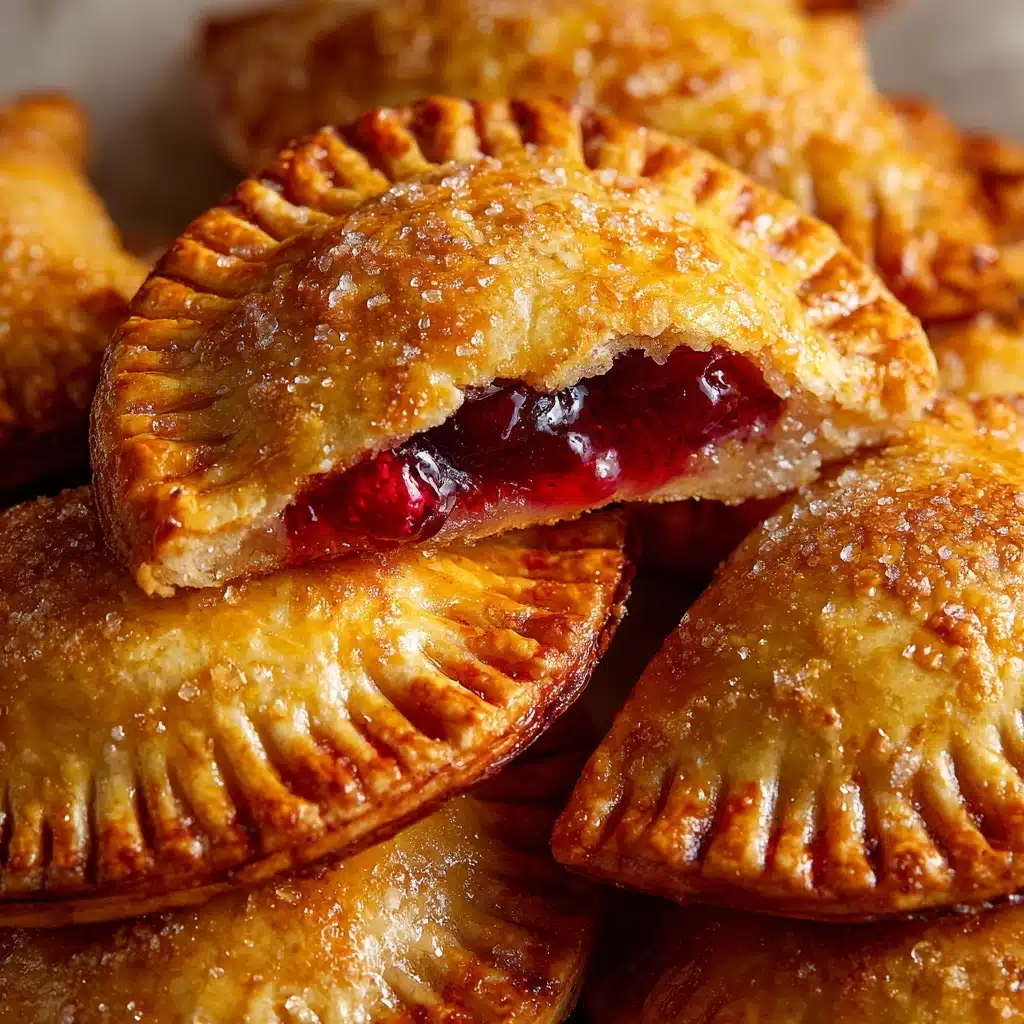
If you’re looking for a truly delightful, grab-and-go dessert bursting with fruit flavor, Cherry Hand Pies are a treat you can’t miss. These adorable pastries have a golden, buttery crust that gives way to a sweet, tangy cherry filling—each bite is jam-packed with summer nostalgia and a hint of almond. Whether you’re packing a picnic basket, hosting a backyard barbecue, or just want a fun treat to enjoy with your afternoon tea, these hand pies are sure to steal the show!
Ingredients You’ll Need
-
Filling:
- 2 cups fresh or frozen pitted cherries (halved if large)
- 1/3 cup granulated sugar
- 1 tablespoon cornstarch
- 1 tablespoon lemon juice
- 1 teaspoon vanilla extract
- 1/8 teaspoon almond extract (optional)
Crust:
- 1 package (2 sheets) refrigerated pie crusts
- 1 egg (beaten, for egg wash)
- 1 tablespoon milk
- coarse sugar for sprinkling
How to Make Cherry Hand Pies
Step 1: Prepare the Cherry Filling
Start by placing your pitted cherries, sugar, cornstarch, lemon juice, vanilla extract, and a hint of almond extract (if you’re using it) in a medium saucepan. Set it over medium heat and let everything bubble away, stirring often. After about 5–7 minutes, your mixture will thicken up into a glossy, jammy filling and the cherries should be soft but still retain some shape. Remove it from the heat and let it cool completely—this step is key so your pastry stays flaky, not soggy.
Step 2: Prepare the Pie Crust
While the filling cools, unroll the refrigerated pie crusts onto a lightly floured work surface. Use a biscuit cutter or small bowl to cut out circles (or rectangles, whatever you prefer) around 3–4 inches across. Gather any scraps, re-roll them, and cut as many pieces as you can. You’ll need an even number—half for the bottoms, half for the tops of your Cherry Hand Pies.
Step 3: Fill and Seal the Pies
Spoon a nice helping (about 1–2 tablespoons) of cooled cherry filling onto the center of each pie crust bottom, leaving a border around the edge. Gently lay the remaining pieces of pie crust over the top and press the edges to seal. Crimp the edges with a fork—this gives them a charming, rustic look and ensures your delicious filling stays tucked inside during baking.
Step 4: Brush and Sprinkle
In a small bowl, whisk the beaten egg and milk together. Carefully brush the tops of each pie with this egg wash. For that bakery-worthy sparkle, shower the tops generously with coarse sugar. Finally, use a sharp knife to cut a small slit or two on top of each pie to let steam escape as they bake—trust me, it’s worth the extra 30 seconds.
Step 5: Bake to Golden Perfection
Preheat your oven to 400°F (205°C) and line a baking sheet with parchment paper for easy cleanup. Arrange the pies on the sheet, spacing them out a bit. Bake in the center of your oven for 18–22 minutes, or until the crusts are puffed and golden brown with slightly bubbling filling peeking through. Cool briefly on a wire rack—though honestly, sneaking one while it’s warm is a reward all on its own!
How to Serve Cherry Hand Pies
Garnishes
You can never go wrong with a scoop of vanilla ice cream or a dollop of whipped cream alongside warm Cherry Hand Pies. For extra flair, a light dusting of powdered sugar or a drizzle of melted dark chocolate makes them look (and taste) like they came from a fancy bakery.
Side Dishes
Pair your hand pies with a fresh fruit salad for a sunny brunch or serve with a mug of strong coffee or iced tea for a sweet afternoon treat. If you’re feeling extra indulgent, try them with a small wedge of aged cheddar on the side—the combination of sweet and savory is next-level amazing.
Creative Ways to Present
Stack Cherry Hand Pies on a tiered cake stand for a party, or wrap each one in wax paper and tie it with baker’s twine for picnic-perfect portability. For festive gatherings, try arranging them on a large platter with bowls of dips—think vanilla yogurt or chocolate sauce—so guests can dip as they please!
Make Ahead and Storage
Storing Leftovers
If you manage to have any leftover hand pies, store them in an airtight container at room temperature for up to two days. For maximum freshness (and to keep the crust from softening), let them cool completely before storing and avoid stacking them directly on top of each other.
Freezing
Cherry Hand Pies freeze like a dream! Once completely cooled, wrap each pie individually in plastic wrap and store in a freezer-safe bag or container. They’ll keep beautifully for up to three months, ready to be enjoyed whenever the craving strikes.
Reheating
To bring that fresh-baked warmth back, simply pop frozen or room-temp pies into a preheated 350°F oven for about 8–10 minutes, or until heated through and crispy again. You can microwave them in a pinch, but the crust will be much softer—so the oven is your best bet for that signature flakiness.
FAQs
Can I use other fruits instead of cherries?
Absolutely! While Cherry Hand Pies are a classic, you can swap in blueberries, raspberries, or diced peaches—just keep the sugar and cornstarch amounts similar and watch the cook time so your filling sets up just right.
Is homemade pie dough better than store-bought?
If you love making dough from scratch, go for it! But store-bought refrigerated crusts give you reliably flaky, delicious results with minimal fuss, and they’re a real time-saver for weeknight or party baking.
Can I make Cherry Hand Pies ahead of time?
Yes! You can prepare the filling and dough cutouts a day in advance—just keep them chilled. Assembled pies can be frozen unbaked, then popped straight from the freezer into the oven when needed (add a few extra minutes to the bake time).
Do I have to cook the cherry filling first?
For the best texture, yes—cooking the filling thickens it up and ensures you don’t end up with a soggy crust or undercooked cherries. It’s an extra step, but well worth it for perfect hand pies!
What’s the secret to making hand pies look professional?
Brush them with plenty of egg wash for shine, sprinkle with coarse sugar for a sparkly finish, and don’t forget to crimp the edges and cut vents for steam. These simple tricks make your Cherry Hand Pies look as amazing as they taste!
Final Thoughts
Once you make Cherry Hand Pies, you’ll see how easy (and addictive!) this recipe is. There’s just something magical about holding a sweet, flaky pie in your hand, especially when it’s overflowing with real cherry goodness. Don’t be surprised if these become your new go-to for parties, picnics, or a simple treat at home—give them a try and enjoy every last delicious crumb!
Print
Cherry Hand Pies Recipe
- Total Time: 45 minutes
- Yield: 8 hand pies 1x
- Diet: Vegetarian
Description
Indulge in these delightful Cherry Hand Pies, made with a buttery crust and a sweet-tart cherry filling. These portable treats are perfect for picnics or a sweet snack on the go.
Ingredients
Filling:
- 2 cups fresh or frozen pitted cherries (halved if large)
- 1/3 cup granulated sugar
- 1 tablespoon cornstarch
- 1 tablespoon lemon juice
- 1 teaspoon vanilla extract
- 1/8 teaspoon almond extract (optional)
Crust:
- 1 package (2 sheets) refrigerated pie crusts
- 1 egg (beaten, for egg wash)
- 1 tablespoon milk
- coarse sugar for sprinkling
Instructions
- Prepare the Filling: In a saucepan, combine cherries, sugar, cornstarch, lemon juice, vanilla extract, and almond extract. Cook until thickened and cherries are soft. Cool.
- Assemble the Pies: Cut pie crusts into circles or rectangles. Spoon cherry filling onto half, top with remaining crust, crimp edges, and brush with egg wash.
- Bake: Sprinkle with sugar, cut slits, and bake until golden brown. Cool before serving.
Notes
- You can make the filling ahead and refrigerate for up to 3 days.
- For a shortcut, canned cherry pie filling can be used.
- Prep Time: 25 minutes
- Cook Time: 20 minutes
- Category: Dessert
- Method: Baking
- Cuisine: American
Nutrition
- Serving Size: 1 hand pie
- Calories: 280
- Sugar: 12 g
- Sodium: 210 mg
- Fat: 16 g
- Saturated Fat: 6 g
- Unsaturated Fat: 8 g
- Trans Fat: 0 g
- Carbohydrates: 32 g
- Fiber: 2 g
- Protein: 3 g
- Cholesterol: 25 mg