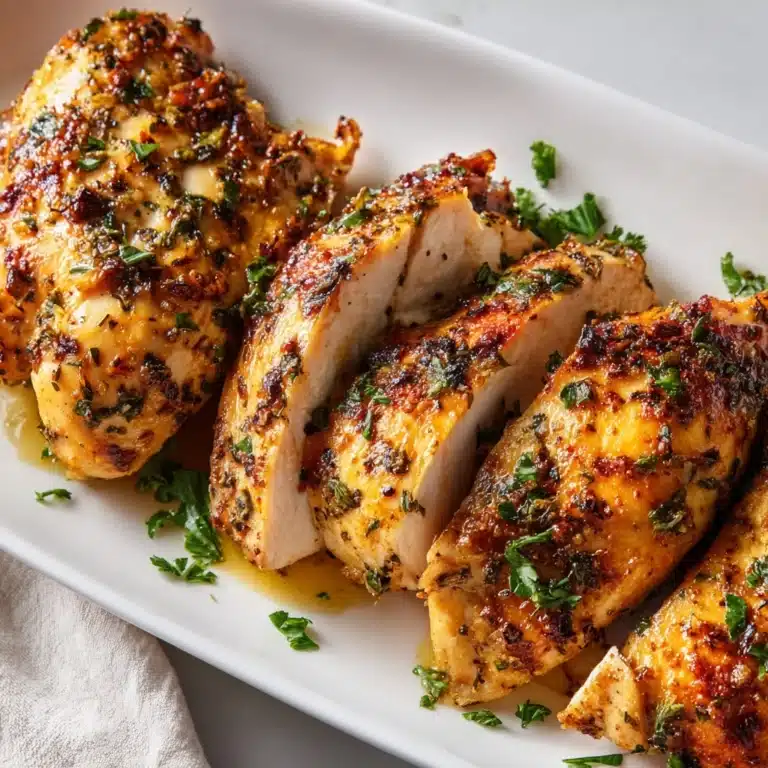
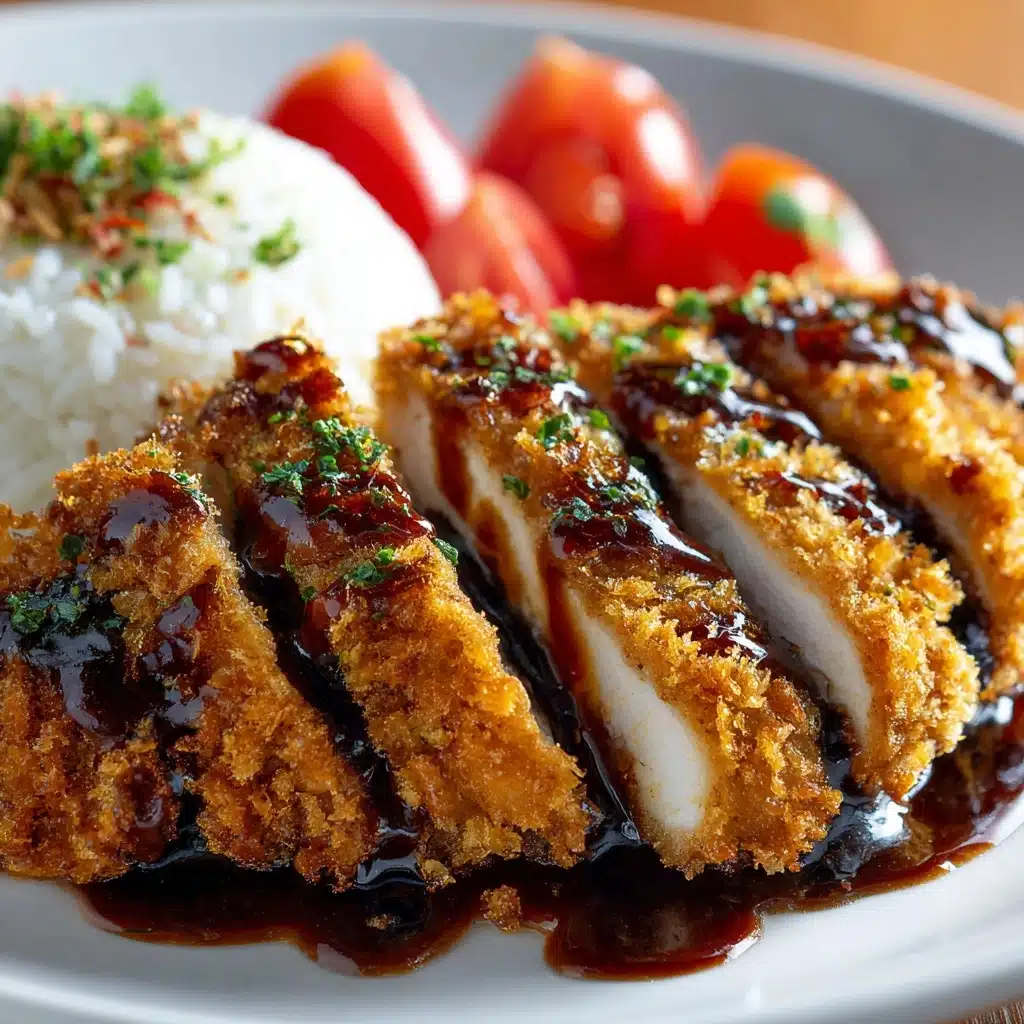
If you’re searching for the ultimate crispy chicken dish that transports you straight to a Tokyo diner, this Chicken Katsu Recipe is about to become your go-to favorite. Imagine juicy, tender chicken cutlets cloaked in a golden, crunchy panko coating, ready to be dipped into sweet-savory tonkatsu sauce and piled high with fluffy white rice and fresh cabbage. It’s pure comfort, beloved by kids and adults alike, and so simple to make at home. Whether you’re nostalgic for your last trip to Japan or looking to jazz up weeknight dinners, this recipe delivers heaven on a plate.
Ingredients You’ll Need
The beauty of this Chicken Katsu Recipe is in its simplicity—each ingredient plays a crucial part in building that iconic flavor and irresistible texture. Here’s a look at what you’ll need and why each one matters.
- Chicken breasts: Boneless, skinless breasts are perfect for soaking up flavor and staying juicy inside a crispy shell.
- Salt and black pepper: These simple seasonings let the natural chicken flavor shine and are essential for bringing all the elements together.
- All-purpose flour: Acts as the base layer, so the egg and breadcrumbs adhere evenly for that perfect crunch.
- Eggs: Beaten eggs work as the “glue” in your breading, making sure the panko sticks generously to every piece.
- Panko breadcrumbs: These Japanese breadcrumbs are larger and crispier than regular ones, giving this Chicken Katsu Recipe its signature coating.
- Vegetable oil: Neutral oil fries the chicken quickly and evenly without imparting extra flavor.
- Cooked white rice and shredded cabbage (optional): Traditional sides that balance the rich chicken with freshness and texture.
- Tonkatsu sauce: A sweet, savory sauce that takes this dish over the top—buy it or whip it up at home!
How to Make Chicken Katsu Recipe
Step 1: Pound and Season the Chicken
To get perfectly juicy, tender katsu every time, start by pounding your chicken breasts to an even 1/2-inch thickness. This not only tenderizes the meat but also ensures the chicken cooks at the same rate. Sprinkle both sides generously with salt and black pepper—don’t underestimate how much this step enhances the final flavor.
Step 2: Set Up Your Breading Station
Arrange three shallow dishes side by side: one with all-purpose flour, one with the beaten eggs, and one packed with panko breadcrumbs. This assembly line approach keeps things tidy and makes the breading process foolproof. Each layer is essential for getting that professional-level crunch you crave from a great Chicken Katsu Recipe.
Step 3: Bread the Chicken
Dredge each seasoned chicken breast in the flour, ensuring it’s fully coated and tapping off any excess. Next, dip it into the egg so every nook and cranny is covered, then press both sides firmly into the panko, gently patting so the crumbs adhere in a thick, even layer. It’s this triple coating that gives you katsu’s signature crust.
Step 4: Fry to Golden Perfection
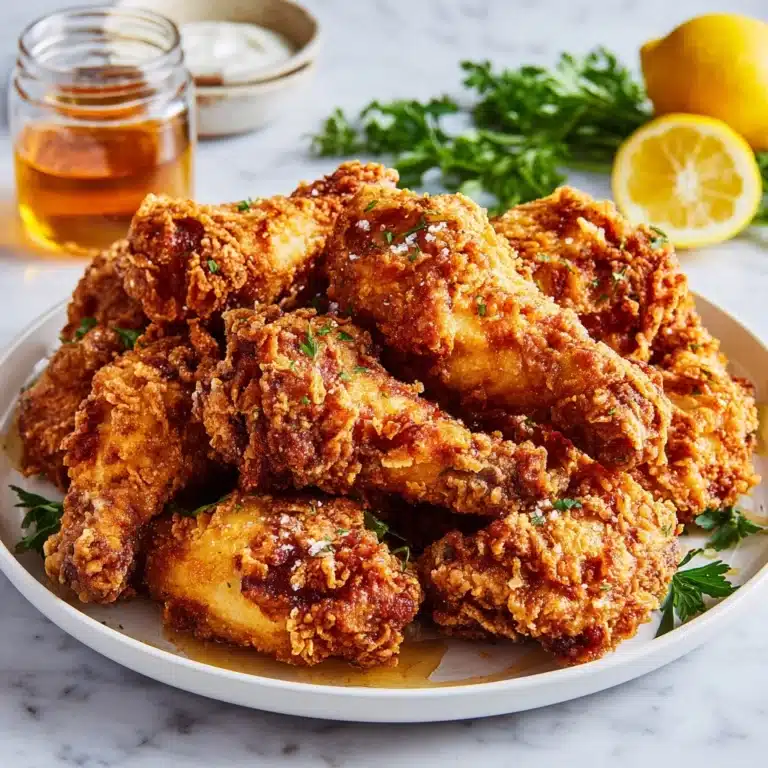
Pour about a half inch of vegetable oil into a large skillet and heat it over medium until shimmering—around 350°F is the sweet spot for frying. Working in batches to avoid crowding the pan, fry each chicken cutlet for 3-4 minutes per side. You’re looking for a deeply golden, crisp coating and juicy, fully cooked chicken inside. Transfer each piece to a paper towel-lined plate to drain off any excess oil.
Step 5: Slice and Serve
Let the chicken rest for a minute, then slice it into strips for easy eating. Serve your freshly fried katsu over steamed white rice with a heap of shredded cabbage, and don’t forget that generous pour of tonkatsu sauce. Each bite is crunchy, juicy, savory bliss—this is the moment where all that careful prep pays off!
How to Serve Chicken Katsu Recipe

Garnishes
Give your Chicken Katsu Recipe some sparkle with simple, vibrant garnishes. A scattering of thinly sliced green onions or toasted sesame seeds adds freshness and a little visual pop. For an Instagram-worthy finish, a lemon wedge on the side brightens every bite and helps cut through the richness, making your plate as beautiful as it is delicious.
Side Dishes
Traditionally, katsu is paired with steamed white rice and finely shredded cabbage, both of which balance the crispy chicken beautifully. A bowl of miso soup or a quick cucumber salad rounds out the meal with a soothing, refreshing touch. If you’d like to keep things even lighter, swap the rice for cauliflower rice or toss in pickled vegetables for some zing.
Creative Ways to Present
Get playful with how you serve up your chicken katsu! Try slicing the cutlets into bite-sized strips for sandwiches on soft milk bread, or layer them in a rice bowl (katsudon style) with a drizzle of egg and savory dashi broth. For appetizers, skewer smaller pieces and serve on a platter with multiple sauces for dipping. The Chicken Katsu Recipe is as versatile as it is crowd-pleasing.
Make Ahead and Storage
Storing Leftovers
If you find yourself with leftover katsu (lucky you!), let it cool completely before storing. Wrap the cutlets tightly in plastic wrap or place them in an airtight container in the refrigerator. They’ll stay crisp and tasty for up to 2 days—just be sure to keep the sauce separate until you’re ready to eat.
Freezing
To keep extra chicken katsu for even longer, freeze the fully cooked, cooled cutlets. Place them in a single layer on a baking sheet until solid, then transfer to a freezer-safe bag or container with wax paper between layers. They’ll keep their magic for up to a month. Thaw overnight in the fridge before reheating for best results.
Reheating
To bring that signature crunch back to your Chicken Katsu Recipe, reheat the cutlets in a 375°F oven or toaster oven for 10-12 minutes, flipping once. Avoid the microwave if you can—it tends to make the coating soggy. For a quick option, use an air fryer for just a few minutes; your katsu will be crisp and ready in no time.
FAQs
What’s the difference between chicken katsu and tonkatsu?
Tonkatsu refers specifically to pork cutlets, while chicken katsu uses chicken breasts instead. Both are coated in flour, egg, and panko before being fried to that iconic crunch. The sauces and sides are usually interchangeable, so feel free to enjoy either version with your favorite fixings!
Can I make this Chicken Katsu Recipe gluten free?
Absolutely—just swap the all-purpose flour for your favorite gluten-free blend, and use gluten-free panko breadcrumbs (available in most grocery stores). Double check your tonkatsu sauce or make your own gluten-free version at home for a completely safe meal.
Is there a way to make chicken katsu healthier?
For a lighter take, you can bake the breaded chicken on a sheet pan with a drizzle of oil, or air-fry it until golden and crisp. It won’t be quite as rich as the fried original, but it still hits all the right crunchy, juicy notes this Chicken Katsu Recipe is famous for.
Where can I buy tonkatsu sauce?
Most Asian supermarkets carry bottled tonkatsu sauce in the condiment aisle, and some mainstream grocery stores have it too. If you can’t find it or want to experiment, it’s easy to make at home by mixing ketchup, Worcestershire sauce, and soy sauce to taste.
Can I use other cuts of chicken?
Definitely! While chicken breasts are traditional for their quick, even cooking, you can use boneless chicken thighs if you prefer a bit more flavor and tenderness. Just adjust the pounding step to ensure even thickness, and keep an eye on frying times since thighs can vary in size.
Final Thoughts
If you’ve never made a Chicken Katsu Recipe at home, now’s the time to experience how easy it is to create crispy, crave-worthy comfort with just a handful of ingredients. I’m sure you’ll fall in love with the satisfying crunch and savory flavor—and you might just find it outshines your favorite takeout spot. Give it a try and share the joy of this crowd-pleasing classic with your loved ones!
Print
Chicken Katsu Recipe
- Total Time: 30 minutes
- Yield: 4 servings 1x
- Diet: Non-Vegetarian
Description
Indulge in the crispy goodness of Chicken Katsu with this easy-to-follow recipe. Tender chicken breasts are coated in crunchy panko breadcrumbs and fried to golden perfection, served with rice, cabbage, and savory tonkatsu sauce.
Ingredients
Chicken Katsu:
- 4 boneless, skinless chicken breasts
- Salt and black pepper to taste
- 1/2 cup all-purpose flour
- 2 large eggs (beaten)
- 1 1/2 cups panko breadcrumbs
- Vegetable oil for frying
- Cooked white rice and shredded cabbage for serving (optional)
- Tonkatsu sauce for dipping
Instructions
- Pound and Season: Pound chicken breasts to 1/2-inch thickness, season with salt and pepper.
- Breading Station: Set up flour, beaten eggs, and panko in separate dishes.
- Bread the Chicken: Dredge chicken in flour, egg, and panko.
- Fry: Fry in oil until golden and cooked through.
- Drain and Serve: Drain on paper towels, slice, and serve with rice, cabbage, and tonkatsu sauce.
Notes
- For extra crispiness, double-coat the chicken in panko.
- You can bake or air-fry for a lighter option.
- Tonkatsu sauce can be bought or homemade.
- Prep Time: 15 minutes
- Cook Time: 15 minutes
- Category: Main Course
- Method: Frying
- Cuisine: Japanese
Nutrition
- Serving Size: 1 cutlet
- Calories: 450
- Sugar: 2g
- Sodium: 470mg
- Fat: 22g
- Saturated Fat: 4g
- Unsaturated Fat: 16g
- Trans Fat: 0g
- Carbohydrates: 32g
- Fiber: 2g
- Protein: 32g
- Cholesterol: 130mg