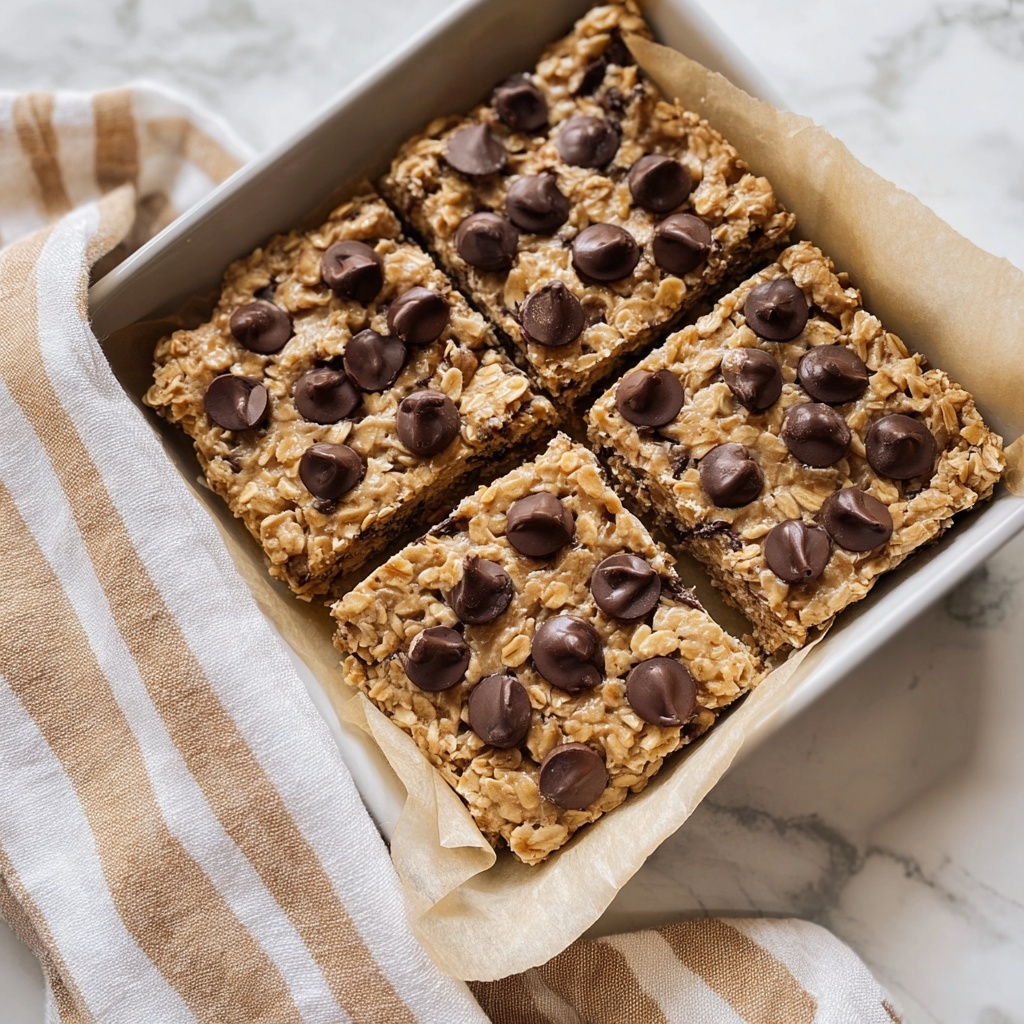
If you’re on the hunt for a snack that perfectly balances the rich, nutty flavor of peanut butter with the sweet comfort of chocolate and the satisfying crunch of granola, then this Chocolate Chip Peanut Butter Granola Cookie Bars Recipe is exactly what you need. These bars are not only delicious but also incredibly easy to whip up, making them an ideal treat for weekday snacks, lunchboxes, or even a cozy weekend indulgence. Soft yet slightly chewy, with a golden finish and bursts of chocolate chips in every bite, this recipe turns simple pantry staples into an irresistible homemade delight.
Ingredients You’ll Need
These ingredients are wonderfully simple but each plays a crucial role in bringing out the best in these bars, from texture and flavor to that perfect golden hue that makes them so inviting.
- 1 ½ cups rolled oats: Offers a hearty and chewy base that holds everything together beautifully.
- ½ cup peanut butter (unsweetened): Adds rich creaminess and the signature nutty taste that defines these bars.
- ¼ cup honey or maple syrup: Provides natural sweetness and helps bind the ingredients.
- ½ teaspoon vanilla extract: Enhances the overall flavor with warm, aromatic notes.
- ½ teaspoon cinnamon: Gives a subtle spicy warmth that complements the peanut butter perfectly.
- ½ teaspoon baking soda: Helps the bars rise slightly and keeps them tender.
- ¼ teaspoon salt: Balances sweetness and elevates all other flavors.
- ½ cup granola: Offers an additional crunchy texture and a hint of chewiness for contrast.
- ½ cup chocolate chips: The star ingredient that adds melty pockets of chocolate joy.
How to Make Chocolate Chip Peanut Butter Granola Cookie Bars Recipe
Step 1: Preheat and Prepare Your Pan
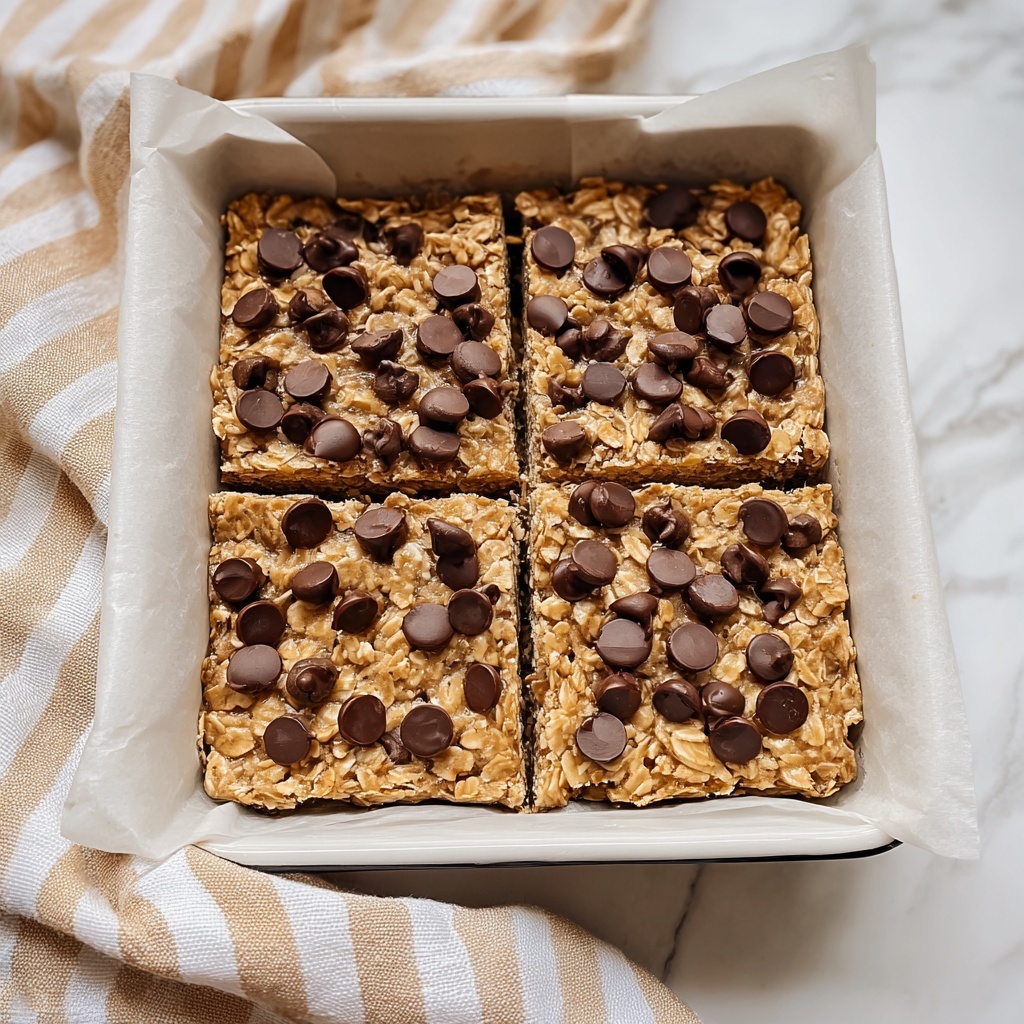
Start by preheating your oven to 350°F (175°C). Lining an 8×8-inch baking dish with parchment paper not only prevents sticking but also makes removing the bars a breeze once baked. This simple prep step sets you up for easy clean-up and perfect-shaped bars.
Step 2: Combine the Dry Ingredients
In a large mixing bowl, stir together the rolled oats, cinnamon, baking soda, salt, and granola until evenly mixed. This combination is essential as it lays the groundwork for the bars’ wonderful texture and flavor balance, ensuring each bite has a little bit of everything.
Step 3: Mix the Wet Ingredients
In a separate bowl, blend the peanut butter with honey (or maple syrup) and vanilla extract until smooth. This creamy mixture is what binds the bars while infusing them with that classic peanut butter sweetness and a hint of floral vanilla aroma.
Step 4: Combine Wet and Dry Mixtures
Pour the wet peanut butter mixture into the dry oat and granola blend, stirring until everything is just combined. This step brings all the flavors and textures together into a dough-like mixture. Be gentle to keep the oat structure intact for the best chew.
Step 5: Fold in the Chocolate Chips
Gently fold in the chocolate chips to distribute little bursts of melted chocolate evenly throughout the bars. This step is key for that signature chocolate surprise in each bite without overmixing the batter.
Step 6: Press Into the Baking Dish
Press the mixture firmly and evenly into your prepared baking dish. You can use a spatula or even clean hands. Ensuring an even layer helps the bars bake consistently with a perfect texture from edge to center.
Step 7: Bake Until Golden
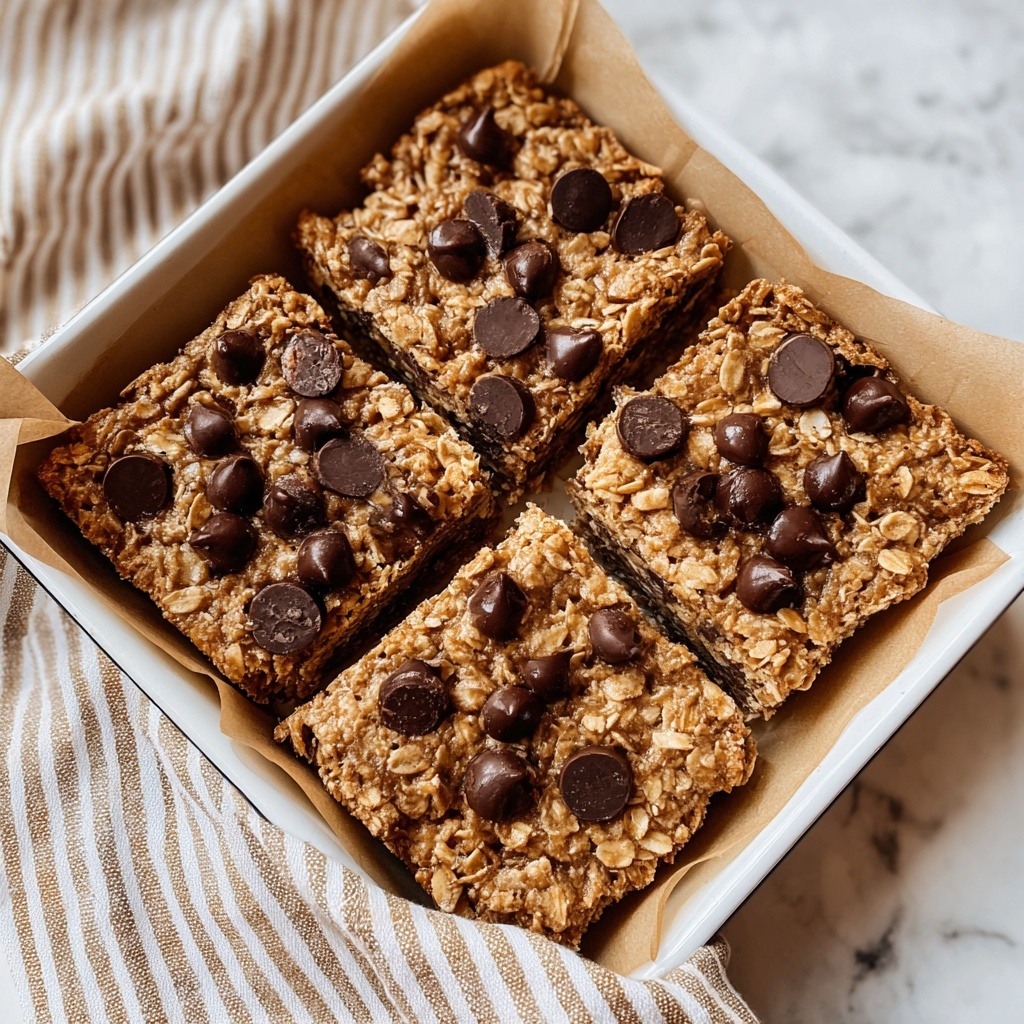
Bake the bars for 15 to 18 minutes, or until the edges turn a lovely golden color and the center is set. Keep an eye on them near the end to avoid overbaking, which can make the bars dry instead of chewy and soft.
Step 8: Cool and Slice
Allow the bars to cool completely in the baking dish before slicing. Cooling helps them firm up so they hold together beautifully when cut. Use a sharp knife to create nine perfect squares ready for snacking.
How to Serve Chocolate Chip Peanut Butter Granola Cookie Bars Recipe
Garnishes
While these bars are fantastic on their own, a sprinkle of flaky sea salt on top right after baking can cut through the sweetness and add a gourmet touch. For a fun twist, drizzle a little melted peanut butter or melted chocolate on top before serving for extra richness.
Side Dishes
Pair these bars with a cool glass of milk or your favorite dairy-free alternative for a classic combo. They also shine alongside a cup of coffee or tea, making for a perfect mid-morning or afternoon pick-me-up.
Creative Ways to Present
For parties or gift-giving, stack the bars in a pretty tin lined with parchment paper, tied with a colorful ribbon. You can also cut them into smaller bite-sized pieces and serve them on a platter with fresh fruit or nuts for a delightful snack board.
Make Ahead and Storage
Storing Leftovers
These cookie bars keep well stored in an airtight container at room temperature for up to 4 days. Keeping them sealed ensures they maintain their chewy texture and those melty chocolate chips stay soft and scrumptious.
Freezing
If you want to save them for longer, they freeze beautifully. Wrap individual bars tightly in plastic wrap and place them in a freezer-safe bag. They’ll keep for up to 3 months, making it easy to enjoy homemade treats whenever a craving hits.
Reheating
To enjoy frozen bars, thaw them overnight or warm them briefly in the microwave for 15 to 20 seconds. This softens the bars and revives that freshly baked feel with gooey chocolate and peanut butter goodness.
FAQs
Can I use crunchy peanut butter instead of smooth?
Absolutely! Crunchy peanut butter will add a lovely texture and extra nutty crunch, making the bars even more delightful. Just make sure to mix it well with the wet ingredients.
Is there a substitute for the granola if I don’t have any?
You can swap granola for extra rolled oats or even chopped nuts like almonds or walnuts. The granola adds sweetness and texture, so consider adding a touch more cinnamon or a small drizzle of honey if you omit it.
Can these bars be made vegan?
Yes! Use maple syrup instead of honey and make sure your peanut butter and granola don’t contain any animal products. The rest of the ingredients are naturally vegan, so these bars can easily fit into a plant-based diet.
How chewy are these bars? Will they be hard or soft?
They have a perfect balance—soft and chewy on the inside with slightly golden edges. The combination of oats, peanut butter, and granola delivers a satisfying texture that’s never hard or dry.
Can I double the recipe and use a larger pan?
Definitely. If you double the ingredients, use a 9×13-inch pan and adjust the baking time accordingly, usually adding a few more minutes. Keep a close eye on them to avoid overbaking since larger batches can require extra time to set properly.
Final Thoughts
I can’t recommend this Chocolate Chip Peanut Butter Granola Cookie Bars Recipe enough if you want a homemade treat that feels both indulgent and wholesome. It’s quick, straightforward, and results in bars full of flavor and satisfying texture that everyone will love. Whether for a busy day snack, a dessert, or a thoughtful homemade gift, these bars truly shine and never fail to bring a smile. Give them a try—you just might find your new favorite snack!
Print
Chocolate Chip Peanut Butter Granola Cookie Bars Recipe
- Prep Time: 10 minutes
- Cook Time: 18 minutes
- Total Time: 28 minutes
- Yield: 9 bars
- Category: Snack
- Method: Baking
- Cuisine: American
- Diet: Vegetarian
Description
Delicious and chewy Chocolate Chip Peanut Butter Granola Cookie Bars made with wholesome rolled oats, natural peanut butter, honey or maple syrup, and studded with crunchy granola and melty chocolate chips. These bars are perfect for a quick snack or an on-the-go breakfast treat with a perfect balance of sweetness and texture.
Ingredients
Dry Ingredients
- 1 ½ cups rolled oats
- ½ teaspoon cinnamon
- ½ teaspoon baking soda
- ¼ teaspoon salt
- ½ cup granola
Wet Ingredients
- ½ cup peanut butter (unsweetened)
- ¼ cup honey or maple syrup
- ½ teaspoon vanilla extract
Add-ins
- ½ cup chocolate chips
Instructions
- Preheat and prepare baking dish: Preheat your oven to 350°F (175°C) and line an 8×8-inch baking dish with parchment paper to ensure easy removal and clean-up.
- Combine dry ingredients: In a large mixing bowl, stir together the rolled oats, cinnamon, baking soda, salt, and granola until everything is evenly distributed.
- Mix wet ingredients: In a separate bowl, whisk the peanut butter, honey or maple syrup, and vanilla extract together until smooth and well combined.
- Combine wet and dry mixtures: Pour the wet mixture into the dry ingredients and stir thoroughly to incorporate all the components evenly.
- Add chocolate chips: Gently fold in the chocolate chips to distribute them throughout the mixture without smashing them.
- Press into baking dish: Transfer the mixture into the prepared baking dish and press it evenly with a spatula or your hands to form a uniform layer.
- Bake: Bake in the preheated oven for 15 to 18 minutes until the edges turn golden brown and the center sets firm.
- Cool and slice: Remove from the oven and let the bars cool completely in the pan before slicing into 9 equal squares to serve.
Notes
- Use natural unsweetened peanut butter for a healthier option.
- Honey and maple syrup can be used interchangeably depending on your preference.
- Press the mixture firmly into the pan for better bar structure.
- Allow bars to cool completely to prevent crumbling when slicing.
- Store bars in an airtight container at room temperature for up to 5 days or refrigerate for longer freshness.
