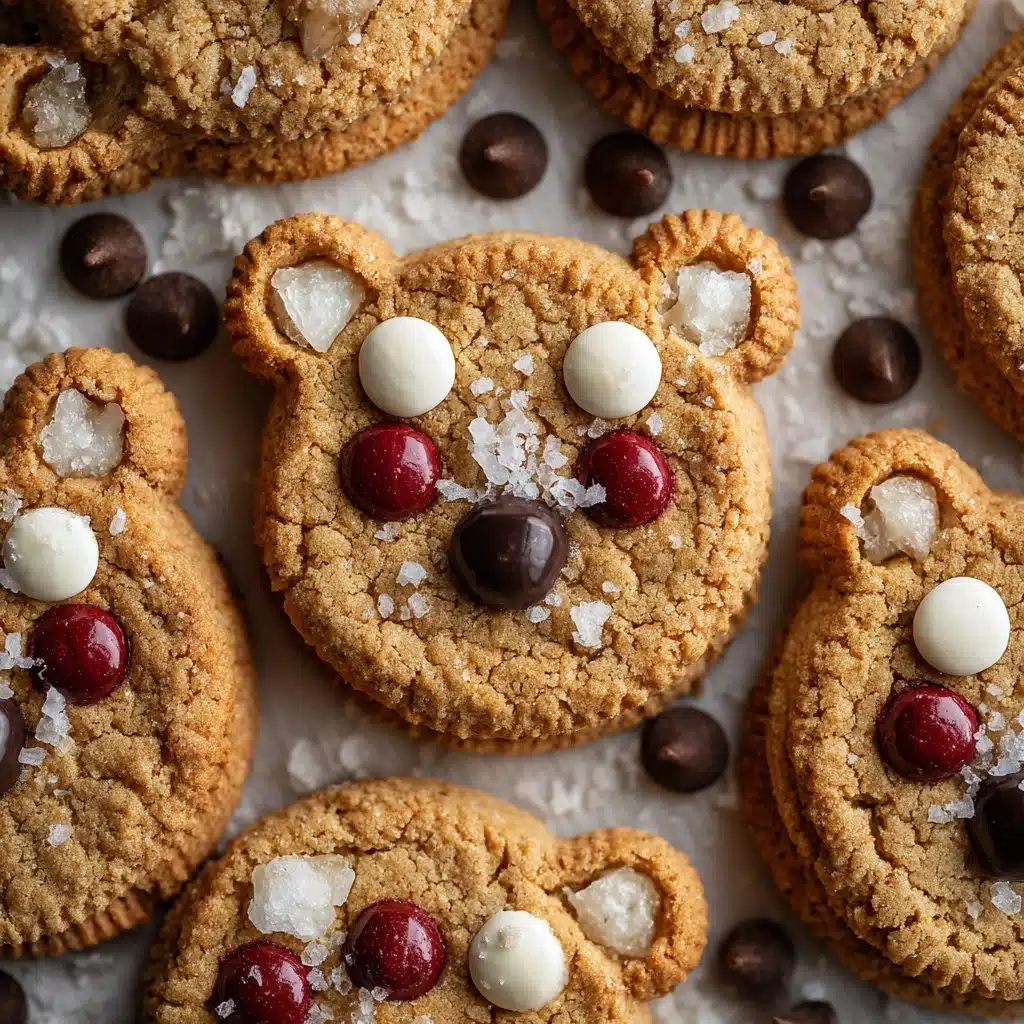
If you’re searching for the perfect way to make baking a whimsical, memorable occasion, look no further than these delightful Chocolate Chip Teddy Bear Cookies! With a tender, buttery crumb and sweet bits of mini chocolate chips in each bite, these cookies combine the best of classic chocolate chip flavor with utterly adorable teddy bear shapes. They’re as fun to make as they are to eat, and whether you’re baking with kids or just feeling playful yourself, they’re guaranteed to bring big smiles and turn any day into a special event.
Ingredients You’ll Need
Each ingredient in this tasty recipe has a special role, ensuring Chocolate Chip Teddy Bear Cookies turn out perfectly soft, flavorful, and ready for decorating. Keeping it simple means you can focus all your creativity on those cute bear faces!
- Unsalted butter (1/2 cup, softened): Softened butter is the key to a creamy, melt-in-your-mouth texture and adds a rich flavor base to your cookies.
- Brown sugar (1/2 cup, packed): This brings moisture and a hint of caramel flavor, making the teddy bears extra chewy.
- Granulated sugar (1/4 cup): Sweetens the dough and gives the cookies just the right lift for shaping.
- Large egg (1): Helps bind the dough together and gives the cookies structure.
- Vanilla extract (1 teaspoon): Never skip vanilla! It ties all the flavors together and enhances the cookie’s warm aroma.
- All-purpose flour (1 1/2 cups): Provides structure while staying soft and tender—the perfect blank canvas for your teddy bear shapes.
- Baking soda (1/2 teaspoon): Ensures the cookies puff up just enough to be soft but not too cakey.
- Salt (1/4 teaspoon): Balances the sweetness and brings out the flavors of the chocolate and butter.
- Mini chocolate chips (1/2 cup): Tiny chips are ideal for distributing chocolate in every bite and work beautifully for decorating faces.
- Mini chocolate chips and chocolate sprinkles for decorating (optional): Turn each bear into a character with chocolate eyes, noses, or even a sprinkle bellybutton for extra charm.
How to Make Chocolate Chip Teddy Bear Cookies
Step 1: Prep Your Oven and Baking Sheet
Preheat your oven to 350°F (175°C) and line a large baking sheet with parchment paper. This prevents sticking and makes cleanup a breeze, keeping every bear in perfect shape.
Step 2: Cream Butter and Sugars
Grab a big mixing bowl and cream together the softened butter, brown sugar, and granulated sugar. Use an electric mixer if you have one, beating until the mixture is light and fluffy. This step is where the magic of the Chocolate Chip Teddy Bear Cookies begins—the better you cream, the softer your cookies!
Step 3: Add Egg and Vanilla
Beat in your egg and vanilla extract until fully combined. These wet ingredients give your dough its richness and ensure the cookies will hold their delightful teddy bear shapes as they bake.
Step 4: Combine Dry Ingredients
In a separate bowl, briefly whisk together your flour, baking soda, and salt. Mixing these on their own first means the leavening agents will be distributed evenly and your cookies will bake up uniformly golden and tender.
Step 5: Mix Wet and Dry Together
Gradually add the dry mixture to the wet ingredients, stirring until just combined. Don’t overmix—stop when the dough has just come together for the best texture in your finished Chocolate Chip Teddy Bear Cookies!
Step 6: Fold in Mini Chocolate Chips
With a gentle hand, fold in the mini chocolate chips so there’s chocolate in every little bite. If your dough feels too soft to shape, pop it in the fridge for 15–20 minutes—a handy tip if you’re baking on a warm day or with little helpers who take their time shaping bears.
Step 7: Shape the Teddy Bears
This is where the fun happens! For each teddy bear, roll out one 1-inch ball for the head, one slightly larger for the belly, and smaller bits for ears, arms, and legs. Press them together on the baking sheet, and use mini chips or sprinkles to create sweet faces and button noses. Don’t be afraid to get creative—each bear can have its own personality!
Step 8: Bake to Perfection
Bake the cookies for 8–10 minutes, just until the edges turn golden and the centers are set. Be careful not to over-bake—you want your Chocolate Chip Teddy Bear Cookies to be delectably soft. Let them cool on the pan for a couple of minutes before transferring to a wire rack so they keep their adorable shapes.
How to Serve Chocolate Chip Teddy Bear Cookies

Garnishes
A simple dusting of powdered sugar over your cooled teddy bears can give them a magical, storybook look. For extra personality, try adding dots of melted chocolate or white chocolate for cheeks or scarves—let your imagination run wild!
Side Dishes
There’s something so comforting about pairing these cookies with a glass of cold milk or a mug of creamy hot cocoa. If you’re serving them for a party, arrange alongside a plate of fresh fruit or a scoop of vanilla ice cream for an extra-special treat.
Creative Ways to Present
Try stacking a few bears together in a cellophane bag tied with a ribbon for party favors, or nestle them in a picnic basket for a whimsical touch. These Chocolate Chip Teddy Bear Cookies make adorable edible centerpieces for baby showers, birthdays, or just to brighten up an ordinary day.
Make Ahead and Storage
Storing Leftovers
Once your teddy bears are cool, store them in an airtight container. They’ll stay soft and fresh for up to 5 days—if they last that long! Keeping air out also preserves their lovely chewy texture.
Freezing
Chocolate Chip Teddy Bear Cookies freeze beautifully. Place cooled cookies in a freezer-safe bag or container, separating layers with parchment paper. They’ll keep for up to 2 months and thaw quickly on the counter when you’re ready for a special treat.
Reheating
If you love that fresh-from-the-oven warmth, just pop a cookie in the microwave for about 10 seconds. Be careful not to overdo it—a little warmth brings out the gooey chocolate and brings your teddy bears back to irresistible life.
FAQs
Can I use regular chocolate chips instead of mini?
Mini chocolate chips are best for these cookies because they distribute more evenly and work better for tiny bear faces, but regular chips can work in a pinch. Just chop them a bit smaller to keep proportions cute.
How do I keep the bear parts from separating while baking?
Press each piece of dough firmly together when assembling your teddy bears, especially where the head, body, and limbs join. Chilling the dough briefly before baking also helps the bears maintain their shapes.
Can I make the dough ahead of time?
Yes! You can prepare the dough a day in advance and refrigerate tightly covered until you’re ready to shape your Chocolate Chip Teddy Bear Cookies. Just let it soften slightly at room temperature for easier rolling.
Are these cookies suitable for allergy-friendly baking?
Absolutely, you can adapt the recipe! Try using plant-based butters or egg alternatives, and gluten-free flour blends work well too. Just keep an eye on texture as substitutions may vary.
Can kids help with making these cookies?
Yes, and they’ll love it! Shaping and decorating the teddy bears is the perfect hands-on baking project for little ones—just set out the dough, chips, and sprinkles, and let their creativity shine.
Final Thoughts
If you’ve ever wanted a baking project that’s as joyful to make as it is to share, these Chocolate Chip Teddy Bear Cookies deliver every time. They’re the perfect mix of playful and delicious, and I hope you’ll gather your loved ones and make a batch soon—each bite is sure to bring a big smile!
Print
Chocolate Chip Teddy Bear Cookies Recipe
- Total Time: 35 minutes
- Yield: 18 teddy bear cookies 1x
- Diet: Vegetarian
Description
These adorable Chocolate Chip Teddy Bear Cookies are a fun and delicious treat that both kids and adults will love. Perfect for parties or a sweet snack, these cookies are as cute as they are tasty.
Ingredients
Main Cookie Dough:
- 1/2 cup unsalted butter, softened
- 1/2 cup brown sugar, packed
- 1/4 cup granulated sugar
- 1 large egg
- 1 teaspoon vanilla extract
- 1 1/2 cups all-purpose flour
- 1/2 teaspoon baking soda
- 1/4 teaspoon salt
- 1/2 cup mini chocolate chips
For Decorating:
- Mini chocolate chips
- Chocolate sprinkles
Instructions
- Preheat the Oven: Preheat the oven to 350°F (175°C) and line a baking sheet with parchment paper.
- Mix Wet Ingredients: In a large bowl, cream together the butter, brown sugar, and granulated sugar until light and fluffy. Beat in the egg and vanilla extract.
- Combine Dry Ingredients: In a separate bowl, whisk together the flour, baking soda, and salt. Gradually add the dry ingredients to the wet mixture and stir until combined. Fold in the mini chocolate chips.
- Shape Dough: Roll dough into one 1-inch ball for the head, one slightly larger ball for the body, and smaller balls for ears, arms, and legs. Press the parts together on the baking sheet to create a bear shape. Add extra mini chocolate chips or sprinkles for eyes, nose, or belly buttons.
- Bake: Bake for 8–10 minutes or until the edges are just golden. Cool on the pan for 2 minutes, then transfer to a wire rack to cool completely.
Notes
- Chill the dough for 15–20 minutes if too soft for shaping.
- Kids love helping with the teddy bear assembly!
- Store cookies in an airtight container for up to 5 days.
- Prep Time: 25 minutes
- Cook Time: 10 minutes
- Category: Dessert
- Method: Baking
- Cuisine: American
Nutrition
- Serving Size: 1 cookie
- Calories: 160
- Sugar: 10g
- Sodium: 80mg
- Fat: 8g
- Saturated Fat: 5g
- Unsaturated Fat: 2g
- Trans Fat: 0g
- Carbohydrates: 20g
- Fiber: 1g
- Protein: 2g
- Cholesterol: 20mg