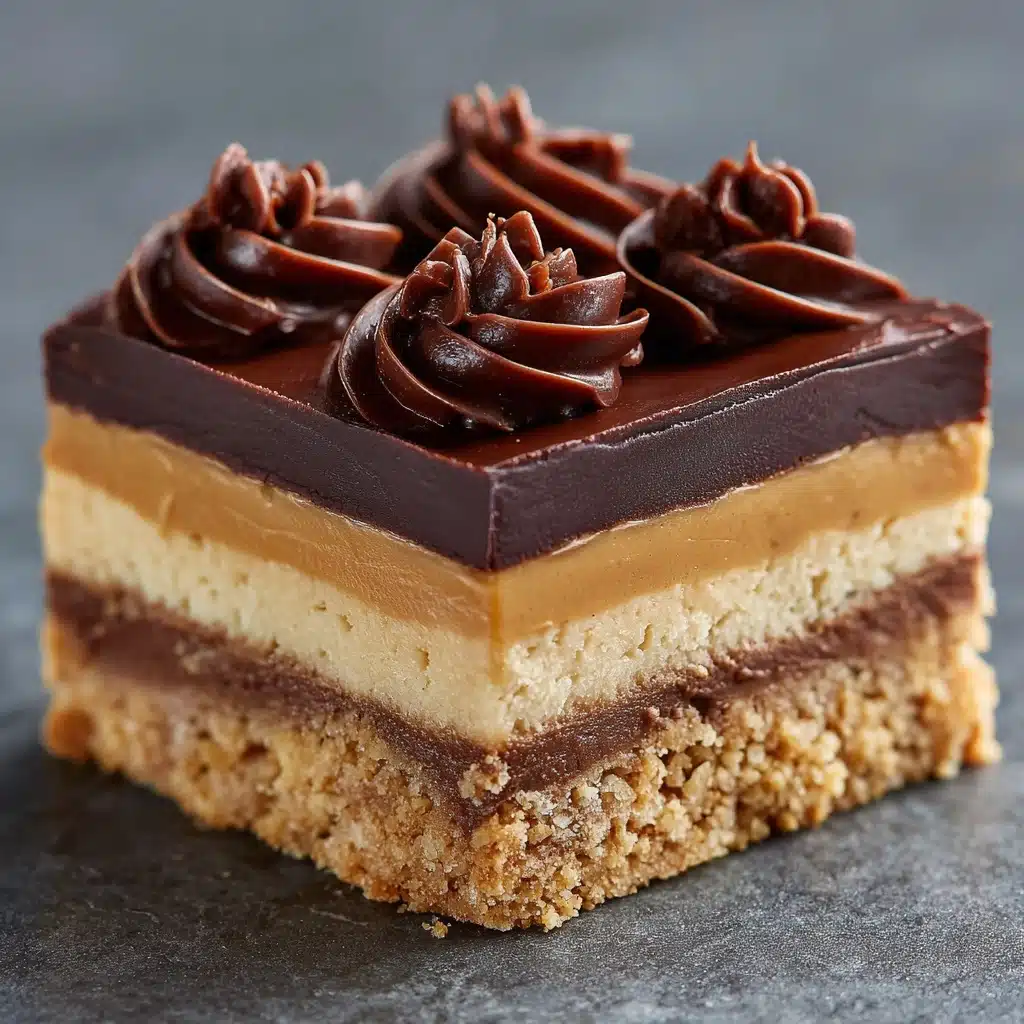
If you’re searching for a show-stopping treat that’s as effortless as it is irresistible, look no further than Chocolate Peanut Butter Dream Bars. These no-bake dessert bars are pure magic: a rich chocolate cookie crust, velvety peanut butter cheesecake layer, creamy chocolate pudding, and a cloud of whipped topping finished with just the right sprinkle of mini chocolate chips or peanuts. Every bite balances chocolatey decadence and peanut butter creaminess, making this treat a must-have for gatherings, celebrations, or just because you’re craving something wonderful. Trust me, this is the kind of bar everyone will be talking about—and asking you for the recipe!
Ingredients You’ll Need
One of the best parts of Chocolate Peanut Butter Dream Bars is how a handful of classic, easy-to-find ingredients transform into something so outrageously good. Each layer plays a starring role in the taste, texture, and wow factor of every bite.
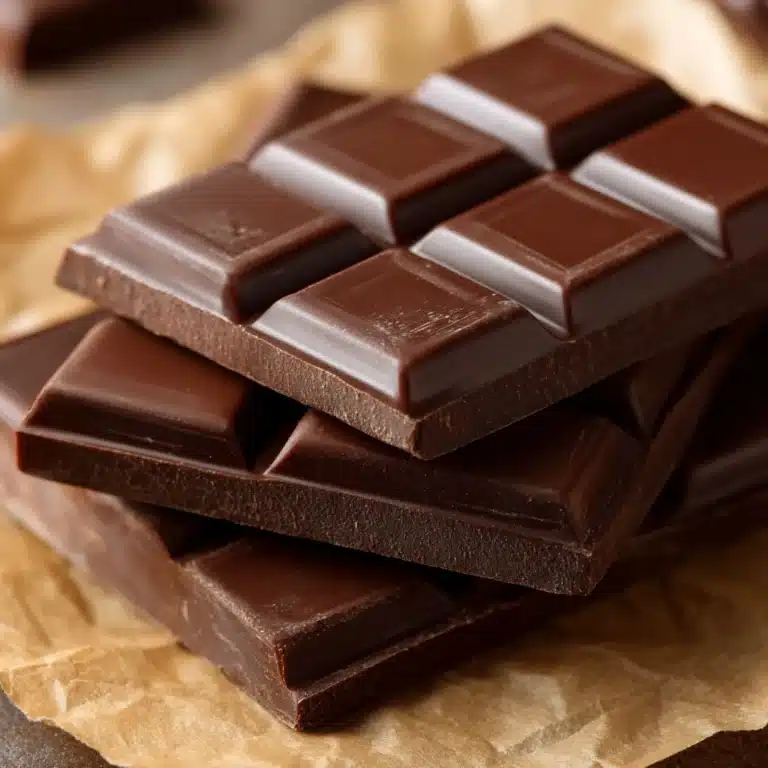
- Chocolate sandwich cookies: These serve as the rich, chocolaty base—crush them up (cream and all) for that decadent cookie crust.
- Unsalted butter: Melting and mixing with cookie crumbs, butter helps bind the crust so it’s sturdy and sliceable.
- Creamy peanut butter: The creamy, nutty heart of the bars, peanut butter offers that signature luscious flavor in every forkful.
- Cream cheese: Adds body and tang, turning the peanut butter filling into a light and dreamy cheesecake-like layer.
- Powdered sugar: Sweetens the peanut butter mixture and keeps the texture ultra-smooth—no grittiness here.
- Vanilla extract: Just a splash lifts and balances the richness of the filling beautifully.
- Whipped topping: This brings an airy, creamy finish to the peanut butter layer and tops off the whole dessert with a fluffy sweetness.
- Instant chocolate pudding mix: Simple to prepare and full of cocoa flavor, chocolate pudding is the creamy, chocolatey center.
- Cold milk: Essential for setting the pudding; using cold milk ensures everything thickens perfectly.
- Mini chocolate chips or crushed peanuts: The finishing touch, these add a little extra crunch or melt-in-your-mouth chocolate in every bite.
How to Make Chocolate Peanut Butter Dream Bars
Step 1: Crush and Prepare the Crust
Pop your chocolate sandwich cookies into a food processor and pulse until you have fine crumbs. No food processor? Just place cookies in a zip-top bag and roll over them with a rolling pin—therapeutic and effective! Mix the crumbs with your melted butter until everything is evenly coated. Press this mixture firmly (use the bottom of a glass if you like) into the bottom of a 9×9-inch pan, making sure the crust is nice and even. This layer sets the stage for everything to come.
Step 2: Make the Peanut Butter Cream Layer
Grab a medium bowl and beat together the creamy peanut butter, softened cream cheese, powdered sugar, and vanilla extract until it’s completely smooth and fluffy. This step takes just a couple of minutes but don’t rush it—the smoother your filling, the more luxurious your bars. Fold in 1 cup of the whipped topping for extra lightness, then spread this mixture gently but evenly over your prepared crust.
Step 3: Whip Up the Chocolate Pudding
In a separate clean bowl, add the instant chocolate pudding mix and cold milk. Whisk for about 2 minutes, or until the mixture has thickened nicely. Give it a taste—this is what’s going to bring the chocolate drama! Smooth the pudding carefully over the peanut butter layer, taking care not to disrupt the stripes of creamy peanut goodness below.
Step 4: Add the Final Whipped Layer
Now for the finishing touch: spread the remaining whipped topping over the top of your bars, creating a fluffy cloud to cap it all off. You can use an offset spatula or the back of a spoon to get everything even—or embrace the swirls for that homemade look. Whatever you do, this layer brings everything together and makes the bars as beautiful as they are delicious.
Step 5: Sprinkle and Chill
Finish strong by scattering mini chocolate chips or crushed peanuts across the top. This simple touch adds the perfect pop of texture and makes your Chocolate Peanut Butter Dream Bars absolutely irresistible. Refrigerate the whole pan for at least 3 hours, letting the layers firm up so every slice comes out neat and picture-perfect. Patience pays off here!
How to Serve Chocolate Peanut Butter Dream Bars

Garnishes
A little finishing flourish goes a long way with these bars. Try adding extra mini chocolate chips, a dusting of cocoa powder, coarsely chopped salted peanuts, or even a gentle drizzle of melted chocolate. Each option adds that bakery-case wow factor.
Side Dishes
Because Chocolate Peanut Butter Dream Bars are already rich and layered, pair them with something light and refreshing. A bowl of mixed berries, a scoop of vanilla bean ice cream, or an icy glass of cold milk makes for the perfect balance without overpowering the star of the show.
Creative Ways to Present
Cut the bars into fun shapes using a sharp knife or even cookie cutters for parties—think hearts, squares, or bite-sized bits. Layer single servings into mini mason jars for picnics, or serve them elegantly on a cake plate with a sprinkle of peanut dust for a dinner party-worthy presentation. The options are as limitless as your imagination!
Make Ahead and Storage
Storing Leftovers
These bars are genuinely best when made ahead, with the flavors developing as they chill. Store any leftovers in an airtight container in the refrigerator, where they’ll happily stay fresh for up to 4 days. The structure remains intact and the layers only get more delicious over time.
Freezing
If you want to make Chocolate Peanut Butter Dream Bars even farther in advance, you can freeze them for up to 2 months. For best results, cut into portions after chilling, wrap each piece tightly in plastic wrap, then place in a freezer-safe bag or container. To serve, let them thaw overnight in the refrigerator.
Reheating
These bars are meant to be enjoyed cool or at room temperature, no reheating necessary! If serving from frozen, let each bar sit for 20-30 minutes at room temperature to soften for that perfect creamy texture. Avoid microwaving, as this can melt the layers and change the texture.
FAQs
Can I make these ahead for a party?
Absolutely! Chocolate Peanut Butter Dream Bars actually improve in flavor and slice cleanly when made at least a day before serving. Just keep them chilled until you’re ready to serve.
What if I don’t have whipped topping?
No worries—you can substitute with homemade whipped cream. Just whip 1 cup of heavy cream with a bit of powdered sugar until stiff peaks form, then use as directed.
Can I use a different kind of cookie for the crust?
Definitely! Chocolate graham crackers, vanilla sandwich cookies, or even peanut butter cookies would all make a delicious base. Feel free to get creative.
Is there a gluten-free version?
Yes! Simply use your favorite gluten-free chocolate sandwich cookies for the crust. The rest of the ingredients are naturally gluten-free, making these bars super easy to adapt.
Can I use natural peanut butter?
While natural peanut butter works, commercial creamy peanut butters yield the smoothest, fluffiest filling. If you use natural, make sure it’s thoroughly mixed and not too oily for best results.
Final Thoughts
If you’re craving something sweet, simple, and wildly satisfying, you truly can’t beat Chocolate Peanut Butter Dream Bars. Each layer is lovingly crafted to deliver pure dessert joy, proving that you don’t need an oven or fancy equipment to make something unforgettable. Gather your ingredients and give these bars a try—they’re bound to become your new favorite no-bake treat!
Print
Chocolate Peanut Butter Dream Bars Recipe
- Total Time: 20 minutes (plus chilling)
- Yield: 9 bars 1x
- Diet: Vegetarian
Description
Indulge in the decadent and creamy layers of these Chocolate Peanut Butter Dream Bars. A no-bake dessert that combines the irresistible combination of chocolate and peanut butter for a truly dreamy treat.
Ingredients
Crust:
- 24 chocolate sandwich cookies (such as Oreos)
- 1/4 cup unsalted butter, melted
Peanut Butter Layer:
- 1 cup creamy peanut butter
- 8 ounces cream cheese, softened
- 1 cup powdered sugar
- 1 teaspoon vanilla extract
- 2 cups whipped topping (like Cool Whip)
Chocolate Pudding Layer:
- 1 (3.9 oz) box instant chocolate pudding mix
- 1 1/2 cups cold milk
Topping:
- 1/2 cup mini chocolate chips or crushed peanuts
Instructions
- Prepare the Crust: Crush the chocolate sandwich cookies into fine crumbs. Mix with melted butter and press into a 9×9-inch pan.
- Make the Peanut Butter Layer: Beat together peanut butter, cream cheese, powdered sugar, and vanilla. Fold in whipped topping and spread over the crust.
- Prepare the Chocolate Pudding Layer: Whisk together chocolate pudding mix and cold milk until thickened. Spread over the peanut butter layer.
- Finish and Chill: Top with whipped topping and sprinkle with chocolate chips or peanuts. Refrigerate for at least 3 hours before slicing and serving.
Notes
- For a gluten-free version, use gluten-free chocolate sandwich cookies.
- You can use dark chocolate pudding for a richer flavor.
- These bars store well in the fridge for up to 4 days.
- Prep Time: 20 minutes
- Cook Time: 0 minutes
- Category: Dessert
- Method: No-Bake
- Cuisine: American
Nutrition
- Serving Size: 1 bar
- Calories: 390
- Sugar: 22 g
- Sodium: 290 mg
- Fat: 26 g
- Saturated Fat: 11 g
- Unsaturated Fat: 13 g
- Trans Fat: 0 g
- Carbohydrates: 33 g
- Fiber: 2 g
- Protein: 7 g
- Cholesterol: 20 mg