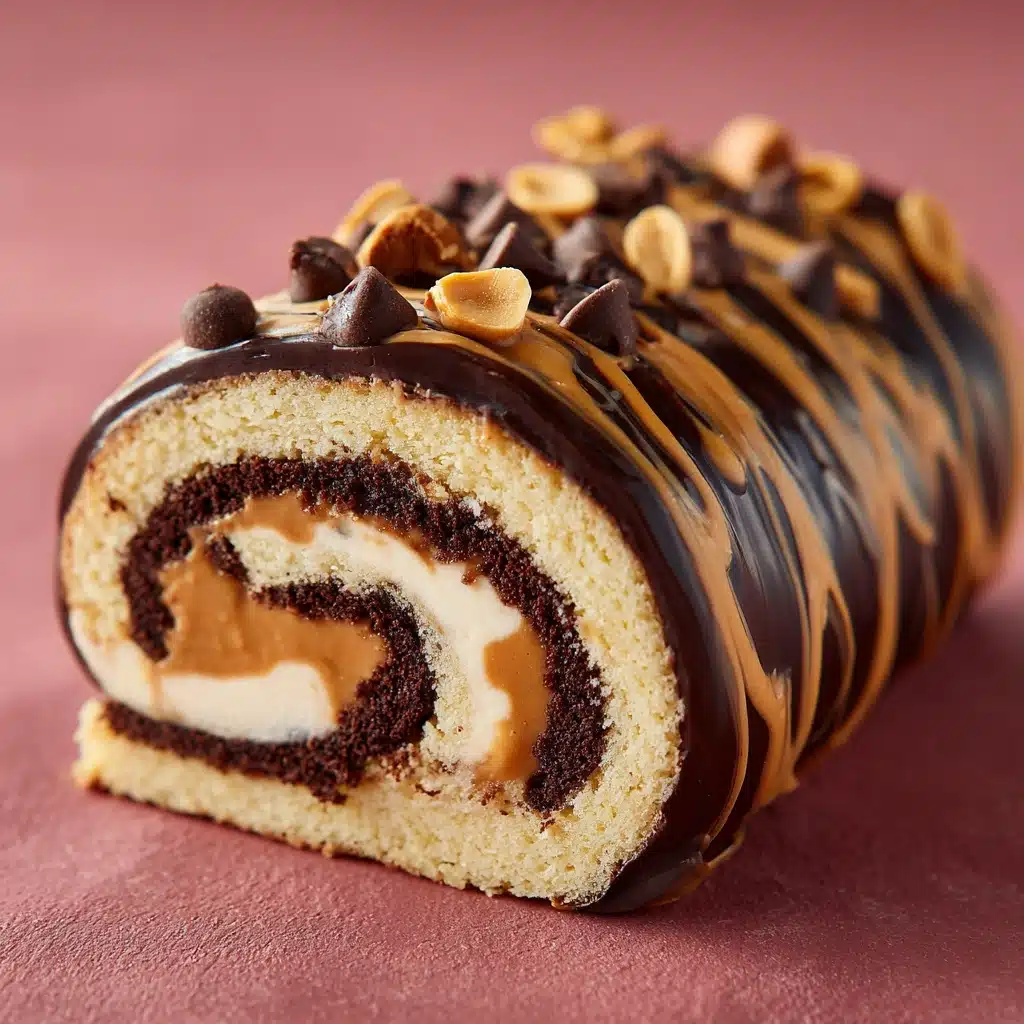
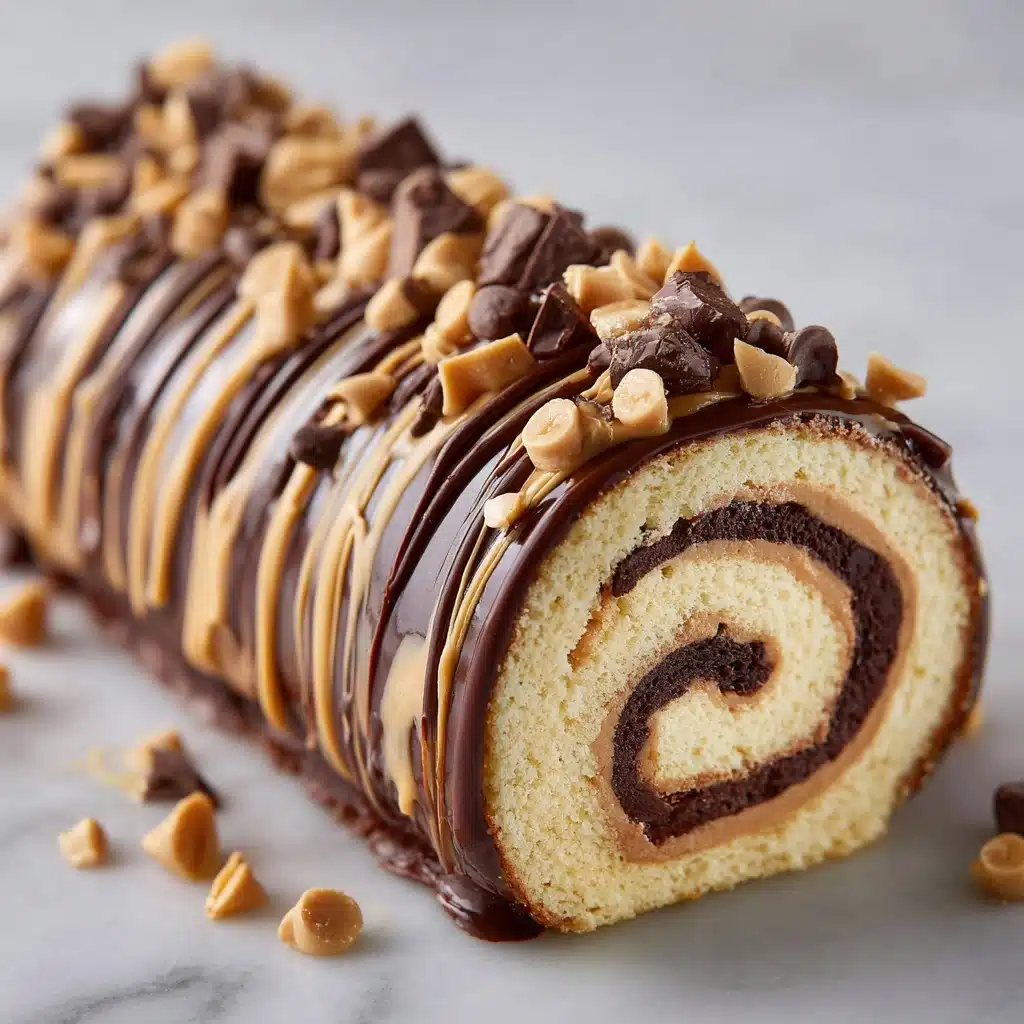
If you’re searching for the ultimate crowd-pleaser dessert, the Chocolate Peanut Butter Dream Roll is here to steal the show. Imagine tender chocolate sponge cake wrapped around a billowy peanut butter filling, all sealed under a glossy chocolate glaze—sounds dreamy, right? This roll is the kind of treat that makes you eager for dessert, whether it’s a family gathering or a weeknight indulgence. It’s a nostalgic nod to classic cake rolls, but with that magical peanut butter and chocolate pairing that never disappoints.
Ingredients You’ll Need
You don’t need a complicated shopping list for this recipe—every ingredient in the Chocolate Peanut Butter Dream Roll is a key player. The cocoa gives rich flavor, the peanut butter brings creamy decadence, and each component comes together for dessert bliss. Here’s what you’ll need and why it matters:
- All-purpose flour: This forms the structure of the cake, keeping it tender but sturdy enough to roll.
- Unsweetened cocoa powder: Provides deep, chocolatey flavor and a gorgeous dark color.
- Baking powder: Helps the cake puff up lightly, making rolling easier.
- Salt: Just a pinch enhances all the other flavors—it’s more important than you think!
- Large eggs, room temperature: Eggs give the cake its lift and lightness. Start with them at room temp for fluffier results.
- Granulated sugar: Sweetens the cake and helps create that signature tender crumb.
- Vanilla extract: Adds cozy, aromatic warmth to both cake and filling.
- Vegetable oil: Keeps the cake moist without weighing it down.
- Whole milk: Delivers richness and helps thin the batter just right.
- Creamy peanut butter: The star of the filling, giving it unmistakable peanut flavor and silky texture.
- Unsalted butter, softened: Makes the filling perfectly spreadable and adds that luscious mouthfeel.
- Powdered sugar: Sweetens and thickens the dreamy peanut butter filling, plus it’s used to dust the towel for rolling.
- Heavy cream: Whips the filling into creamy clouds and turns the glaze into a pourable dream.
- Semi-sweet chocolate chips: Melt into the decadent topping, balancing out the sweetness.
How to Make Chocolate Peanut Butter Dream Roll
Step 1: Prep Your Pan and Oven
Start by heating your oven to 350°F (175°C) and lining a 10×15-inch jelly roll pan with parchment paper, giving it a light greasing to make sure the cake releases cleanly. Taking a few moments here guarantees the cake comes out perfectly for rolling later on.
Step 2: Mix Dry Ingredients
In a medium bowl, whisk together the flour, cocoa powder, baking powder, and salt until well combined. This step ensures every bite of cake is evenly chocolaty and tender—no lumps or uneven pockets.
Step 3: Beat Eggs and Sugar
In a large mixing bowl, beat your eggs and granulated sugar with an electric mixer for 3 to 4 minutes. Watch for the mixture to turn pale and thick—a sure sign your roll will be light and airy. Don’t skip this: that whisked volume is what keeps the sponge from turning dense.
Step 4: Add Flavorings and Fats
Mix in the vanilla extract, vegetable oil, and milk to the eggs and sugar. This trio boosts your sponge cake with flavor, richness, and the perfect crumb. Make sure not to overbeat here—once combined, you’re good to go!
Step 5: Combine Wet and Dry
Gradually fold the dry ingredients into the wet mixture, working gently to keep all that glorious air you whipped into the eggs. You want a smooth batter with no streaks of flour for the Chocolate Peanut Butter Dream Roll.
Step 6: Spread and Bake
Pour the batter into your prepared pan, spreading it evenly all the way to the corners. Bake for 10 to 12 minutes—it’s ready when the top springs back at a gentle touch. Don’t walk away; overbaking leads to cracks.
Step 7: Roll While Warm
Here’s the fun part: Flip the hot cake onto a kitchen towel generously dusted with powdered sugar. Peel off the parchment and roll the cake up (with the towel inside), starting from one of the short sides. Rolling while warm shapes the cake so it won’t crack later, and the towel keeps it from sticking together while cooling.
Step 8: Make the Peanut Butter Filling
Beat creamy peanut butter and softened butter together until smooth and luxurious. Add powdered sugar, heavy cream, and vanilla, whipping until light and fluffy. The filling should be spreadable and cloud-like when you’re done.
Step 9: Fill and Roll It Up
Once cooled, carefully unroll your cake. Spread the peanut butter filling in an even layer, all the way to the edges, then roll it back up (without the towel this time!). Wrap tightly, and you’ll have a lovely swirl inside every slice.
Step 10: Make the Chocolate Glaze
Combine chocolate chips, heavy cream, and butter in a microwave-safe bowl. Heat in short bursts, stirring until silky smooth and pourable. This glaze sets into the perfect finish—shiny, decadent, and irresistible.
Step 11: Glaze and Chill
Pour the chocolate glaze over your roll and spread to cover. If you’re feeling fancy, sprinkle chopped peanuts for crunch. Let it chill for about 15 minutes so the glaze sets before slicing into the Chocolate Peanut Butter Dream Roll of your dreams.
How to Serve Chocolate Peanut Butter Dream Roll

Garnishes
Take the presentation up a notch by showering the glazed roll with chopped roasted peanuts, a pinch of flaky sea salt, or even a dusting of cocoa powder. These little extras make each piece look utterly irresistible and add a playful crunch or hint of salt to the sweet, creamy flavors.
Side Dishes
The Chocolate Peanut Butter Dream Roll is showy enough to stand alone, but for a full dessert spread, pair it with fresh strawberries, a scoop of vanilla bean ice cream, or even a dollop of whipped cream. The fruit’s brightness and the ice cream’s coolness balance the rich chocolate and peanut butter perfectly.
Creative Ways to Present
You can turn slices into artful desserts by fanning them on a platter, stacking them with small wedges of chocolate between each piece, or drizzling a bit of extra chocolate or caramel sauce for wow factor. If you’re feeling inspired, serve each slice on individual plates with a dot of raspberry sauce for color and zing—your Chocolate Peanut Butter Dream Roll will look like it came from a fancy bakery.
Make Ahead and Storage
Storing Leftovers
If you’re lucky enough to have leftovers, simply wrap the roll (or individual slices) tightly in plastic wrap and stash them in the fridge. The cake stays soft, and the flavors deepen after a night’s rest. It’s tasty for up to three days, though it rarely lasts that long!
Freezing
The Chocolate Peanut Butter Dream Roll freezes like a dream. Once glazed, wrap the whole roll or slices in a double layer of plastic wrap and then foil. Freeze for up to two months. When ready to enjoy, thaw in the fridge overnight—just as delicious as fresh!
Reheating
This dessert is best served chilled or at room temperature, so no need to reheat. If you prefer a warmer touch (perhaps with a scoop of ice cream), microwave a slice for 10-15 seconds, just until gently warmed and the filling softens—but avoid melting the glaze.
FAQs
Can I use natural peanut butter in the filling?
Certainly! Just be sure to stir your natural peanut butter thoroughly before measuring, as it tends to separate. The filling may be a touch softer, but the flavor will be fantastic.
Why did my chocolate cake crack when rolling?
This usually happens if the cake cools too much before rolling or is overbaked. Rolling the cake while still warm and handling gently helps prevent cracks for a picture-perfect Chocolate Peanut Butter Dream Roll every time.
Can I make this dessert gluten free?
Yes, swap in a good 1-to-1 gluten-free baking flour for the all-purpose flour. Just ensure your cocoa powder and other ingredients are gluten free to keep it safe for all eaters.
Can I prepare the roll a day ahead?
Absolutely—making the Chocolate Peanut Butter Dream Roll the night before not only saves time, but also allows the flavors to meld. Just keep it chilled until serving time and glaze just before guests arrive for maximum shine.
What’s the best way to slice the roll cleanly?
Use a sharp, serrated knife and clean it between slices for neat, bakery-worthy pieces. Chilling the roll for at least 15 minutes sets the glaze and helps you get those perfect swirls without smudges.
Final Thoughts
If chocolate and peanut butter are your love language, this Chocolate Peanut Butter Dream Roll will be your new go-to dessert. It’s the kind of treat that brings a bit of whimsy, delight, and that homemade magic to any occasion. Give it a try—you might just find it becoming a classic in your kitchen too.
Print
Chocolate Peanut Butter Dream Roll Recipe
- Total Time: 37 minutes plus cooling time
- Yield: 10 servings 1x
- Diet: Vegetarian
Description
Indulge in the decadent delight of this Chocolate Peanut Butter Dream Roll, a luscious dessert that combines rich chocolate cake with creamy peanut butter filling, all topped with a glossy chocolate glaze.
Ingredients
Cake:
- 3/4 cup all-purpose flour
- 1/4 cup unsweetened cocoa powder
- 1 teaspoon baking powder
- 1/4 teaspoon salt
- 4 large eggs, room temperature
- 3/4 cup granulated sugar
- 1 teaspoon vanilla extract
- 2 tablespoons vegetable oil
- 2 tablespoons whole milk
Filling:
- 3/4 cup creamy peanut butter
- 1/2 cup unsalted butter, softened
- 1 cup powdered sugar
- 2 to 3 tablespoons heavy cream
- 1 teaspoon vanilla extract
Glaze:
- 1/2 cup semi-sweet chocolate chips
- 1/4 cup heavy cream
- 1 tablespoon unsalted butter
Instructions
- Preheat the Oven: Preheat oven to 350°F (175°C). Line a 10×15-inch jelly roll pan with parchment paper and lightly grease.
- Prepare the Cake: In a medium bowl, whisk flour, cocoa powder, baking powder, and salt. In a large mixing bowl, beat eggs and sugar until pale and thick. Beat in vanilla, oil, and milk. Fold in dry ingredients and spread batter in the pan. Bake for 10 to 12 minutes.
- Roll the Cake: Lay a towel dusted with powdered sugar, invert the hot cake onto it, peel off parchment, and roll up the cake. Cool.
- Make the Filling: Beat peanut butter and butter until smooth. Add powdered sugar, cream, and vanilla, beat until fluffy. Unroll cake, spread the filling, and roll back up.
- Prepare the Glaze: Heat chocolate chips, cream, and butter in the microwave, stirring until smooth. Pour over the roll and chill before slicing.
Notes
- For extra texture, sprinkle chopped peanuts over the glaze.
- Cake can be made a day ahead and stored in the refrigerator.
- Prep Time: 25 minutes
- Cook Time: 12 minutes
- Category: Dessert
- Method: Baking
- Cuisine: American
Nutrition
- Serving Size: 1 slice
- Calories: 370
- Sugar: 30 g
- Sodium: 190 mg
- Fat: 22 g
- Saturated Fat: 10 g
- Unsaturated Fat: 11 g
- Trans Fat: 0 g
- Carbohydrates: 40 g
- Fiber: 2 g
- Protein: 7 g
- Cholesterol: 80 mg