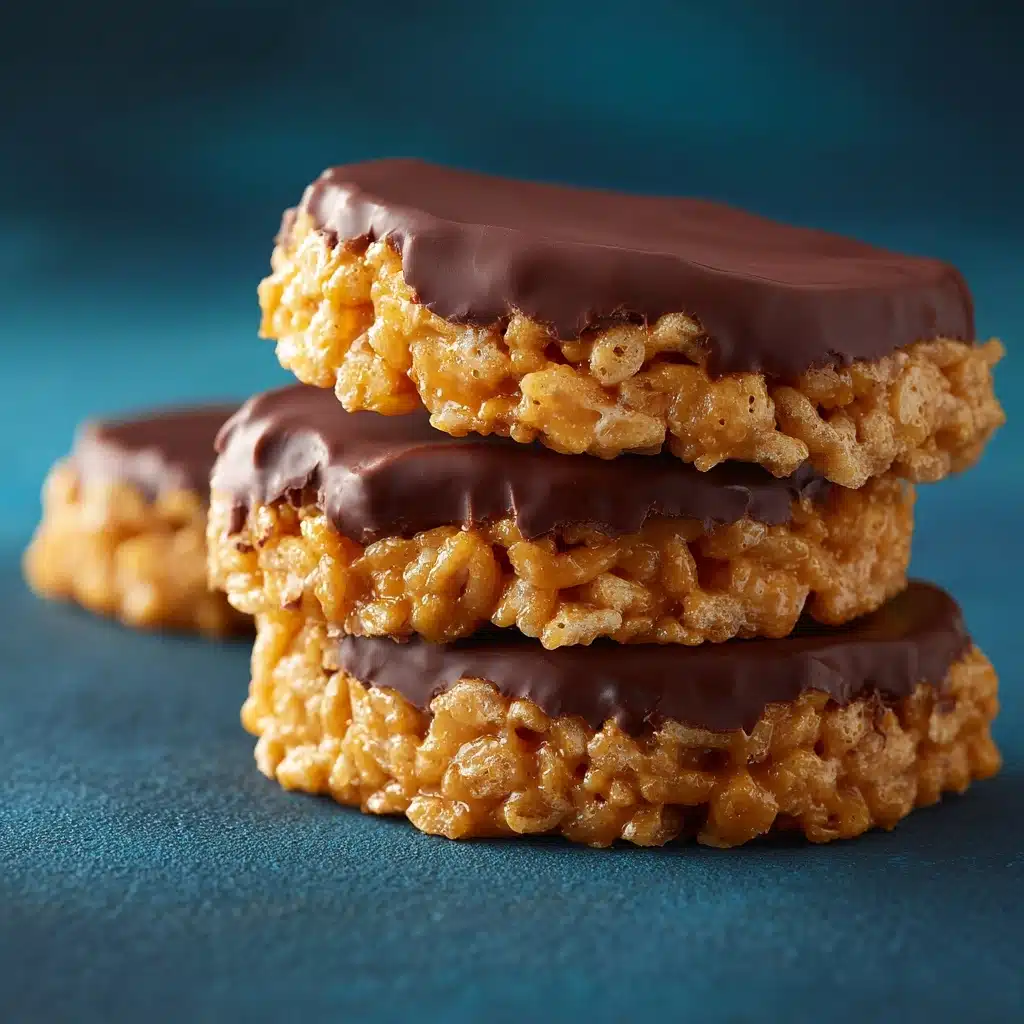
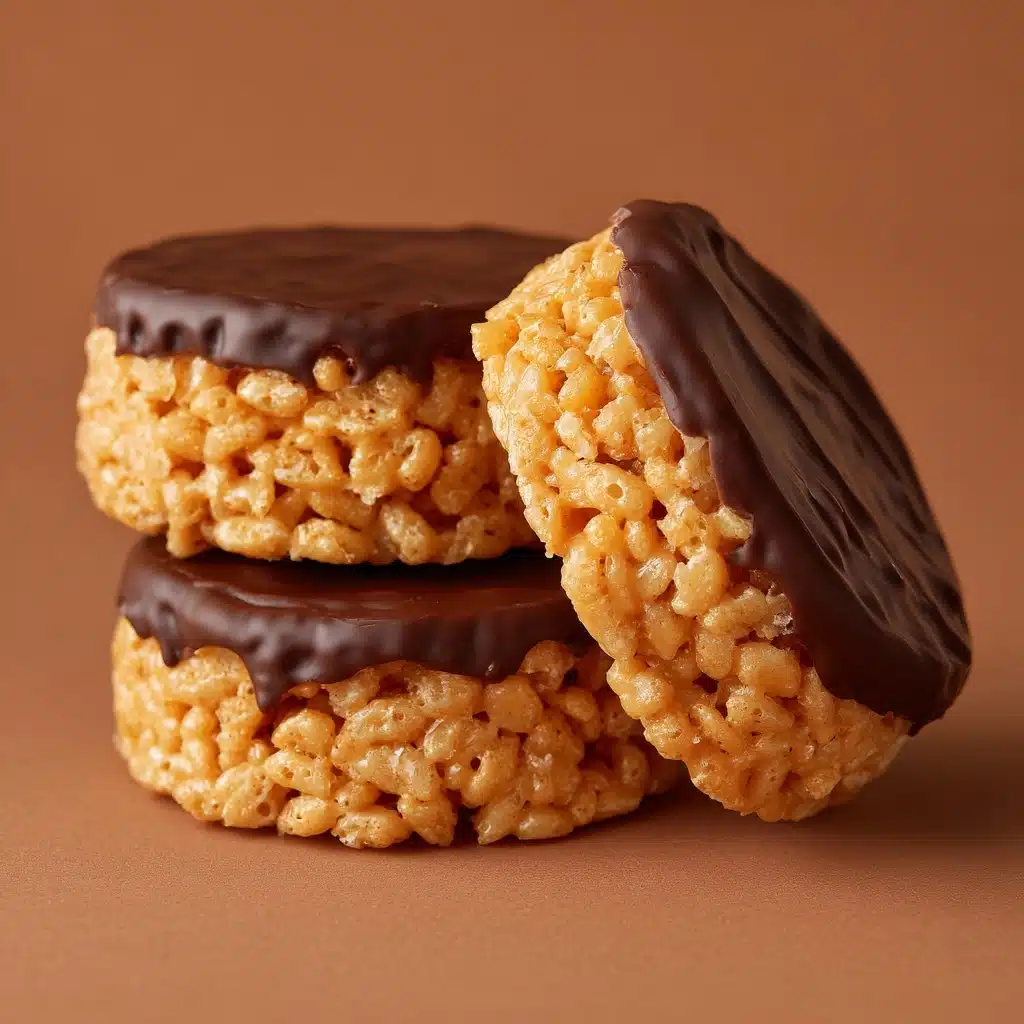
If you’re searching for the ultimate no-bake treat that brings nostalgic comfort and irresistible flavor, look no further than these Chocolate Peanut Butter Rice Krispie Cups. Layers of crispy, chewy, and chocolatey goodness come together in perfect harmony, with a sweet-salty peanut butter base and a silky chocolate topping. These cups are as easy to make as they are addictive, and whether you’re sharing them at a party, packing them in lunchboxes, or sneaking one as a midnight treat, they’ll quickly become a household favorite!
Ingredients You’ll Need
One of the best parts about Chocolate Peanut Butter Rice Krispie Cups is how few ingredients they require—each one plays a crucial role. You’ll find every element matters, from the classic crunch of Rice Krispies to the luscious melt of chocolate on top. This is a treat that proves simple really can mean spectacular.
- Rice Krispies cereal: The starring crunch that gives these cups their signature texture—use fresh for maximum crispiness.
- Creamy peanut butter: Choose a smooth, quality peanut butter for a rich, luscious base; crunchy is great for added texture!
- Honey or maple syrup: Acts as the natural sweetener and helps bind everything together—use maple syrup for a vegan option.
- Vanilla extract: Just a splash transforms the flavor profile, adding warmth and depth.
- Semi-sweet chocolate chips: Melty, glossy chocolate creates that classic cap; use dairy-free chips if needed.
- Coconut oil: Thins the chocolate for easier spreading and a smooth finish—plus, it adds a silky sheen.
How to Make Chocolate Peanut Butter Rice Krispie Cups
Step 1: Prep Your Muffin Tin
Start by grabbing your muffin tin and lining it with paper liners. This ensures the Chocolate Peanut Butter Rice Krispie Cups will pop out easily once set, and keeps things neat when you serve or store them. A 12-cup muffin tin is perfect for a full batch—just arrange the liners so you’re ready to fill them later.
Step 2: Warm the Peanut Butter Mixture
In a medium saucepan set over low heat, combine the creamy peanut butter and your choice of honey or maple syrup. Stir continuously just until the mixture is completely smooth and warmed through—about 2 to 3 minutes. You’re not boiling or cooking it, just coaxing the flavors to blend and the mixture to loosen, making it easy to mix in your cereal later.
Step 3: Add Vanilla and Rice Krispies
Remove the pan from heat and stir in the vanilla extract. Immediately add your Rice Krispies cereal and mix everything together gently but thoroughly. Be patient and gentle—your goal is to evenly coat every little puff with that heavenly peanut butter mixture. No dry spots allowed!
Step 4: Shape the Cups
Now comes the fun, slightly messy part: spoon the peanut butter-cereal mixture evenly into your muffin liners. Press down firmly with the back of a spoon or your fingertips to form a compact, sturdy base for each cup. The firmer you press, the better they’ll hold together when unmolded later—so don’t be shy!
Step 5: Melt the Chocolate Topping
In a microwave-safe bowl, combine the semi-sweet chocolate chips and coconut oil. Microwave in short, 20-second bursts, stirring well between each interval, until the mixture is smooth and glossy. Take care not to overheat the chocolate—once most chips are melted, the residual heat will finish the job as you stir.
Step 6: Top and Chill
Pour the melted chocolate evenly over the tops of each Rice Krispie cup, smoothing with the back of a spoon until each base is fully covered. Place the tin in your refrigerator for at least 1 hour, or until the chocolate topping is firm and everything is set. For best results, keep your Chocolate Peanut Butter Rice Krispie Cups chilled until you’re ready to serve.
How to Serve Chocolate Peanut Butter Rice Krispie Cups
Garnishes
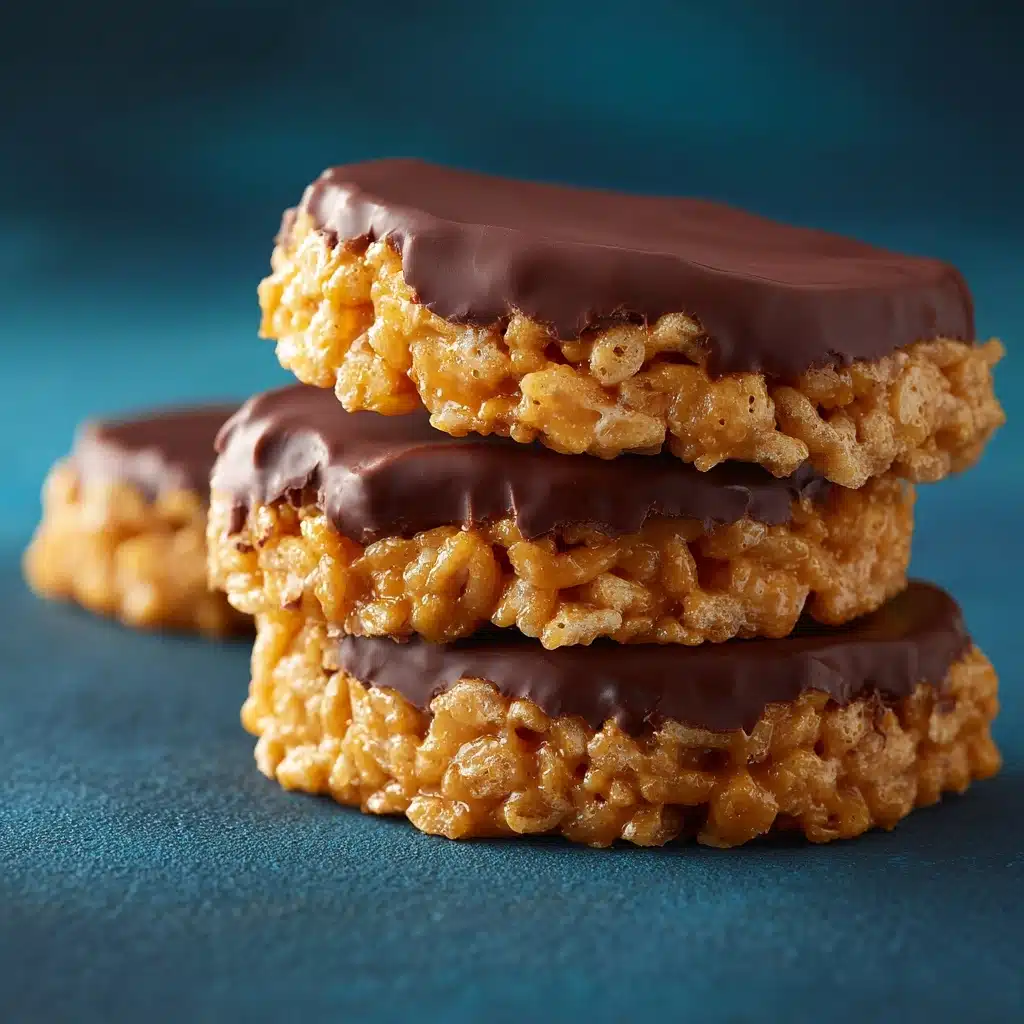
For a little extra flair, sprinkle the tops with flaky sea salt, chopped roasted peanuts, or mini chocolate chips just after spreading the chocolate (before it sets). These small touches add wonderful texture and a pop of elegance—plus, that salty accent truly makes the chocolate flavor sing.
Side Dishes
Though they’re absolutely satisfying on their own, Chocolate Peanut Butter Rice Krispie Cups pair beautifully with fresh strawberries or sliced bananas for a vibrant, fruity balance. Serving them alongside a scoop of vanilla or banana ice cream turns these cups into an all-out dessert experience worth savoring!
Creative Ways to Present
Give your Chocolate Peanut Butter Rice Krispie Cups a playful twist by slicing them in half and presenting on a tiered platter, or stack them in a clear jar with ribbons for a homemade gift. For parties, stick a popsicle stick into each cup before chilling to turn them into handheld “pops” everyone will love.
Make Ahead and Storage
Storing Leftovers
After they’re fully set, transfer your Chocolate Peanut Butter Rice Krispie Cups to an airtight container and store them in the fridge. They’ll stay fresh and delicious for up to one week—although good luck making them last that long!
Freezing
If you want to make a big batch ahead of time, these cups freeze beautifully. Layer them in a freezer-safe container with parchment between each layer to prevent sticking, and freeze for up to 2 months. Thaw in the fridge or at room temperature before enjoying—easy peasy!
Reheating
These treats are best served cold or at room temperature, so no reheating required. If the chocolate feels extra firm straight from the freezer, give them a minute or two on the counter to soften just enough for that perfect bite.
FAQs
Can I use a different cereal instead of Rice Krispies?
Absolutely! While Rice Krispies create that classic crispy texture, you can experiment with puffed quinoa, cornflakes, or even cocoa-flavored cereal for a new spin on Chocolate Peanut Butter Rice Krispie Cups.
What type Dessert
Creamy peanut butter gives you the smoothest, stickiest base for binding the cereal together, but crunchy peanut butter can add an extra layer of crunch if you’re feeling adventurous. Natural or classic commercial varieties both work—just make sure it’s stirrable!
How do I make these nut-free?
For a nut-free version, substitute sunflower seed butter or soy nut butter for the peanut butter. The results are equally tasty and safe for those with nut allergies.
Can I make these vegan?
Yes—simply use maple syrup or agave instead of honey, and opt for dairy-free chocolate chips. Be sure to check your cereal for hidden animal products to keep things fully plant-based.
Can I double the recipe?
No problem! Just double all of the ingredients and use two muffin tins (or work in batches). The process and chill time remain essentially the same, so you can scale up for parties or to keep sweet snacks on hand all week.
Final Thoughts
I can’t say enough about the magic of Chocolate Peanut Butter Rice Krispie Cups—they’re easy, versatile, and downright delicious. Trust me, once you make a batch, they’ll disappear faster than you’d expect! Give this recipe a try and delight in every heavenly bite. Let these little treats become your new sweet obsession!
Print
Chocolate Peanut Butter Rice Krispie Cups Recipe
- Total Time: 1 hour 15 minutes
- Yield: 12 cups 1x
- Diet: Vegetarian
Description
These Chocolate Peanut Butter Rice Krispie Cups are a delightful no-bake treat that combines the flavors of creamy peanut butter and rich chocolate in a crunchy, sweet package. Easy to make and perfect for satisfying your sweet tooth cravings!
Ingredients
Rice Krispie Cups:
- 2 cups Rice Krispies cereal
- 3/4 cup creamy peanut butter
- 1/4 cup honey or maple syrup
- 1/2 teaspoon vanilla extract
Chocolate Topping:
- 1 cup semi-sweet chocolate chips
- 1 tablespoon coconut oil
Instructions
- Prepare Rice Krispie Cups: Line a muffin tin with paper liners. In a saucepan, combine peanut butter and honey over low heat until smooth. Remove from heat, add vanilla, and mix with Rice Krispies. Spoon mixture into muffin liners.
- Make Chocolate Topping: Melt chocolate chips and coconut oil in the microwave. Pour over Rice Krispie cups.
- Chill and Serve: Refrigerate for at least 1 hour. Enjoy chilled!
Notes
- For a crunchier texture, use crunchy peanut butter.
- Substitute almond or sunflower seed butter for peanut-free version.
- To make vegan, use maple syrup and dairy-free chocolate chips.
- Prep Time: 10 minutes
- Cook Time: 5 minutes
- Category: Dessert
- Method: No-Bake
- Cuisine: American
Nutrition
- Serving Size: 1 cup
- Calories: 210
- Sugar: 13g
- Sodium: 85mg
- Fat: 13g
- Saturated Fat: 5g
- Unsaturated Fat: 7g
- Trans Fat: 0g
- Carbohydrates: 20g
- Fiber: 2g
- Protein: 4g
- Cholesterol: 0mg
