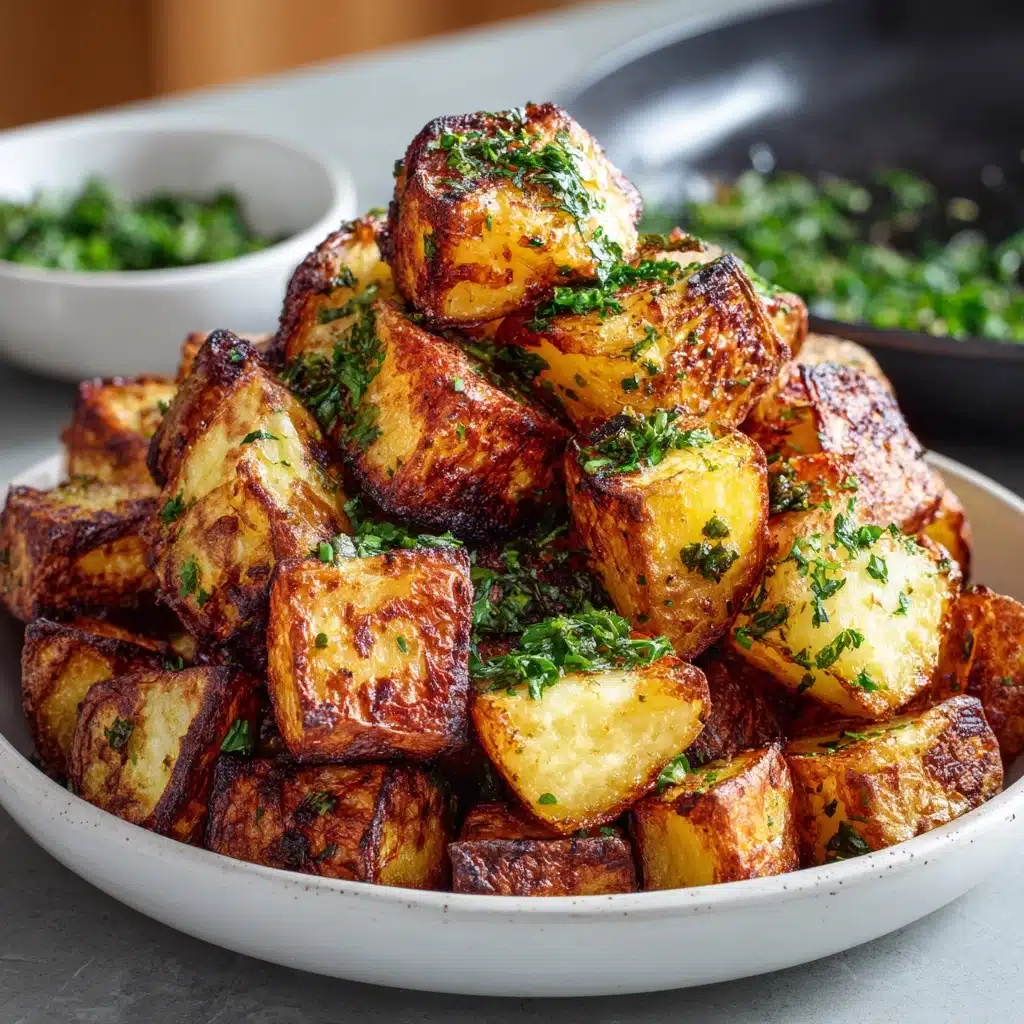
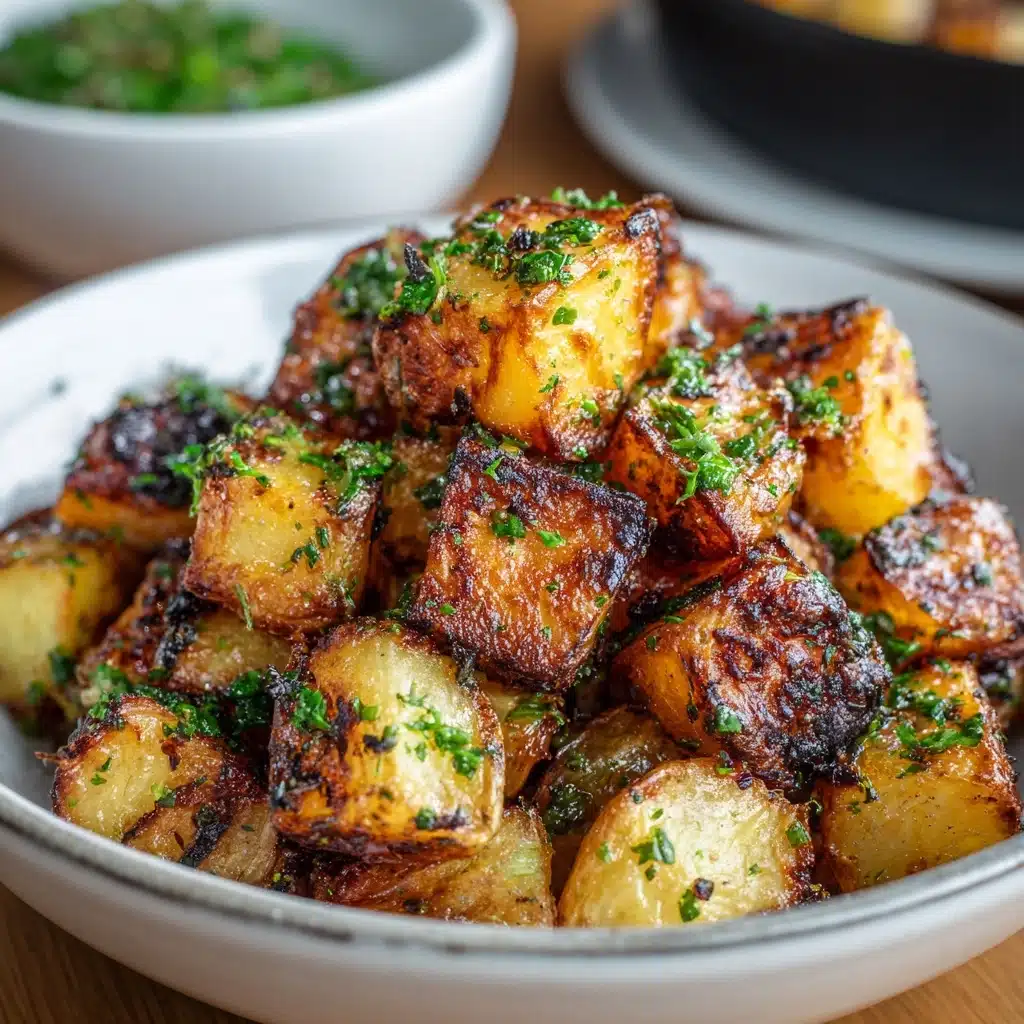
If you’re a lover of all things crispy, cheesy, and impossible to just eat one, then you absolutely have to try these Delicious Garlic Potato Pops! Imagine golden, bite-sized potato balls, crisp on the outside and deliciously tender inside, overflowing with melty cheddar and a hit of fresh garlic. They’re perfect for parties, game night, or whenever you want to serve up something wildly snackable that everyone will beg you to make again. Trust me, once you try these, you’ll be dreaming up excuses to whip up another batch of Delicious Garlic Potato Pops!
Ingredients You’ll Need
The beauty of Delicious Garlic Potato Pops is their simplicity—each ingredient plays an important part in creating the irresistible layers of flavor, color, and crunch that make these so crave-worthy. Let’s break down the key players!
- Mashed potatoes (2 cups, preferably cold): Cold mashed potatoes give you perfect structure, so your pops hold together for the crispiest finish.
- Shredded cheddar cheese (1 cup): Melty cheddar brings gooey richness that pairs beautifully with the potatoes.
- Garlic, minced (3 cloves): Fresh garlic infuses each bite with unmistakable flavor and aroma.
- Fresh parsley, chopped (2 tablespoons): Brightens up the pops with freshness and color—don’t skip it!
- Salt (½ teaspoon): Balances and deepens the savory flavors.
- Black pepper (¼ teaspoon): Adds just a gentle kick and warmth.
- Paprika (½ teaspoon): Lends subtle smoky undertones and gorgeous color.
- Large egg (1): Helps everything stick together and gives you a gorgeous golden coating.
- All-purpose flour (1 cup): The first layer for that signature crunch.
- Panko breadcrumbs (1 cup): Japanese panko creates the ultimate crispy exterior—trust me, it’s worth picking up!
- Oil for frying: Choose a neutral oil like vegetable or canola for even frying and a super light, crisp result.
How to Make Delicious Garlic Potato Pops
Step 1: Mix Up the Magic
Start by grabbing a large bowl and combining your cold mashed potatoes, cheddar cheese, minced garlic, chopped parsley, salt, black pepper, and paprika. Blend everything thoroughly—don’t worry about over-mixing, you want the cheese and herbs to be evenly distributed throughout the mixture so every bite tastes incredible. The aroma alone at this step is enough to make your mouth water!
Step 2: Shape Your Potato Pops
Now for the fun part: shape the mixture into small balls, about one inch in diameter. Rolling with your hands is easiest. If they’re feeling sticky, give your hands a quick rinse and keep going. You should end up with gorgeous little balls—resist snacking just yet! Place them on a tray and pop them into the refrigerator for 15 to 20 minutes. Chilling is key for helping them hold their shape when it’s time to coat and fry.
Step 3: Get Ready to Coat
Meanwhile, set up your breading station. You’ll need three shallow bowls: one with flour, one with the beaten egg, and one with panko breadcrumbs. Once your potato balls have chilled and firmed up, roll each one in flour (tap off the excess), then dip in egg, and finally roll in panko so they’re thoroughly coated. This is what gives Delicious Garlic Potato Pops their signature crunch!
Step 4: Fry to Perfection
Heat oil in a deep skillet or fryer to 350°F (175°C). Test the oil with a breadcrumb—if it sizzles right away, you’re good to go. Gently lower the coated potato pops into the hot oil in small batches. Fry for 2–3 minutes, turning occasionally, until beautifully golden brown. Remove with a slotted spoon and let them drain on paper towels so they stay crisp, not greasy. Be strong—they’ll smell amazing, but give them a minute or two to cool!
Step 5: Serve and Savor
Serve your Delicious Garlic Potato Pops warm, right away, with your favorite dipping sauce. Ketchup, ranch, or a simple garlic aioli all work wonders. You’ll be the hero of any get-together, guaranteed!
How to Serve Delicious Garlic Potato Pops

Garnishes
Give your pops a restaurant-style finish! Sprinkle with extra fresh parsley for a burst of color, or try finely chopped chives or a little dusting of smoked paprika to make the flavors pop. A grating of parmesan on top before serving is never a bad idea with these Delicious Garlic Potato Pops.
Side Dishes
While they shine brilliantly on their own, these pops pair wonderfully with crisp green salads, creamy coleslaw, or even a vibrant tomato-cucumber salsa. For a comfort food feast, serve them alongside roasted veggies or as a fun alternative to fries with burgers and sandwiches—they’re so versatile!
Creative Ways to Present
For parties, try skewering three or four Delicious Garlic Potato Pops on a bamboo stick for playful finger food. Arrange them on a platter with a duo of dips for eye-catching color, or serve in small paper cones for a fun, street-food vibe. They’re ready to fit any occasion—think lunchbox treats, picnics, or even as cheeky brunch bites!
Make Ahead and Storage
Storing Leftovers
If you’re lucky enough to have leftovers, store them in an airtight container in the refrigerator. These pops reheat beautifully and will remain delightfully crispy for up to two days, making them perfect for quick snacks or a late-night treat.
Freezing
Delicious Garlic Potato Pops freeze like a dream! Once breaded, but before frying, lay them on a tray and freeze solid. Transfer to a freezer bag or container for up to two months. When you’re ready, fry from frozen (no thawing needed)—they might need an extra minute or two in the oil, but they’ll come out perfectly.
Reheating
For best results, reheat in a 375°F oven for 8–10 minutes to restore their crispy exterior. While microwaving works in a pinch, the pops won’t stay as crunchy. An air fryer is a fantastic option, too—just a few minutes and they’re as good as fresh!
FAQs
Can I use instant mashed potatoes to make Delicious Garlic Potato Pops?
Absolutely! As long as your mashed potatoes are thick and not too creamy, instant works just fine. Just make sure to let them cool before shaping for the best texture.
Can I bake these instead of frying?
Yes, if you want a lighter version, you can bake Delicious Garlic Potato Pops in a 400°F oven for 15–20 minutes. Give them a quick spritz with cooking spray to encourage browning and crispiness.
What dipping sauces go best with Delicious Garlic Potato Pops?
These pops are incredibly versatile! Classic ketchup, creamy ranch, spicy sriracha mayo, or a herby yogurt dip all pair beautifully. Let your taste buds decide for you!
Can I make Delicious Garlic Potato Pops ahead of time?
Definitely! Prep and bread the pops in advance, then refrigerate until you’re ready to fry. You can also freeze them after breading for future snacking whenever the craving strikes.
How can I add extra flavor?
Try mixing in chopped chives, a sprinkle of parmesan, or even a bit of diced jalapeno for a spicy twist. Delicious Garlic Potato Pops are wonderfully adaptable—make them your own!
Final Thoughts
I can’t recommend these Delicious Garlic Potato Pops enough—they’re that happy mix of comfort food and party treat you’ll find yourself making again and again. Give them a try, share with friends, and don’t be surprised if you start getting requests to bring them to every gathering. You’ll fall in love with every crispy, cheesy, garlicky bite!
Print
Delicious Garlic Potato Pops Recipe
- Total Time: 35 minutes
- Yield: 6 servings 1x
- Diet: Vegetarian
Description
Delicious Garlic Potato Pops are crispy, flavorful bites of mashed potatoes mixed with cheddar cheese and garlic, coated in breadcrumbs, and fried until golden brown. Perfect as a party appetizer or a fun snack.
Ingredients
Mashed Potato Balls:
- 2 cups mashed potatoes (preferably cold)
- 1 cup shredded cheddar cheese
- 3 cloves garlic (minced)
- 2 tablespoons chopped fresh parsley
- ½ teaspoon salt
- ¼ teaspoon black pepper
- ½ teaspoon paprika
- 1 large egg
Breading and Frying:
- 1 cup all-purpose flour
- 1 cup panko breadcrumbs
- Oil for frying
Instructions
- Mix the Potato Mixture: In a large bowl, combine mashed potatoes, cheddar cheese, minced garlic, parsley, salt, pepper, and paprika. Shape into 1-inch balls.
- Chill the Balls: Refrigerate the potato balls for 15–20 minutes to firm up.
- Prepare Breading Stations: Set up bowls with flour, beaten egg, and breadcrumbs.
- Bread the Potato Balls: Roll each ball in flour, dip in egg, then coat with breadcrumbs.
- Fry: Heat oil to 350°F (175°C) and fry the potato pops until golden brown, about 2–3 minutes per batch.
- Drain and Serve: Remove from oil, drain on paper towels, and serve warm with dipping sauce.
Notes
- You can bake these in a 400°F oven for 15–20 minutes as a healthier alternative.
- For added flavor, consider mixing in chopped chives or green onions to the potato mixture.
- Prep Time: 25 minutes
- Cook Time: 10 minutes
- Category: Appetizer
- Method: Frying
- Cuisine: American
Nutrition
- Serving Size: 4–5 pops
- Calories: 220
- Sugar: 1g
- Sodium: 390mg
- Fat: 11g
- Saturated Fat: 4g
- Unsaturated Fat: 6g
- Trans Fat: 0g
- Carbohydrates: 23g
- Fiber: 2g
- Protein: 6g
- Cholesterol: 40mg