
“`html
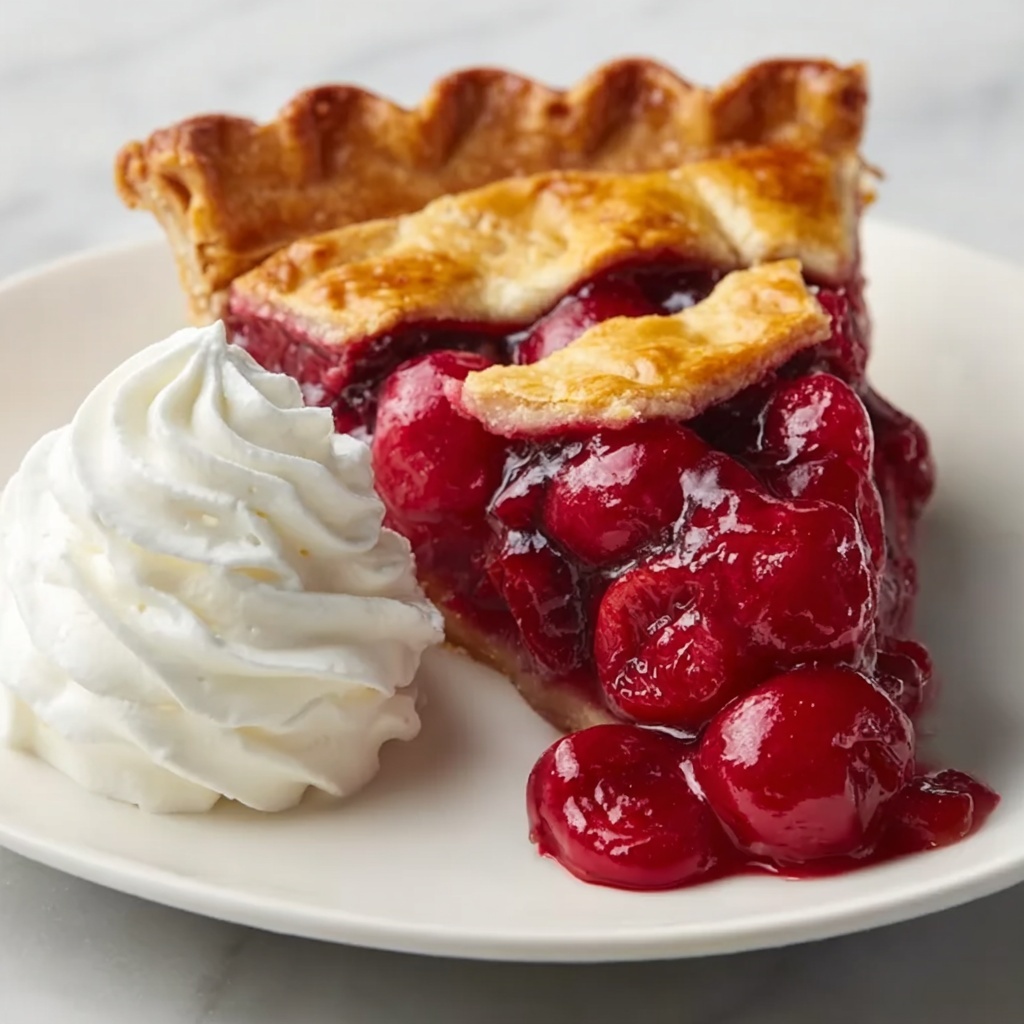
If you’ve ever wanted to whip up a delightful dessert that feels like a warm hug in pie form, this Easy Canned Cherry Pie Recipe is your new best friend. Using simple pantry staples and a trusty canned cherry pie filling, this recipe delivers a fruit-filled, tangy, and sweet experience with a flaky golden crust that will impress everyone at your table. It’s straightforward enough for beginners, but the flavor is anything but basic — a perfect sweet ending to any meal or a cozy treat to share on a quiet afternoon.
Ingredients You’ll Need
The charm of this Easy Canned Cherry Pie Recipe lies in its simplicity and how the few ingredients work together beautifully. Each component plays a key role, whether it’s adding vibrant color, juicy sweetness, or that perfect crust texture we all love.
- 1 (21 oz) can of tart cherry pie filling: The star of the show, offering a luscious cherry flavor and perfect consistency.
- 1/2 cup granulated sugar: Sweetens the cherries just enough while allowing their tartness to shine through.
- 2 tablespoons cornstarch: A thickening agent that ensures your filling is perfectly set without being runny.
- 1 teaspoon lemon juice: Adds a refreshing brightness to balance the sweetness.
- 1/4 teaspoon almond extract (optional): A subtle, nutty note that elevates the cherry flavor deliciously.
- 1 pre-made double pie crust: Saves time while delivering that buttery, flaky texture essential for great pie.
- 1 egg (beaten): Used for the egg wash that gives the crust a gorgeous golden sheen.
- 1 tablespoon sugar (optional): Sprinkled on the crust for a slight crunch and sparkle once baked.
How to Make Easy Canned Cherry Pie Recipe
Step 1: Preheat Your Oven
Start by heating your oven to 375°F (190°C) and place a rack in the middle. This ensures your pie bakes evenly and the crust develops that perfect golden brown color we all crave.
Step 2: Prepare the Cherry Filling
In a saucepan, combine the canned cherry pie filling, sugar, and lemon juice. Mix your cornstarch with 2 tablespoons of cold water to create a smooth slurry, then stir it into the cherry mixture. Cook over medium heat, stirring constantly until the filling thickens slightly. This step is crucial to avoid a runny pie filling. Remove from heat and, if you love that hint of warmth, stir in the almond extract before letting it cool completely.
Step 3: Prep the Pie Crust
Roll out the bottom crust and gently press it into a 9-inch pie pan. Trim the edges, leaving around half an inch hanging over. Use a fork to prick the bottom crust in multiple places—this little trick prevents bubbling during baking, making sure your crust stays beautifully flat and crisp.
Step 4: Assemble the Pie
Pour your cooled cherry filling into the crust. Roll out the second crust and place it on top. You can fully cover the pie and cut small vents to let steam escape, or make the classic lattice weave—either way looks impressive and lets the cherry aroma shine through. Finish by crimping the edges to seal everything tightly.
Step 5: Add Finishing Touches
Brush the top crust with the beaten egg to give it that beautiful golden glow when baked. For an extra touch of sweetness and lovely texture, sprinkle sugar evenly on top before sliding the pie into the oven.
Step 6: Bake the Pie
Place the pie on a baking sheet to catch any drips, then bake for 45 to 50 minutes. Look for a golden crust and bubbling filling steaming through the vents. That bubbling is your sign that the filling is perfectly cooked and ready to delight.
Step 7: Cool and Serve
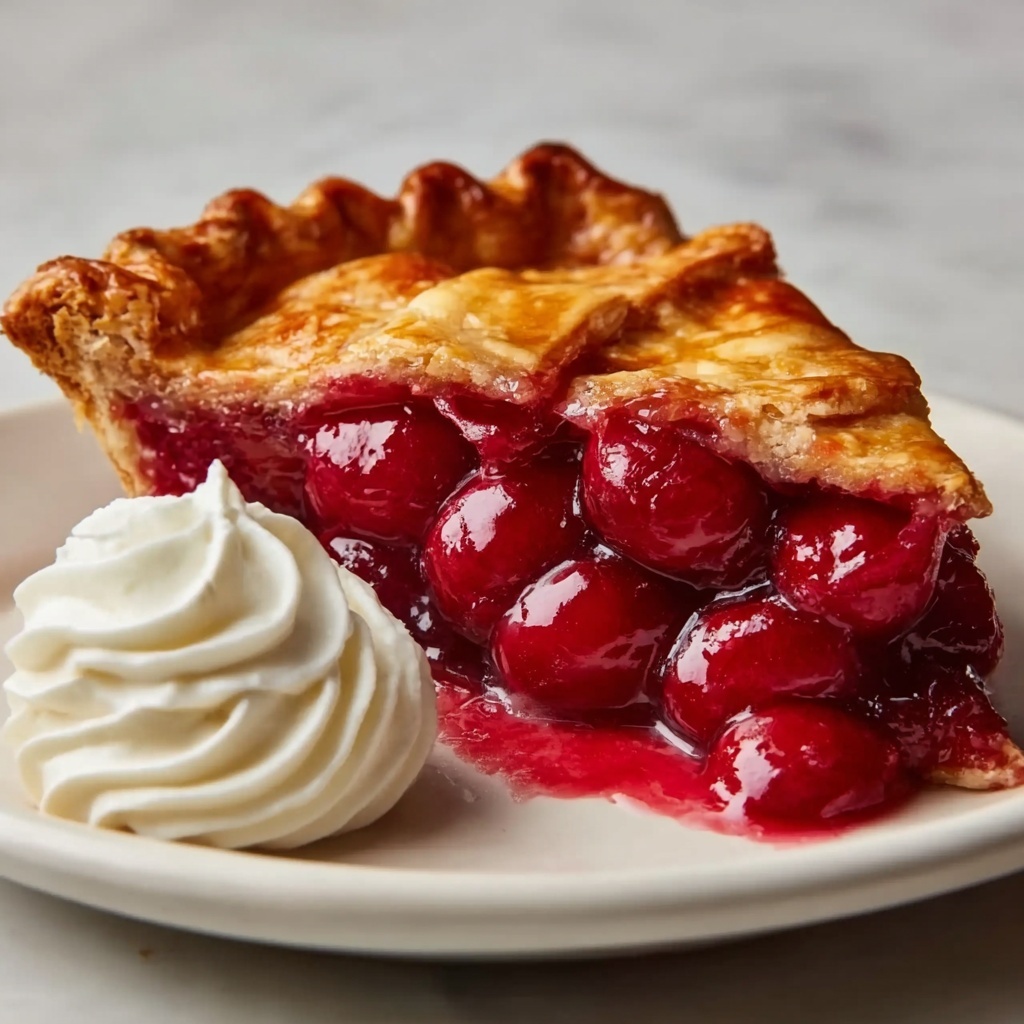
Patience is key here! Let your pie cool for at least 2 hours at room temperature to allow the filling to set elegantly. This makes slicing much easier and lets the flavors marry beautifully. Serve with a dollop of whipped cream or a scoop of vanilla ice cream to take your Easy Canned Cherry Pie Recipe to the next level of indulgence.
How to Serve Easy Canned Cherry Pie Recipe
Garnishes
While the pie shines on its own, a sprinkle of powdered sugar or a fresh cherry on top adds a lovely visual pop. A few mint leaves also give a surprising freshness that pairs wonderfully with cherry’s natural tartness.
Side Dishes
For a truly cozy dessert experience, serve your cherry pie alongside classic vanilla ice cream or creamy whipped cream. A cup of hot coffee or tea rounds out the presentation perfectly, especially on chilly evenings or festive gatherings.
Creative Ways to Present
Think beyond traditional slicing: consider individual mini pies or hand pies using the same filling for a fun, portable treat. You can also serve warm pie in a rustic bowl with spoonfuls of cream or even layered with yogurt for an impressive parfait twist that surprises and delights.
Make Ahead and Storage
Storing Leftovers
Once your Easy Canned Cherry Pie Recipe has cooled, cover it loosely with plastic wrap or foil. Store in the refrigerator for up to 4 days. Keeping it chilled helps maintain the crust’s texture while the filling stays luscious and fresh.
Freezing
If you want to make this pie in advance, go for freezing. Wrap the unbaked pie tightly in plastic wrap and foil, then freeze for up to 2 months. When ready to enjoy, thaw overnight in the fridge and bake according to the recipe instructions.
Reheating
For reheating, warm individual slices in a microwave for about 30 seconds or place the whole pie in a 350°F oven for 10-15 minutes to revive that freshly baked crispness. Just keep an eye on it so it doesn’t overcook.
FAQs
Can I use fresh cherries instead of canned filling?
Absolutely! You’ll just need to cook down fresh pitted cherries along with sugar, cornstarch, and a splash of lemon juice to replicate the canned filling’s consistency and flavor before assembling the pie.
What if I don’t have almond extract?
That’s no problem—the almond extract is optional but adds a wonderful depth. You can skip it entirely or substitute with vanilla extract for a different but equally tasty twist.
How do I prevent a soggy bottom crust?
Pricking the bottom crust with a fork helps prevent bubbles and sogginess. Additionally, partially baking the bottom crust for 5-7 minutes before adding the filling can help create a barrier that keeps it crisp.
Can I make this pie vegan?
Yes! Use a vegan pie crust and substitute the egg wash with a little plant-based milk or maple syrup brushed on top. Double-check your canned cherry filling ingredients to confirm they’re vegan-friendly.
How long does the pie take to set after baking?
A good 2-hour cooling period at room temperature allows the filling to thicken and set nicely, making each slice clean and satisfying without a runny filling mess.
Final Thoughts
This Easy Canned Cherry Pie Recipe is one of those comforting classics that feels like the perfect kind of home-baked love. Whether you’re celebrating a special occasion or just craving a sweet treat, this pie is reliable, quick, and downright delicious. I encourage you to try it out soon—you might just find it becomes one of your favorite go-to desserts!
“`
Print
Easy Canned Cherry Pie Recipe
- Prep Time: 20 minutes
- Cook Time: 50 minutes
- Total Time: 2 hours 70 minutes
- Yield: 8 servings
- Category: Dessert
- Method: Baking
- Cuisine: American
Description
This Easy Canned Cherry Pie recipe offers a quick and delicious way to enjoy a classic dessert using convenient canned cherry pie filling. With a flaky double crust and a luscious, sweet-tart cherry filling thickened to perfection, this pie is perfect for any occasion. The recipe includes simple steps to prepare the filling, assemble the pie with a traditional or lattice crust, and bake it to golden perfection. Serve warm or cooled with whipped cream or vanilla ice cream for a satisfying treat.
Ingredients
For the Filling:
- 1 (21 oz) can of tart cherry pie filling
- 1/2 cup granulated sugar (adjust to taste)
- 2 tablespoons cornstarch (or flour as a thickener)
- 1 teaspoon lemon juice
- 1/4 teaspoon almond extract (optional)
For the Crust:
- 1 pre-made double pie crust (or homemade, if preferred)
- 1 egg (beaten, for egg wash)
- 1 tablespoon sugar (optional, for sprinkling on the crust)
Instructions
- Preheat the Oven: Preheat your oven to 375°F (190°C) and place a rack in the center position to ensure even baking of the pie.
- Prepare the Filling: In a saucepan over medium heat, combine the canned tart cherry pie filling, 1/2 cup granulated sugar, and 1 teaspoon lemon juice. Mix 2 tablespoons of cornstarch with 2 tablespoons of water to form a slurry, then stir it into the filling mixture. Cook while stirring constantly until the filling thickens slightly. Remove from heat and stir in 1/4 teaspoon almond extract if using. Allow the filling to cool completely before assembling.
- Prepare the Crust: Roll out the bottom pie crust and gently press it into a 9-inch pie pan. Trim the edges, leaving about 1/2 inch of overhang. Prick the bottom of the crust with a fork to prevent bubbles from forming during baking.
- Assemble the Pie: Pour the cooled cherry filling into the prepared bottom crust. Roll out the second crust and place it on top. You can either cover the pie fully and cut small vents to allow steam to escape or create a decorative lattice crust by weaving strips of dough. Crimp the edges to seal the pie well.
- Add Finishing Touches: Brush the top crust with the beaten egg wash to promote a golden, shiny finish. Sprinkle 1 tablespoon sugar over the top if desired for extra sweetness and sparkle.
- Bake the Pie: Place the assembled pie on a baking sheet to catch any drips and bake in the preheated oven for 45-50 minutes. Bake until the crust is golden brown and the filling is bubbling through the vents.
- Cool and Serve: Remove the pie from the oven and let it cool completely for at least 2 hours. This allows the filling to set properly. Serve slices with whipped cream or vanilla ice cream for an extra special touch.
Notes
- Adjust the sugar in the filling to your taste depending on the sweetness of the canned cherry filling.
- Using cornstarch helps to thicken the filling, but flour can be substituted if preferred.
- The almond extract is optional but adds a nice depth of flavor that complements the cherries.
- Pricking the bottom crust prevents bubbling and ensures an even bake.
- Allowing the pie to cool fully is essential for clean slicing and proper filling consistency.
- Using a baking sheet under the pie helps catch any filling spills and keeps your oven clean.


