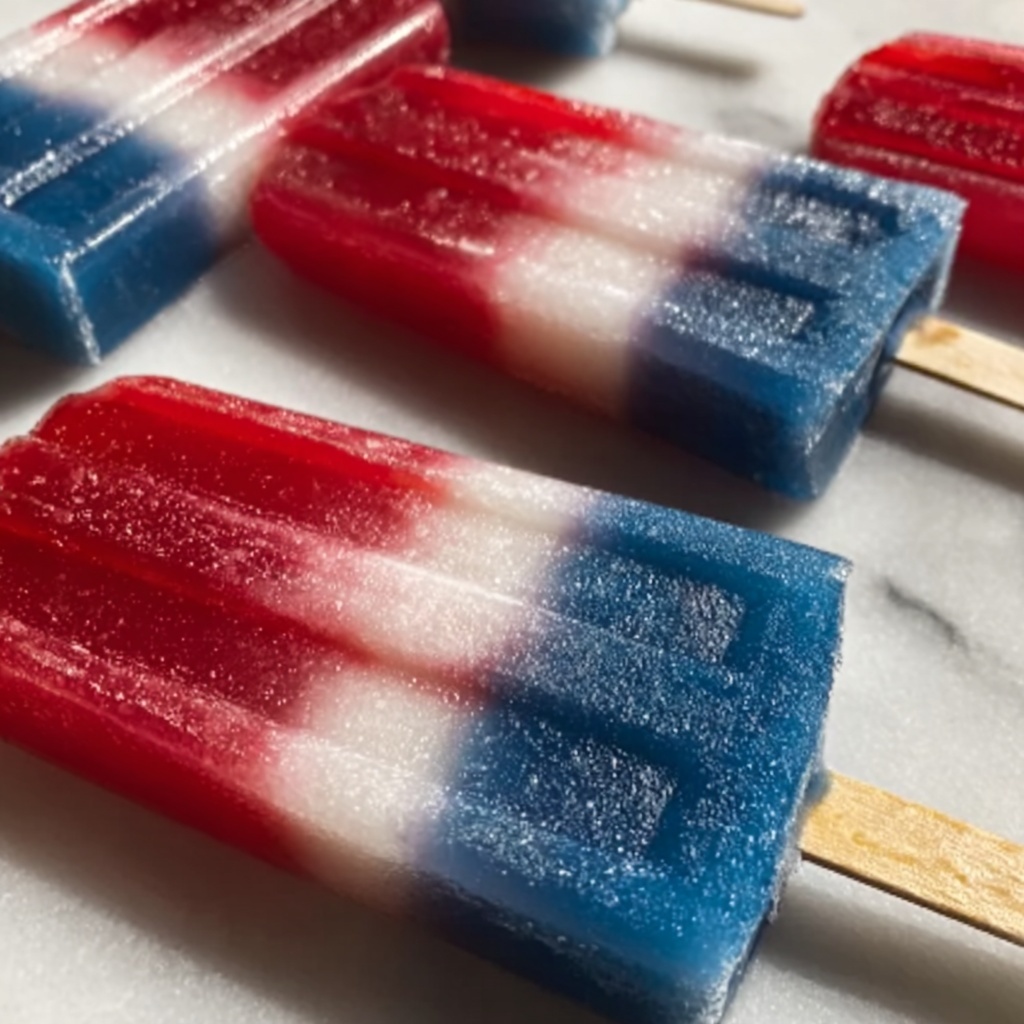
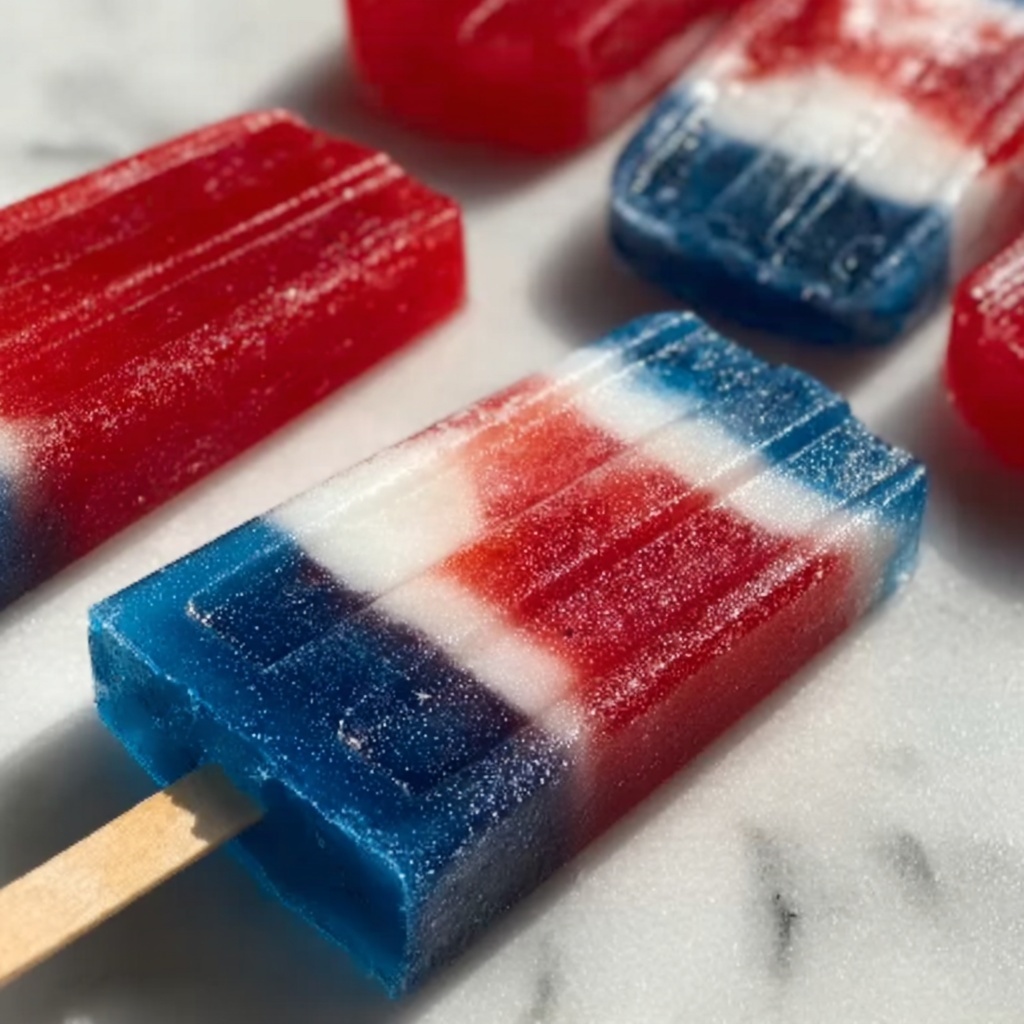
If you’re looking to relive those fun summer memories with a bright, colorful treat, you absolutely need to try this Homemade Bomb Pop Slushies Recipe. These vibrant, layered slushies capture the classic bomb pop flavors—tangy cherry red, creamy white lemonade, and zesty blue raspberry—all in a refreshing icy form that’s perfect for cooling down on a warm day. Whether you’re entertaining friends or just craving a nostalgic twist, this recipe will bring a burst of flavor and joy to your kitchen with every icy sip.
Ingredients You’ll Need
Getting started is simple because the ingredients for this Homemade Bomb Pop Slushies Recipe are familiar but essential. Each one plays a special role, whether it’s adding sweetness, color, or that signature slushy texture. Let’s break down what you’ll need:
- Water: The base of the gelatin mixture which helps create that perfect icy texture.
- Granulated sugar: Sweetens the layers just right without overpowering the natural fruit flavors.
- Unflavored gelatin: Key to giving the slushies their slushy yet slightly firm structure, so they hold the shape in layers.
- Lemonade: Adds a bright, tart white layer that provides refreshing contrast between the fruity reds and blues.
- Cherry juice: The vibrant red part of these slushies, offering an authentic, rich cherry flavor.
- Blue raspberry syrup: Brings that unmistakable blue color and zesty sweetness to the final layer.
- Ice pop molds: Essential for forming the iconic bomb pop shape, choose molds that can hold about 6 to 8 pops depending on size.
How to Make Homemade Bomb Pop Slushies Recipe
Step 1: Prepare Your Ingredients and Gelatin Mixture
Start by mixing the granulated sugar into 2 cups of water over medium heat until the sugar completely dissolves. Remove from heat, then sprinkle the unflavored gelatin over the mixture, letting it bloom for about 5 minutes. This gelatin base will be divided among the layers to help create the perfect slushy texture that freezes beautifully.
Step 2: Create the Red Cherry Layer
Take 1 cup of cherry juice and carefully mix it into one-third of the gelatin mixture. Pour this vibrant red blend into your ice pop molds as the first layer. Freeze for 1 full hour so it sets nicely before adding the next layer.
Step 3: Make the White Lemonade Layer
Next, mix 1 cup of lemonade with another portion of the gelatin mixture. This tangy white layer offers a refreshing break between the fruit flavors while keeping that smooth texture. Pour this gently over the frozen red layer and freeze again for another hour.
Step 4: Prepare the Blue Raspberry Layer
Now, stir the blue raspberry syrup into the remaining gelatin base. This striking blue layer completes the nostalgic tri-color look and flavor of the bomb pop. Pour it over the set white layer carefully to keep the colors distinct. Freeze the molds for at least 4 hours, or until completely firm.
Step 5: Unmold and Serve
Once fully frozen, run warm water over the outside of the molds for a few seconds to loosen the slushies, then gently pull them out. Your Homemade Bomb Pop Slushies Recipe is now ready to wow anyone with their classic colors and cool, refreshing taste!
How to Serve Homemade Bomb Pop Slushies Recipe

Garnishes
Adding a few extra touches can elevate your Homemade Bomb Pop Slushies Recipe. Try sprinkling a little coarse sugar or popping a tiny umbrella in each slushie to channel that beachy summertime vibe. Fresh mint leaves on the side can also provide a subtle aroma and a pop of green that contrasts beautifully with the red, white, and blue layers.
Side Dishes
Pair these slushies with fun and easy snacks like salty popcorn, soft pretzels, or even fresh fruit skewers. The sweet and tart flavors of the slushies complement salty or crunchy treats perfectly, making your snack time wonderfully balanced and satisfying.
Creative Ways to Present
For a festive twist, serve your Homemade Bomb Pop Slushies Recipe in clear glasses layered to mimic the original popsicle colors with crushed ice. You could also set up a DIY slushie bar where guests can mix flavors or add toppings, turning your gathering into a playful and interactive experience.
Make Ahead and Storage
Storing Leftovers
If you find yourself with extra slushie mixture or pops, store them in airtight containers in the freezer. To avoid freezer burn or ice crystals, wrap popsicles individually with plastic wrap before sealing them in a container.
Freezing
The gelatin base helps these slushies freeze to that perfect slushy consistency. Freeze your slushies for at least 4 hours or overnight to ensure each layer is solid before adding the next. This step is critical to maintain their distinctive layered look and texture.
Reheating
Unlike traditional slushies, these gelatin-based treats don’t need reheating. If they get too hard, simply let them sit at room temperature for a few minutes before enjoying. Running a little warm water on the mold can help loosen the pops without melting them.
FAQs
Can I use fresh fruit juice instead of store-bought juices?
Absolutely! Freshly squeezed cherry juice and homemade lemonade can make your Homemade Bomb Pop Slushies Recipe even more vibrant and flavorful. Just be sure to strain any pulp or solids for a smooth texture and adjust the sweetness if needed.
What if I don’t have blue raspberry syrup? What can I substitute?
If you can’t find blue raspberry syrup, you can try blueberry syrup or a blue sports drink as an alternative. Keep in mind that the flavor might change slightly, but the iconic blue hue and tartness will still shine through.
Can I make these without gelatin?
Gelatin is key to achieving the perfect slushy texture that holds up in layers. Without it, your slushies may become icy and lose their structure. For a gelatin-free version, consider using agar-agar, but testing is recommended as texture results can vary.
How long can I store the slushies in the freezer?
Properly wrapped and stored, your Homemade Bomb Pop Slushies Recipe can last up to 2 weeks in the freezer. Beyond that, they might start to develop freezer burn or lose some flavor intensity.
Can I double or triple this recipe?
Definitely! Just keep the proportions the same and use larger molds or multiple batches. Making a bigger batch is perfect for parties or families who love this nostalgic treat as much as you do.
Final Thoughts
Nothing beats that classic triple-layered bomb pop in a fun, slushy form, and this Homemade Bomb Pop Slushies Recipe delivers all the vibrant color and sweet-tart flavors you expect plus a refreshing twist. It’s an easy, playful way to brighten up any day or party, so grab your ingredients and dive into this deliciously nostalgic adventure. Your taste buds will thank you!
Print
Homemade Bomb Pop Slushies Recipe
- Prep Time: 20 minutes
- Cook Time: Extra freezing time 6 hours
- Total Time: 6 hours 20 minutes
- Yield: 6 to 8 popsicles
- Category: Dessert
- Method: Freezing
- Cuisine: American
- Diet: Vegetarian
Description
Homemade bomb pops are a fun and nostalgic frozen treat featuring three vibrant layers of cherry, lemonade, and blue raspberry flavors. This recipe uses gelatin to set each colorful layer separately, creating a classic patriotic popsicle that’s perfect for summer days and gatherings.
Ingredients
Gelatin Mixture
- 2 cups water, divided
- 1 cup granulated sugar, divided
- 2 tablespoons unflavored gelatin
Flavored Layers
- 1 cup cherry juice (100% juice)
- 1 cup lemonade (freshly squeezed or store-bought)
- 1 cup blue raspberry syrup (or blue raspberry drink mix)
Others
- Ice pop molds (6 to 8 molds, depending on size)
Instructions
- Gather Ingredients: Assemble all necessary ingredients including water, sugar, gelatin, cherry juice, lemonade, blue raspberry syrup, and ice pop molds.
- Prepare Gelatin Mixture: In a saucepan, combine 1 cup water and 1/2 cup granulated sugar. Heat until sugar dissolves. Sprinkle 2 tablespoons unflavored gelatin over the remaining 1 cup cold water and let bloom for 5 minutes. Then add the gelatin to the warm sugar water and stir until fully dissolved. Divide this gelatin mixture evenly into three separate bowls for each flavor.
- Make Red Layer: Add 1 cup cherry juice to one portion of the gelatin mixture, stir well, then pour into ice pop molds to form the red layer. Freeze for 1 hour until partially set.
- Make White Layer: Add 1 cup lemonade to the second portion of the gelatin mixture, stir well, then carefully pour over the frozen red layer. Freeze for 1 hour until partially set.
- Make Blue Layer: Add 1 cup blue raspberry syrup to the last portion of the gelatin mixture, stir thoroughly, then pour over the frozen white layer. Freeze for at least 4 hours or until completely firm.
- Unmold Popsicles: Run warm water over the outside of the molds briefly to loosen the popsicles. Remove them carefully and serve immediately.
Notes
- Ensure each layer is fully or partially frozen before adding the next to keep colors distinct.
- Use 100% fruit juice for the best natural flavor or quality syrups for sweeter options.
- Adjust sugar to taste depending on syrup sweetness and juice natural sugars.
- If using blue raspberry drink mix instead of syrup, prepare it with water according to package instructions before mixing with gelatin.
- Be patient with freezing times to achieve clean, sharp layers.

