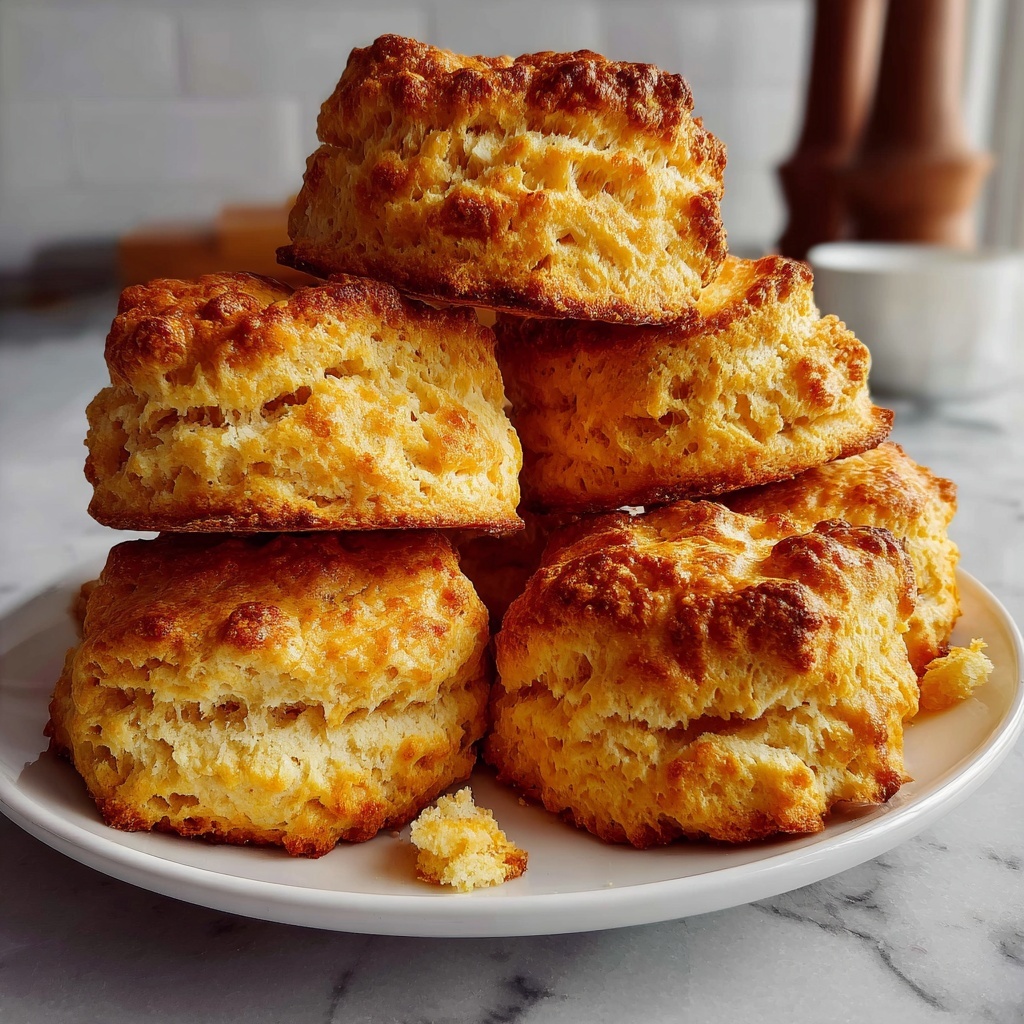
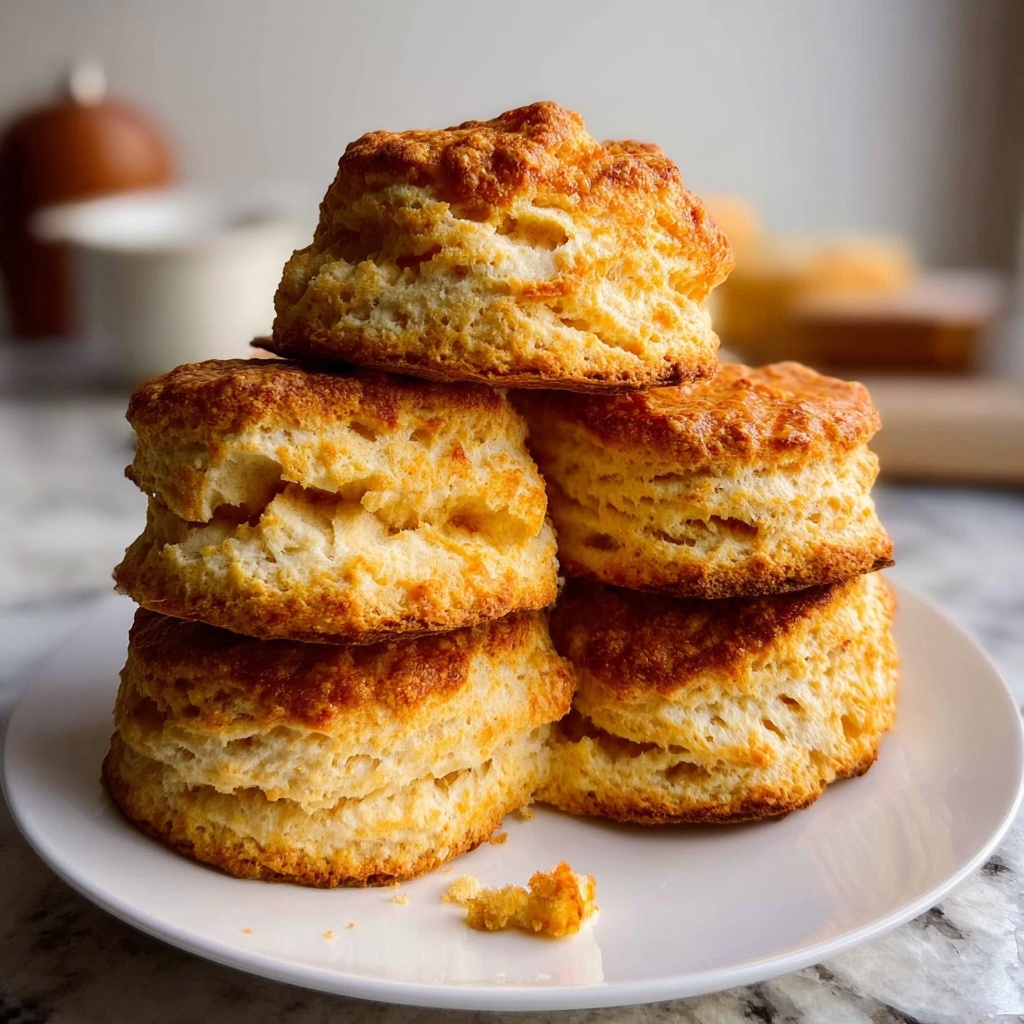
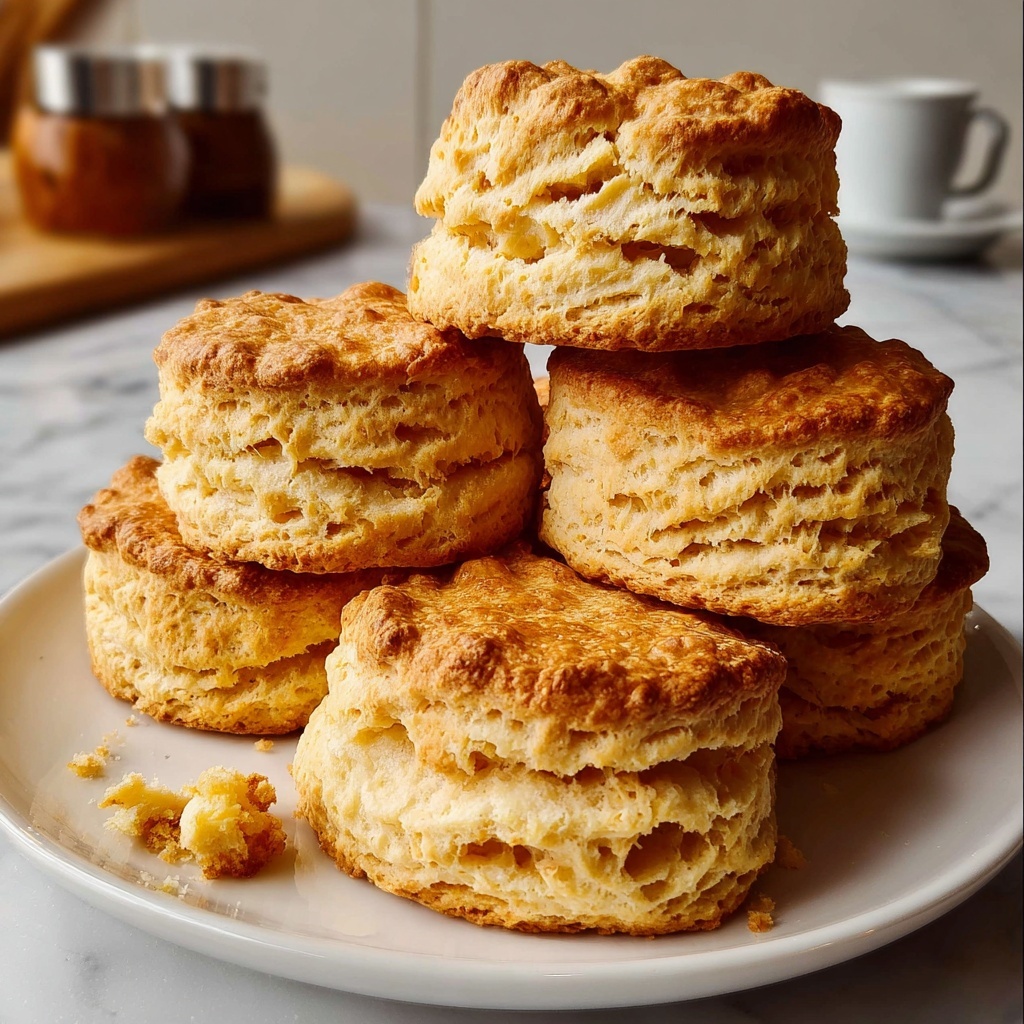
If you’re craving that perfect, flaky, melt-in-your-mouth biscuit that brings warmth to any meal, you’ve landed in just the right place. The Homemade Buttermilk Biscuits: 7 Steps to Comforting Bliss Recipe is all about simplicity and heart. With a handful of pantry staples and a bit of gentle love, you’ll create biscuits that have that comforting golden crust and tender crumb that just makes any breakfast, brunch, or snack feel like a cozy celebration. Let’s dive into this timeless recipe that’s sure to become your go-to for buttery, fluffy delight!
Ingredients You’ll Need
These ingredients are straightforward but absolutely essential to achieving that iconic biscuit texture and rich flavor. Each one plays a special role: the flour gives structure, the baking powder and soda add lift, salt enhances flavor, butter brings richness and flakiness, and buttermilk adds a gentle tang plus moisture.
- 2 cups all-purpose flour: The backbone of your biscuit, providing structure and that tender crumb.
- 1 tablespoon baking powder: This helps your biscuits rise beautifully and get that airy texture.
- 1/2 teaspoon baking soda: Works with the acidity in buttermilk to give an extra boost in fluffiness.
- 1 teaspoon salt: Enhances all the flavors and balances the richness.
- 1/2 cup unsalted butter, cold and cubed: The secret to tender, flaky layers—make sure it’s cold to get that perfect texture.
- 3/4 cup buttermilk: Adds moisture and that tangy flavor that makes these biscuits truly special.
How to Make Homemade Buttermilk Biscuits: 7 Steps to Comforting Bliss Recipe
Step 1: Preheat Your Oven
Start by preheating your oven to 450°F (230°C). A hot oven is key to getting that golden crust, so don’t skip this crucial first step.
Step 2: Combine Dry Ingredients
In a large mixing bowl, whisk together the flour, baking powder, baking soda, and salt. This mix brings the right chemical reaction to create light, fluffy biscuits.
Step 3: Cut in the Cold Butter
Add the cold, cubed butter to your flour mixture. Use a pastry cutter or your fingertips to blend everything until it resembles coarse crumbs. The butter pockets create those dreamy flaky layers.
Step 4: Stir in the Buttermilk
Pour in the buttermilk and gently stir with a wooden spoon or spatula just until the dough comes together. Resist over-mixing here to keep your biscuits tender and soft.
Step 5: Knead Gently on a Floured Surface
Turn the dough onto a lightly floured surface and fold it over onto itself a few times, kneading gently. This builds just enough structure without toughening the biscuits.
Step 6: Roll and Cut Into Rounds
Roll the dough out to about 1-inch thickness. Using a biscuit cutter or even a glass, cut out rounds. Try not to twist the cutter to keep your edges as flaky as possible.
Step 7: Bake to Golden Perfection
Place the biscuit rounds on a baking sheet and bake for 12 to 15 minutes, until they puff up and turn beautifully golden. Serve them warm to enjoy their heavenly texture and flavor.
How to Serve Homemade Buttermilk Biscuits: 7 Steps to Comforting Bliss Recipe
Garnishes
Homemade buttermilk biscuits taste incredible with a simple pat of softened butter, a drizzle of honey, or your favorite jam. For a savory touch, try topping them with a little sharp cheddar or a sprinkle of fresh herbs for that extra pop.
Side Dishes
Pair these biscuits with classic comfort sides like creamy sausage gravy for breakfast, a vibrant tomato soup for lunch, or alongside roasted chicken and greens for dinner. They soak up sauces and gravies like a dream.
Creative Ways to Present
Try splitting the biscuits and layering them like mini sandwiches filled with fried chicken, bacon, or scrambled eggs. You can even make biscuit sliders or use the dough to create biscuit pot pies. The possibilities for this recipe are as endless as your imagination.
Make Ahead and Storage
Storing Leftovers
If you have any biscuits left over, store them in an airtight container at room temperature for up to two days to keep that soft texture intact.
Freezing
To enjoy these biscuits later, freeze them in a freezer-safe bag. They freeze wonderfully, maintaining their flavor and texture for up to 3 months.
Reheating
Warm your biscuits in a 350°F (175°C) oven for about 10 minutes or pop them in the microwave covered with a damp paper towel for around 20 seconds to bring back that fresh-from-the-oven softness.
FAQs
Can I use regular milk instead of buttermilk?
While regular milk can be used, buttermilk’s acidity reacts with the baking soda to create fluffy, tender biscuits. Substitute by adding 1 tablespoon of lemon juice or vinegar to 3/4 cup milk and let it sit for 5 minutes to mimic buttermilk.
Why does my biscuit dough need cold butter?
Cold butter remains solid until baking, creating steam pockets that puff up the biscuits and give them that flaky texture. Warm butter will melt too quickly and lead to dense biscuits.
Do I have to use a biscuit cutter?
You don’t have to. A sharp knife or a drinking glass rim works well, but avoid twisting the cutter when cutting to prevent sealing the edges, which stops the biscuits from rising properly.
Can I prepare the dough ahead of time?
Absolutely! You can prepare the dough and gently press it into a baking sheet, cover, and refrigerate for up to 24 hours before baking. This can actually improve the flavor and texture.
How do I know when the biscuits are done?
Look for a golden-brown top and bottom, and a light, risen appearance. They should spring back lightly when touched and smell fragrant with buttery goodness.
Final Thoughts
There’s something so wonderfully satisfying about making biscuits from scratch, and the Homemade Buttermilk Biscuits: 7 Steps to Comforting Bliss Recipe truly captures that. With just a few simple ingredients and a handful of steps, you can bring a warm, comforting touch to your table that everyone will love. Give it a try—you’re just moments away from biscuit bliss!
Print
Homemade Buttermilk Biscuits: 7 Steps to Comforting Bliss Recipe
- Prep Time: 10 minutes
- Cook Time: 15 minutes
- Total Time: 25 minutes
- Yield: 10 biscuits
- Category: Baking
- Method: Baking
- Cuisine: Southern American
Description
These homemade buttermilk biscuits are a classic Southern comfort food treat, featuring a tender, flaky texture with a golden crust. Perfectly buttery and soft on the inside, they come together quickly and easily, making them an ideal accompaniment to any meal or a delicious snack on their own.
Ingredients
Dry Ingredients
- 2 cups all-purpose flour
- 1 tablespoon baking powder
- 1/2 teaspoon baking soda
- 1 teaspoon salt
Wet Ingredients
- 1/2 cup unsalted butter, cold and cubed
- 3/4 cup buttermilk
Instructions
- Preheat Oven: Preheat your oven to 450°F (230°C) to ensure it is hot enough for baking flaky biscuits.
- Mix Dry Ingredients: In a large bowl, combine the all-purpose flour, baking powder, baking soda, and salt. This builds the base for your biscuit dough.
- Add Butter: Add the cold, cubed unsalted butter to the dry ingredients. Use a pastry cutter or your fingers to cut the butter into the flour until the mixture resembles coarse crumbs, which helps create flakiness.
- Incorporate Buttermilk: Pour in the buttermilk and gently stir until just combined. Be careful not to overmix to keep the biscuits light and tender.
- Knead Dough: Turn the dough out onto a floured surface and gently knead it a few times to bring it together. Overworking can make the biscuits tough, so be gentle.
- Roll and Cut: Roll out the dough to approximately 1-inch thickness. Use a biscuit cutter or a round glass to cut out rounds, reshaping scraps as needed.
- Bake Biscuits: Place the biscuit rounds on a baking sheet, spacing them slightly apart. Bake in the preheated oven for 12-15 minutes until golden brown on top.
- Serve Warm: Remove from the oven and serve the biscuits warm for the best flavor and texture.
Notes
- Use cold butter straight from the fridge to ensure flaky biscuits.
- Handle the dough gently to avoid dense biscuits.
- For a crispier crust, brush the tops with melted butter after baking.
- Biscuits are best served fresh but can be reheated in a toaster or oven.
- Store leftovers in an airtight container at room temperature for up to 2 days.


