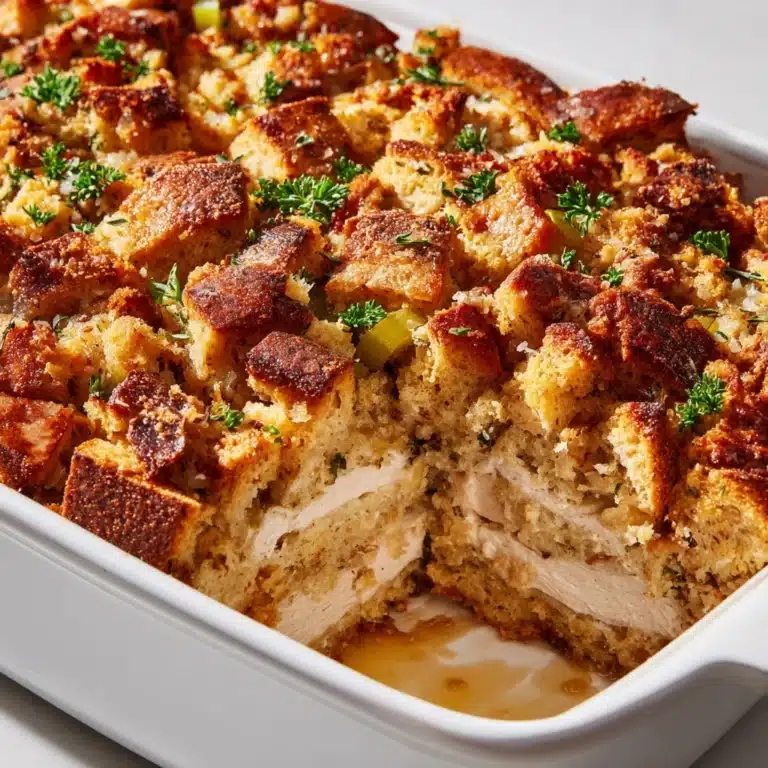
There’s something magical about unveiling a beautifully roasted turkey at the center of a holiday table, but let’s be honest: none of that matters unless you know how to carve a turkey like a pro. Learning the right carving technique turns a simple meal into an impressive feast, ensuring every platter boasts glistening, tender slices. Whether you’re hosting Thanksgiving for the first time or you’re determined to achieve perfect portions for a gathering of friends, this guide will demystify the process and have you carving with total confidence.
Ingredients You’ll Need
-
Turkey Carving:
- 1 fully cooked turkey (12-14 pounds)
- A large carving knife
- A carving fork
- A sturdy cutting board
- A paper towel or kitchen towel (to stabilize the turkey)
How to Make How to Carve a Turkey
Step 1: Rest the Turkey
No matter how tempting it is to dive right in, let your turkey rest for 20 to 30 minutes after roasting. This pause lets the juices redistribute throughout the meat, which means each slice you carve will be as succulent and juicy as possible. Skip this step and you risk dry, uneven pieces.
Step 2: Prepare the Carving Station
Set the stage for success! Place your turkey on a large, sturdy cutting board. If your board feels a bit too mobile, slide a damp paper towel or kitchen towel underneath to anchor it. This small step gives you a secure, steady space to work safely—no wobbles allowed!
Step 3: Remove the Legs and Thighs
This is where learning how to carve a turkey starts to feel rewarding. With your carving fork holding the turkey steady, use your knife to slice through the skin between the drumstick and body. Gently pull the drumstick away until the joint pops out, then slice through the joint to fully detach the leg. Repeat on the other side.
Step 4: Separate Drumsticks from Thighs
You can serve drums and thighs as-is, or, for added elegance, separate them. Hold the drumstick and carefully cut along the joint where it connects with the thigh. A clean cut here gives you two perfectly portioned pieces per side.
Step 5: Carve the Breast Meat
Breast meat is where your carving knife truly shines! Make a long incision down one side of the breastbone, following the curve of the ribs as you slice. Carefully work the meat free in one whole piece—repeat on the other side to keep things neat and impressive on the platter.
Step 6: Slice the Breast Meat
Place the removed breast on your board and slice across the grain into generous, even slices. Cutting against the grain ensures every piece stays tender and easy to eat. This is a must for truly understanding how to carve a turkey; friends and family will marvel at your technique.
Step 7: Carve the Wings
Don’t forget those flavorful wings! Slip your knife into the joint where each wing meets the body and slice through. A little gentle pressure will pop them right off. They’re a favorite for turkey-lovers who crave crispy skin and succulent meat.
Step 8: Serve
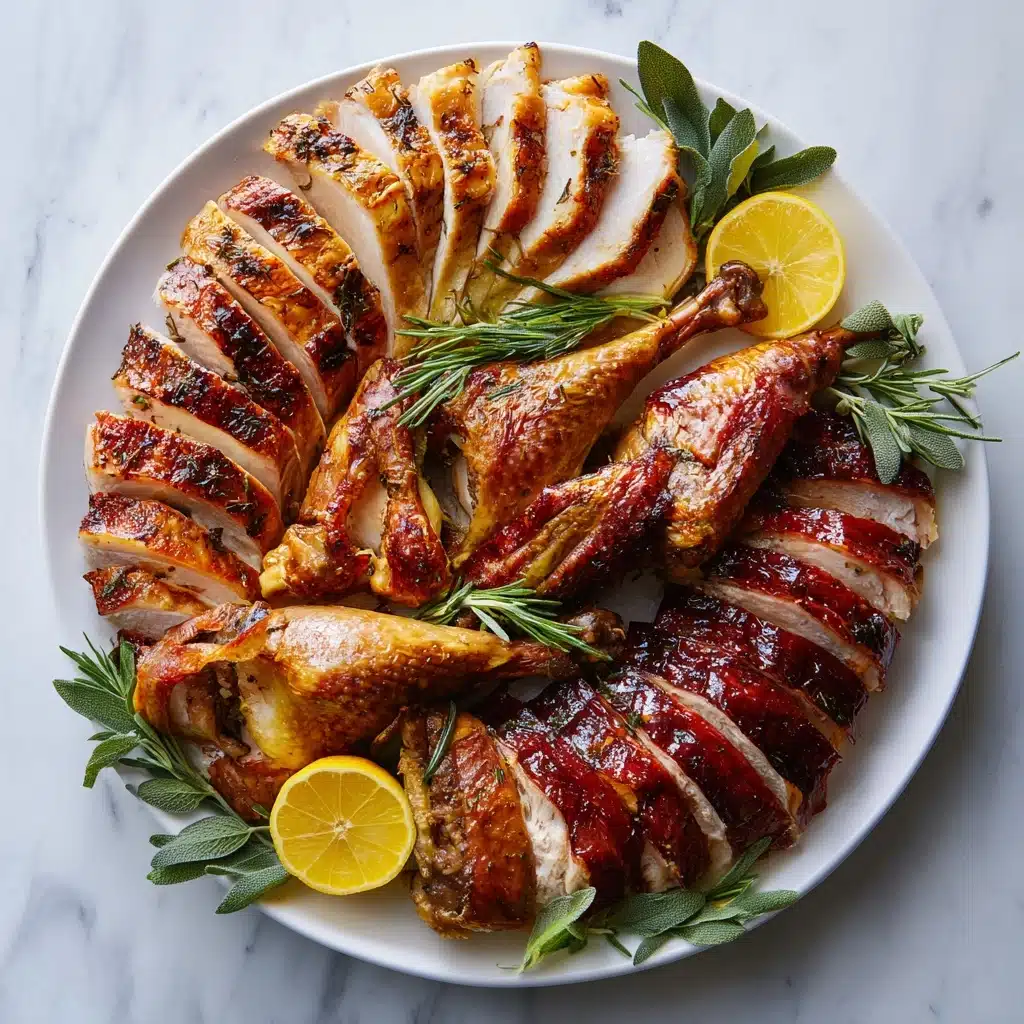
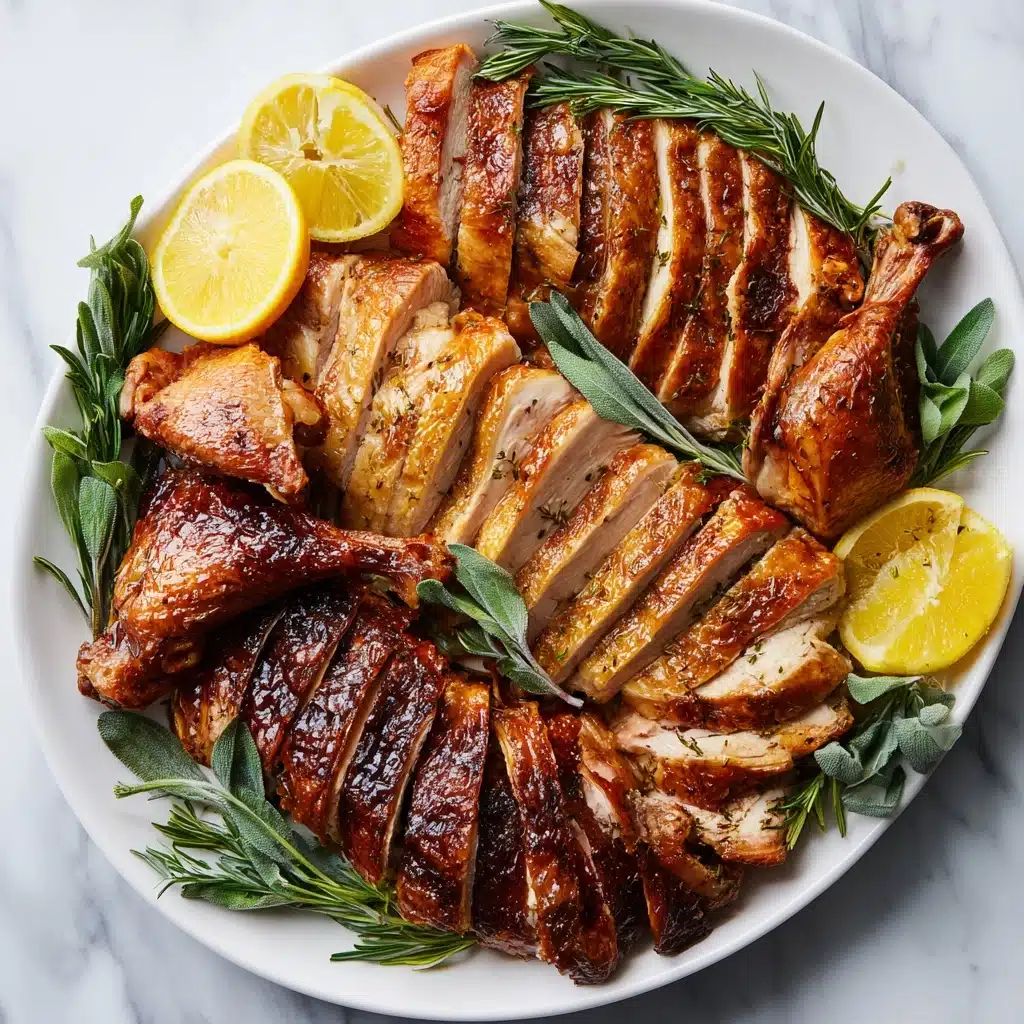
Arrange your carved turkey pieces—breast slices, drumsticks, thighs, and wings—artfully on a large platter. Serve immediately to showcase your handiwork at its absolute best!
How to Serve How to Carve a Turkey

Garnishes
A gorgeous turkey deserves a little extra flair! Surround your platter with sprigs of fresh herbs like sage, thyme, or rosemary, or scatter vibrant citrus slices for color and a bright aroma. Pomegranate seeds or clusters of grapes can add a sophisticated, festive touch.
Side Dishes
The right sides elevate the experience of how to carve a turkey. Think velvety mashed potatoes, savory stuffing, glossy cranberry sauce, and roasted veggies. Offering a mix of classic and fresh accompaniments ensures everyone finds their holiday must-have.
Creative Ways to Present
Try arranging your turkey pieces fan-style on the platter, alternating light and dark meat for visual appeal. For intimate dinners, serve pre-sliced portions on individual plates with a ladle of pan juices. For a buffet, group similar cuts together so guests can easily choose their favorites.
Make Ahead and Storage
Storing Leftovers
Once everyone’s eaten their fill, store leftover turkey in airtight containers within two hours of serving. Separate white and dark meat for easy access later, and always refrigerate promptly to keep slices juicy and safe to eat.
Freezing
Turkey freezes surprisingly well! Wrap slices tightly in plastic wrap, then place in freezer bags or containers. Be sure to label with the date—they’ll taste best within three months. When ready to use, thaw overnight in the fridge for best texture.
Reheating
For moist, flavorful turkey, place slices in a baking dish, splash with a little broth or gravy, and cover tightly with foil. Warm in a 300°F oven until heated through. Microwaving works in a pinch, but the oven brings back that just-carved freshness.
FAQs
Do I really need to let the turkey rest before carving?
Absolutely! Allowing your turkey to rest helps the meat reabsorb its juices, which gives you moist and tender slices rather than a dry result. Never skip this crucial step when practicing how to carve a turkey.
What’s the best knife for carving turkey?
A long, sharp carving or chef’s knife is ideal. It should feel comfortable in your hand and glide easily through the meat. Serrated knives can tear the meat, so stick with a straight-edged blade when mastering how to carve a turkey.
How do I keep the cutting board from slipping?
Slip a damp kitchen or paper towel underneath your cutting board. This prevents sliding, so you can focus completely on how to carve a turkey safely and efficiently.
Can I carve the turkey in advance?
Yes! If you’re hosting, you can carve the turkey up to an hour ahead. Arrange the cut pieces on a platter and cover tightly with foil. Keep it warm in a low oven or add hot broth before serving to keep everything moist.
Why should I carve the breast meat off the bone instead of slicing it on the turkey?
Removing the whole breast and then slicing it across the grain creates uniformly tender pieces and looks much neater on the plate. This is the secret to impressive results when showing your guests how to carve a turkey!
Final Thoughts
Once you know how to carve a turkey, you’ll never feel intimidated standing at the carving board again. This simple skill transforms any gathering into a celebration. Give it a try this holiday season and watch your guests marvel at both the presentation and the juicy, perfectly portioned slices. Happy carving!
Print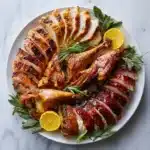
How to Carve a Turkey Recipe
- Total Time: 30 minutes (resting time included)
- Yield: 8–12 servings (depending on turkey size) 1x
- Diet: Non-Vegetarian
Description
Learn the art of carving a turkey like a pro with this step-by-step guide. Impress your guests with beautifully sliced turkey meat for your next holiday feast!
Ingredients
Turkey Carving:
- 1 fully cooked turkey (12–14 pounds)
- A large carving knife
- A carving fork
- A sturdy cutting board
- A paper towel or kitchen towel (to stabilize the turkey)
Instructions
- Rest the turkey: After removing the turkey from the oven, let it rest for 20-30 minutes to allow the juices to redistribute. This helps keep the meat tender and juicy.
- Prepare the carving station: Place the turkey on a large, sturdy cutting board. If your cutting board is small, you can use a tray or another surface for extra space. Position a towel or paper towel under the cutting board to keep it from sliding.
- Remove the legs and thighs: Start by using a carving fork to steady the turkey. Use the carving knife to cut through the skin between the body and the drumstick. Gently pull the drumstick away from the body, then cut through the joint where the leg meets the body. Repeat for the other side.
- Separate the drumsticks and thighs: Once both legs are removed, you can either serve them whole or separate the drumstick from the thigh by cutting through the joint.
- Carve the breast meat: Now, focus on the breast. Using your carving knife, make a long cut along the side of the breastbone. Gently slice down the length of the breast, following the rib cage. Repeat on the other side to remove both breasts.
- Slice the breast meat: Once the breast meat is removed from the carcass, place it on the cutting board and slice it into even pieces. A good technique is to cut against the grain of the meat for tender slices.
- Carve the wings: To remove the wings, use your knife to cut through the joint where the wing meets the body. Gently pull the wing away and cut through the joint to remove it.
- Serve: Arrange the carved pieces (breast slices, drumsticks, thighs, and wings) on a platter and serve immediately.
Notes
- Use a sharp carving knife for clean cuts. A dull knife will make it harder to carve and can tear the meat.
- If you want to save the carcass for making stock, set it aside after carving.
- If you’re serving a large group, it helps to pre-slice the meat before serving to ensure everyone gets a piece of both dark and white meat.
- Prep Time: 5 minutes
- Cook Time: 0 minutes
- Category: Cooking Technique
- Method: Carving
- Cuisine: American
Nutrition
- Serving Size: 1 slice of turkey
- Calories: 180
- Sugar: 0g
- Sodium: 80mg
- Fat: 9g
- Saturated Fat: 3g
- Unsaturated Fat: 5g
- Trans Fat: 0g
- Carbohydrates: 0g
- Fiber: 0g
- Protein: 25g
- Cholesterol: 70mg