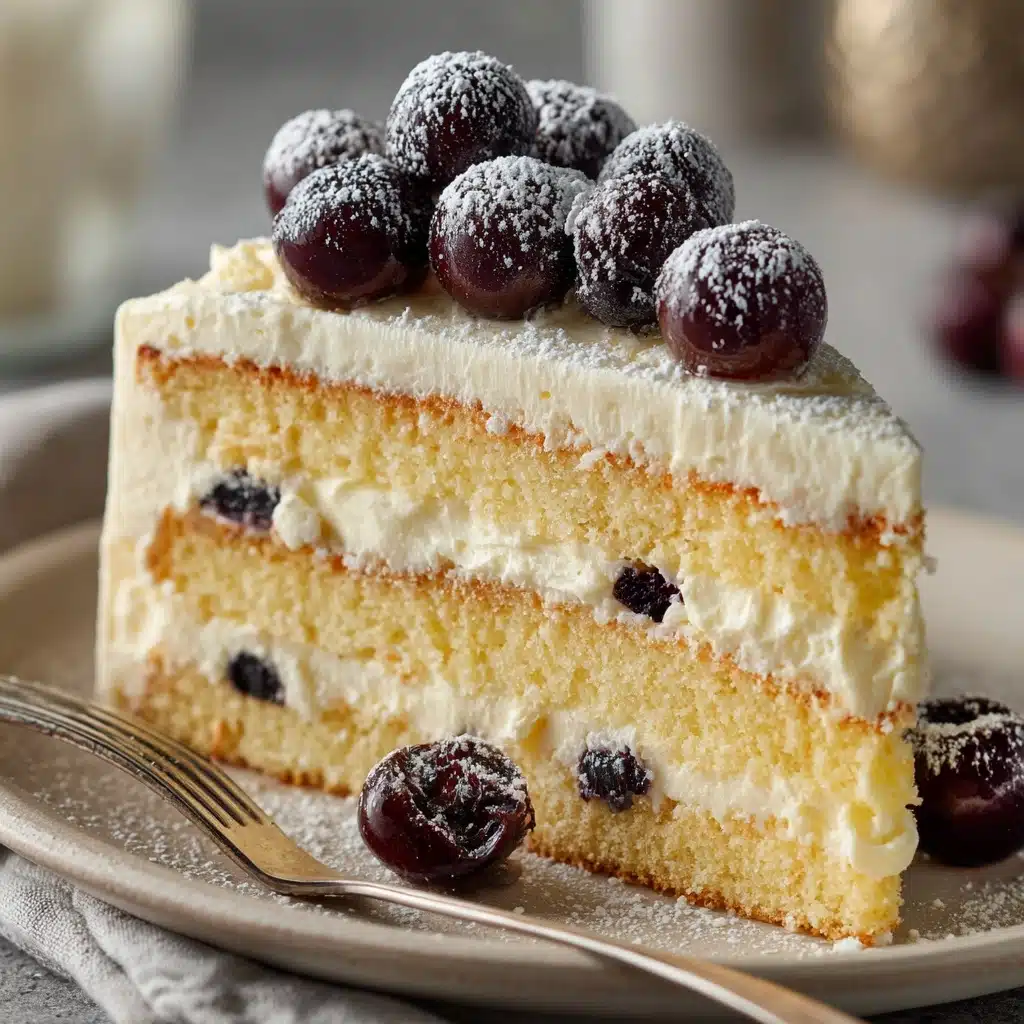
If you’re on the hunt for a truly showstopping dessert, look no further than Kiev Cake. Lush layers of delicate hazelnut meringue, pillowy sponge cake, and swoon-worthy buttercream make this Ukrainian classic a glorious centerpiece for any special occasion. Every slice delivers a satisfying combination of crispiness, tenderness, and dreamy, creamy sweetness — no wonder it’s cherished in so many homes, and sure to win hearts at your table as well!
Ingredients You’ll Need
Don’t be intimidated by the ingredient list: each element is simple but so crucial to the Kiev Cake’s unique magic. The nuts bring a toasty richness, the meringue gives airy lift, and the buttercream ties everything together with silky indulgence.
- Egg whites: Vital for the signature crisp, pillowy meringue layers — make sure they’re at room temperature for maximum volume.
- Granulated sugar: Sweetens both meringue and sponge cake and helps stabilize the egg whites for glossy peaks.
- Toasted hazelnuts or cashews: These add a delicious crunch and nutty depth; feel free to go traditional with cashews or modern with hazelnuts.
- All-purpose flour: A touch in the meringue keeps the texture just right, while more forms the backbone of the sponge cake.
- White vinegar: Just a little helps the meringue stay light and firm.
- Eggs: Extra yolks and whites for the rich, fluffy sponge cake layer.
- Baking powder: Gives the sponge its rise and airy crumb.
- Salt: Highlights all the layers’ flavors and balances sweetness.
- Unsalted butter: The base for that dreamy, melt-in-your-mouth buttercream.
- Sweetened condensed milk: Gives the frosting a caramelized sweetness and irresistible creaminess.
- Vanilla extract: Adds aromatic warmth to the buttercream.
- Cocoa powder: For half the frosting, creates that signature swirl of vanilla and chocolate.
- Chopped toasted nuts, chocolate shavings, or crushed meringue (optional): Beautiful garnishes add texture and a festive finish.
How to Make Kiev Cake
Step 1: Make the Meringue Layers
Preheat your oven to 250°F (120°C) and line two 9-inch round pans with parchment. In a squeaky-clean, dry bowl, whip the egg whites until soft peaks appear. Gradually add sugar, beating until those peaks are stiff and glossy. Fold in the vinegar, a spoonful of flour, and those fragrant toasted nuts. Spread the mixture into your pans, smoothing the tops. Let these bake low and slow for 2 to 2½ hours — patience here pays off! When done, switch the oven off and leave the meringues to cool completely inside, ensuring they dry out perfectly crisp without deflating.
Step 2: Bake the Sponge Cake Layer
Raise the oven temperature to 350°F (175°C) and line another 9-inch pan with parchment. Whip eggs and sugar until they’re pale and tripled in volume — think soft, creamy ribbons. In another bowl, whisk flour, baking powder, and salt, then gently fold into the egg mixture, careful not to knock out the precious air. Pour the batter into your waiting pan and bake until golden and springy, about 20–25 minutes. Let cool thoroughly before moving on.
Step 3: Prepare the Buttercream
In a large bowl, beat softened butter until it’s light, billowy, and almost white — this means lots of air for a lush frosting. Stream in sweetened condensed milk little by little, beating well. Add the vanilla, then split the frosting in two: stir cocoa powder into one half for classic chocolate swirls, leaving the other gorgeously vanilla.
Step 4: Assemble the Kiev Cake
Now the fun part: layer! Start with one crisp meringue, then nestle the fluffy sponge cake over it. Top with the second meringue disc. Fill and frost every layer, top, and side with alternating swoops of chocolate and vanilla buttercream for a beautiful, festive effect. For extra flair, sprinkle on toasted nuts, chocolate curls, or a bit of crumbly meringue. Chill the cake for at least 2–3 hours so slices cut cleanly and the flavors meld.
How to Serve Kiev Cake

Garnishes
Bring your Kiev Cake to life with a handful of chopped toasted nuts for crunch, a few curls of chocolate for elegance, or a generous sprinkle of crushed meringue for an appealing snowdrift effect. These little flourishes catch the eye and offer delightful contrast in every bite.
Side Dishes
Pairing this cake can be simple — a cup of strong coffee or black tea complements the sweetness and lets the subtle hazelnut flavors of your Kiev Cake shine. A bowl of fresh berries or lightly sweetened whipped cream can add a fresh, tangy note to balance the richness.
Creative Ways to Present
Kiev Cake is impressive, so let it be the centerpiece! Try serving it on a footed cake stand, swirl leftover buttercreams for an artistic finish, or portion into elegant slices with a dollop of whipped cream and a sprinkle of nuts. For a playful twist, offer bite-size squares at a dessert buffet.
Make Ahead and Storage
Storing Leftovers
Kiev Cake keeps best in the fridge, tightly covered. The buttercream sets beautifully and the layers hold up for up to four days, though the meringue may gradually soften over time. Let it sit out for about 15 minutes before slicing so all the textures can be enjoyed at their best.
Freezing
To freeze, slice the cake and wrap individual pieces in plastic wrap, then place in an airtight container. Kiev Cake slices can be frozen for up to a month; allow them to thaw overnight in the fridge for the most luscious, intact texture.
Reheating
You won’t need to reheat this cake, but if it’s a bit cold from the fridge, just let it come to room temperature before serving. The buttercream will relax and the meringue layers regain their delicate crunch — perfect for savoring each forkful.
FAQs
Can I make Kiev Cake ahead of time?
Absolutely! In fact, making it a day ahead allows the flavors to meld and the buttercream to set, making slicing and serving a total breeze. Just store it refrigerated and cover it well to keep it fresh.
What nuts work best for traditional Kiev Cake?
Classic Kiev Cake is beloved for its use of cashews, but toasted hazelnuts are a delicious and slightly richer alternative. Both bring a unique flavor, so try each and see which is your favorite!
Is it possible to make Kiev Cake gluten-free?
Yes, simply substitute a gluten-free all-purpose blend for the regular flour in both the meringue and sponge layers. Just ensure your baking powder is gluten-free as well, and enjoy!
How do I achieve perfectly crisp meringue layers?
Whip your egg whites in a grease-free, spotless bowl, and add sugar gradually for stable, glossy peaks. Baking the layers low and slow, then letting them cool in the oven, keeps them crisp and airy.
Can I decorate Kiev Cake in advance?
Decorating the cake ahead is a smart move; the garnishes will hold up nicely in the fridge for up to a day. Wait to add especially delicate garnishes, like fresh fruit, until just before serving to keep them perky and bright.
Final Thoughts
Kiev Cake is truly a labor of love, but one that’s rewarded with ooohs and aaahs every time! If you’re craving something spectacular and unforgettable, gather your ingredients, invite a friend or two to help, and experience the joy of making this classic from scratch. Your dessert table will never be the same!
Print
Kiev Cake Recipe
- Total Time: 4 hours (including cooling and chilling)
- Yield: 12 servings 1x
- Diet: Vegetarian
Description
Indulge in the decadent layers of meringue, sponge cake, and buttercream in this classic Ukrainian dessert, Kiev Cake. Perfect for special occasions or a sweet treat anytime!
Ingredients
Meringue Layers:
- 6 large egg whites (room temperature)
- 1 ½ cups granulated sugar
- 1 cup toasted hazelnuts or cashews (finely chopped)
- 1 tablespoon all-purpose flour
- 1 teaspoon white vinegar
Sponge Cake Layer:
- 3 large eggs
- ½ cup granulated sugar
- ½ cup all-purpose flour
- 1 teaspoon baking powder
- pinch of salt
Buttercream:
- 1 cup unsalted butter (softened)
- 1 cup sweetened condensed milk
- 1 teaspoon vanilla extract
- 2 tablespoons cocoa powder (for half the frosting)
Optional Garnish:
- Chopped toasted nuts
- Chocolate shavings
- Crushed meringue
Instructions
- Make the meringue layers: Preheat the oven to 250°F (120°C). Line two 9-inch round pans with parchment paper. In a clean, dry bowl, beat the egg whites until soft peaks form. Gradually add sugar while beating until stiff, glossy peaks form. Gently fold in vinegar, flour, and chopped toasted nuts. Divide the meringue evenly between the two pans and smooth the tops. Bake for 2 to 2½ hours, or until crisp and dry. Turn off the oven and let them cool completely inside.
- Make the sponge cake layer: Preheat the oven to 350°F (175°C). Line another 9-inch pan with parchment. Beat the eggs and sugar until light and fluffy. In a separate bowl, whisk together flour, baking powder, and salt. Gently fold the dry ingredients into the egg mixture. Pour the batter into the pan and bake for 20–25 minutes, or until golden and springy to the touch. Let cool completely.
- Make the buttercream: Beat the softened butter until pale and fluffy. Slowly add the sweetened condensed milk while beating, then mix in the vanilla. Divide the frosting in half and stir cocoa powder into one portion to make a chocolate buttercream.
- Assemble the cake: Layer one meringue, the sponge cake, and the second meringue. Use the buttercream to frost between layers and over the top and sides. Alternate vanilla and chocolate buttercream in swirls or decorative patterns. Garnish with nuts, chocolate shavings, or crushed meringue if desired. Chill for at least 2–3 hours before serving for clean slices.
Notes
- Traditionally made with cashews, you can substitute hazelnuts for a richer flavor.
- Let the cake sit at room temperature for 15 minutes before slicing for the best texture.
- Prep Time: 45 minutes
- Cook Time: 2 hours 30 minutes
- Category: Dessert
- Method: Baking
- Cuisine: Ukrainian
Nutrition
- Serving Size: 1 slice
- Calories: 480
- Sugar: 38g
- Sodium: 80mg
- Fat: 28g
- Saturated Fat: 15g
- Unsaturated Fat: 11g
- Trans Fat: 0g
- Carbohydrates: 50g
- Fiber: 1g
- Protein: 6g
- Cholesterol: 110mg