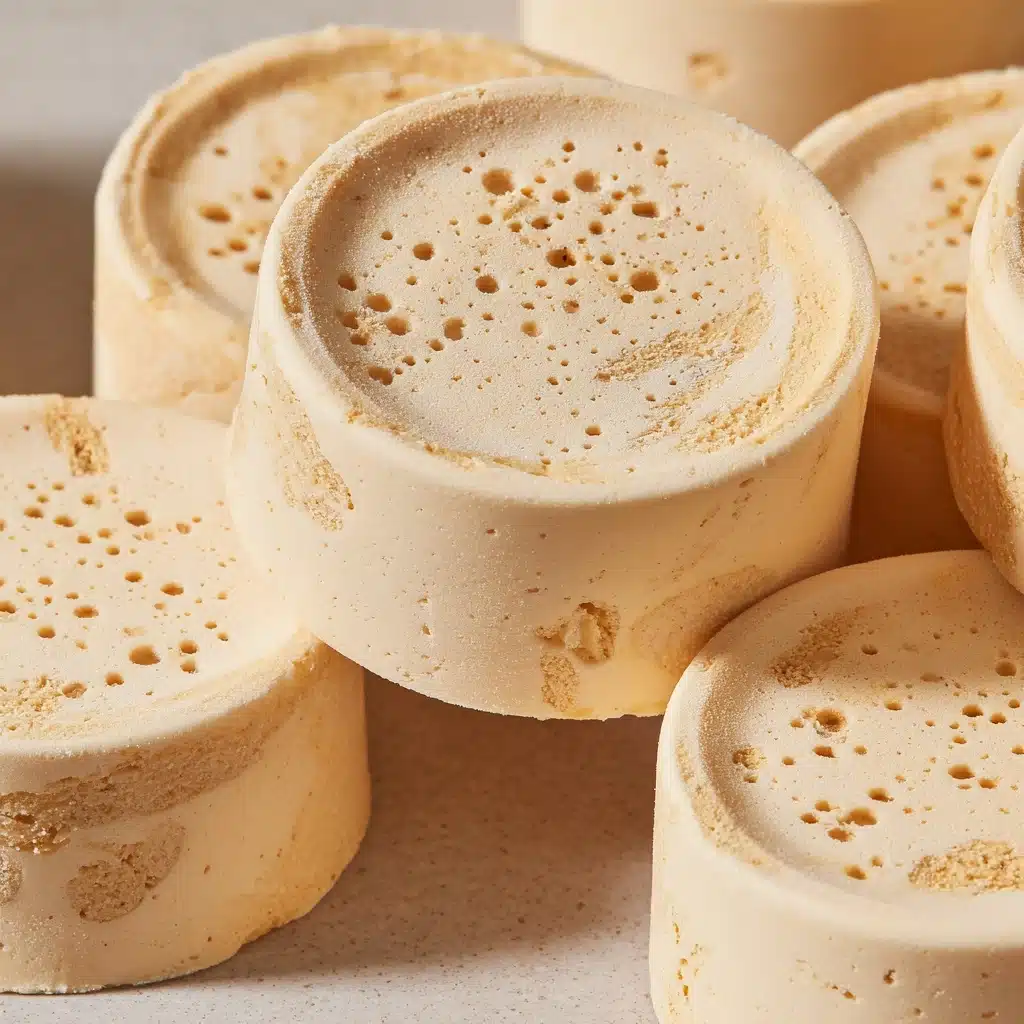
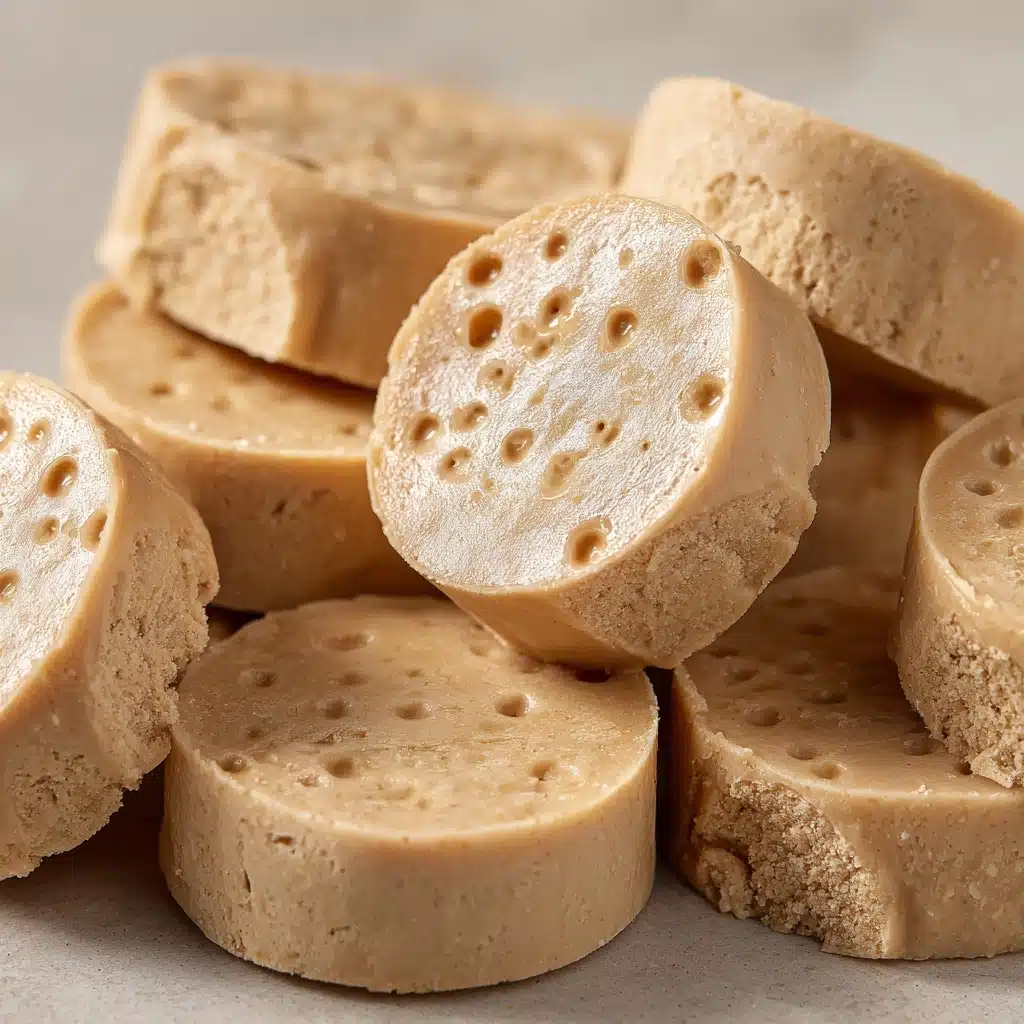
If you’ve never experienced the old-fashioned sweetness of maple fudge, you’re in for a true treat. This rich, creamy confection celebrates the pure flavor of maple syrup, transforming it into luscious bites that melt away on your tongue. With only five simple ingredients, you’ll be amazed at how effortlessly you can bring a little piece of classic New England candy shop magic right into your own kitchen—no special skills required! Whether you’re making it to share, gift, or just secretly savor with your favorite cup of coffee, maple fudge really is the perfect bite-sized indulgence.
Ingredients You’ll Need
Let’s talk about how just a handful of kitchen staples come together to create something so utterly delicious. Each ingredient in maple fudge plays an essential part, whether it’s adding depth, silkiness, or that unmistakable maple aroma. Here’s what you’ll need and why every single item matters:
- Pure maple syrup: The heart and soul of maple fudge—don’t be tempted by artificial syrup, as pure maple provides the flavor and sweetness this treat needs.
- Heavy cream: Adds richness and a silky-smooth texture, ensuring the fudge is soft and creamy rather than dry or crumbly.
- Unsalted butter: Gives the fudge its melt-in-your-mouth quality and rounds out the flavors with a luscious finish.
- Salt: Just a touch sharpens and balances the sweetness, making every bite more complex and satisfying.
- Vanilla extract: Enhances the natural notes of maple and brings an extra layer of warmth and coziness to the fudge.
How to Make Maple Fudge
Step 1: Prepare Your Pan
Line an 8×8-inch baking dish with parchment paper, letting the edges hang over for easy lifting later. This step ensures your maple fudge comes out without a struggle and gives you neatly squared pieces—almost too pretty to eat!
Step 2: Combine Ingredients and Heat
Grab a medium, heavy-bottomed saucepan and pour in the maple syrup, heavy cream, butter, and salt. Set the pan over medium heat and stir just until the butter melts and everything feels smoothly blended.
Step 3: Boil Without Stirring
Increase the heat slightly and bring the mixture to a boil, but here’s the secret: resist the urge to stir! Stirring at this stage can cause crystals to form and will mess with the texture. Let it bubble away undisturbed until it reaches 238°F (the soft-ball stage) on a candy thermometer—this is what guarantees that signature creamy bite.
Step 4: Cool Briefly and Add Vanilla
Once your thermometer reads 238°F, immediately remove the pan from the heat and let it sit, untouched, for five minutes. This pause lets the mixture cool enough to preserve the velvety texture. After five minutes, add the vanilla extract, which will fill your kitchen with the warmest, coziest aroma.
Step 5: Beat Until Thick and Glossy
Now comes the arm workout—or get a hand mixer if you like! Beat the mixture on low or stir vigorously with a wooden spoon. The fudge will transform: it’ll start thickening, lighten in color, and lose its shiny look. This usually takes about 5 to 8 minutes, so keep going until you see it dull and become creamy.
Step 6: Pour and Set
Quickly pour (and spread) the fudge into your prepared pan, smoothing the top as best as you can. Now comes the hardest part: waiting! Let the pan cool completely at room temperature so the maple fudge sets perfectly before cutting it into squares.
How to Serve Maple Fudge
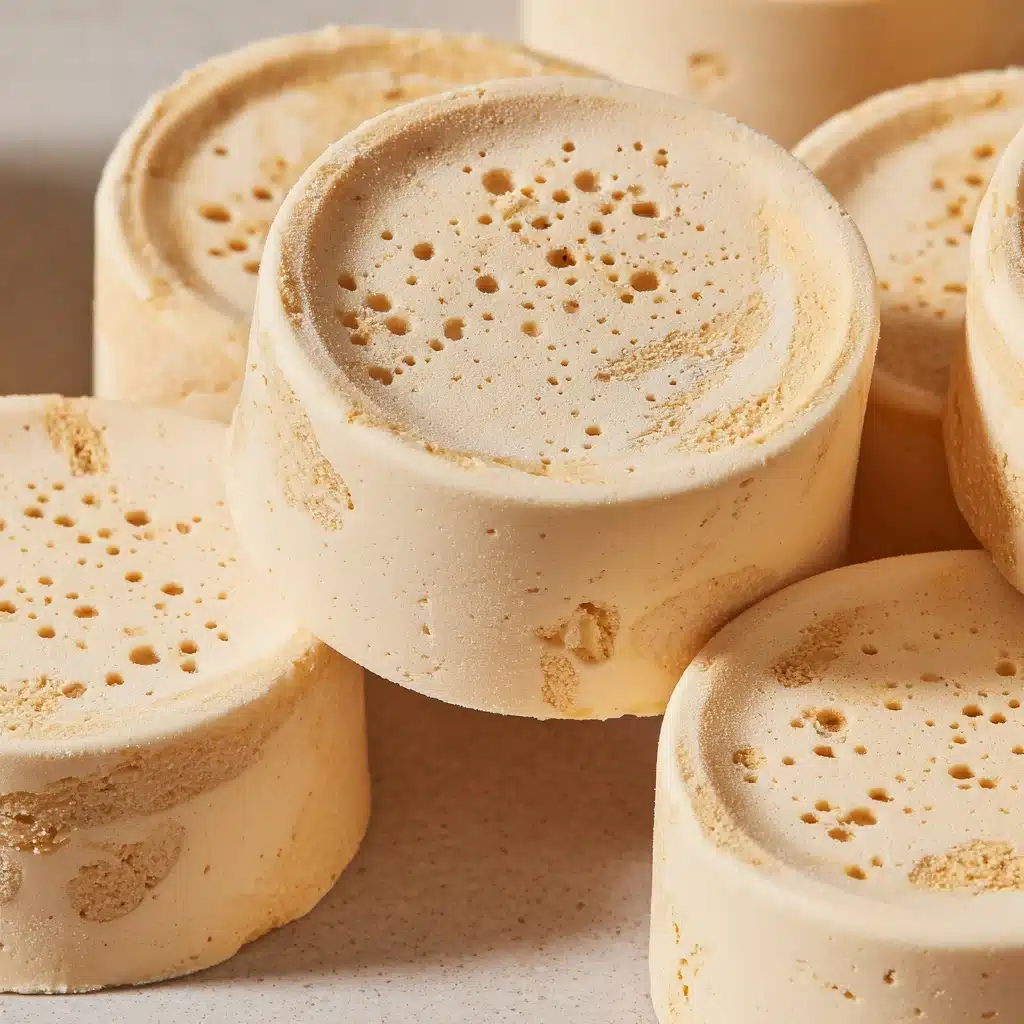
Garnishes
Dress up each square with a sprinkle of flaky sea salt, a few toasted chopped nuts (like pecans or walnuts), or even a light dusting of powdered sugar. These little touches bring out the maple notes and add a touch of gourmet flair—perfect for holiday trays or afternoon pick-me-ups.
Side Dishes
Maple fudge pairs beautifully with a cup of strong coffee, herbal tea, or even a glass of cold milk. Serving it alongside fresh fruit like sliced pears, apples, or juicy berries can help balance the sweetness and make dessert feel a little extra special.
Creative Ways to Present
For a wow-worthy presentation, layer maple fudge pieces between parchment in a decorative box for gifting, or arrange them on a vintage cake stand for your next get-together. You can even crumble some on top of vanilla ice cream, or skewer them with fruit for simple, elegant party bites.
Make Ahead and Storage
Storing Leftovers
Keep any extra maple fudge in an airtight container at room temperature, and it will stay perfectly creamy for up to a week. If your kitchen is particularly warm, you can stash the container in the refrigerator to help keep the shape and texture just right.
Freezing
Need to make your maple fudge ahead for a special occasion? Go ahead and freeze it! Wrap the squares tightly in parchment or wax paper, then place them in a freezer-safe container or zip-top bag. They’ll be ready to enjoy for up to two months—just thaw at room temperature whenever a craving strikes.
Reheating
While maple fudge doesn’t need to be reheated to enjoy, if you’d like a slightly gooey experience, just pop a piece in the microwave for 4–5 seconds. Be careful: a little heat goes a long way, and you want it just soft, not bubbling!
FAQs
Can I use pancake syrup instead of pure maple syrup?
For authentic maple fudge, stick with pure maple syrup. Pancake syrups are often made with corn syrup and artificial flavors, which will change both the taste and texture. Pure maple syrup is absolutely worth it!
Is a candy thermometer necessary?
A candy thermometer is the most reliable way to nail that perfect soft, smooth consistency, but if you don’t have one, you can drop a bit of the boiling mixture in cold water—if it forms a soft, flexible ball, you’re there.
Why does maple fudge sometimes turn out grainy?
Grainy texture is usually caused by stirring while the mixture boils or not beating the fudge enough as it cools. Make sure to follow the steps closely, and use a wooden spoon or mixer until the fudge loses its gloss before pouring it into the pan.
Can I double the recipe?
Absolutely! Double all the ingredients and use a 9×13-inch pan for a bigger batch. Just watch your thermometer—and be prepared for a bit more arm work when it’s time to beat the fudge.
How can I make vegan maple fudge?
Try swapping the heavy cream with full-fat coconut milk and using a vegan butter alternative. The results are deliciously creamy and still let the maple flavor shine.
Final Thoughts
If you’re looking to win over anyone with a sweet tooth or just want to bring a touch of nostalgia and pure comfort into your kitchen, maple fudge is simply unbeatable. I hope you’ll give this recipe a try and find yourself returning to it every time you crave that classic, melt-in-your-mouth magic!
Print
Maple Fudge Recipe
- Total Time: 25 minutes
- Yield: 36 small squares 1x
- Diet: Vegetarian, Gluten-Free
Description
Indulge in the rich, sweet flavors of homemade Maple Fudge. This creamy, melt-in-your-mouth treat is perfect for satisfying your craving for a decadent dessert.
Ingredients
Ingredients:
- 2 cups pure maple syrup
- 1 cup heavy cream
- 1/4 cup unsalted butter
- 1/4 teaspoon salt
- 1 teaspoon vanilla extract
Instructions
- Prepare the Pan: Line an 8×8-inch baking dish with parchment paper and set aside.
- Cook the Mixture: In a saucepan, combine maple syrup, cream, butter, and salt. Bring to a boil without stirring until it reaches 238°F. Remove from heat and let sit for 5 minutes. Add vanilla extract.
- Beat the Fudge: Beat the mixture until thickened and lightened in color, about 5–8 minutes. Pour into the pan and let cool.
Notes
- Use only pure maple syrup for authentic flavor.
- Avoid stirring while boiling to prevent crystallization.
- Store in an airtight container at room temperature or refrigerate for extended shelf life.
- Prep Time: 5 minutes
- Cook Time: 20 minutes
- Category: Dessert
- Method: Stovetop
- Cuisine: American
Nutrition
- Serving Size: 1 square
- Calories: 100
- Sugar: 15g
- Sodium: 15mg
- Fat: 4g
- Saturated Fat: 2.5g
- Unsaturated Fat: 1g
- Trans Fat: 0g
- Carbohydrates: 17g
- Fiber: 0g
- Protein: 0g
- Cholesterol: 10mg
