
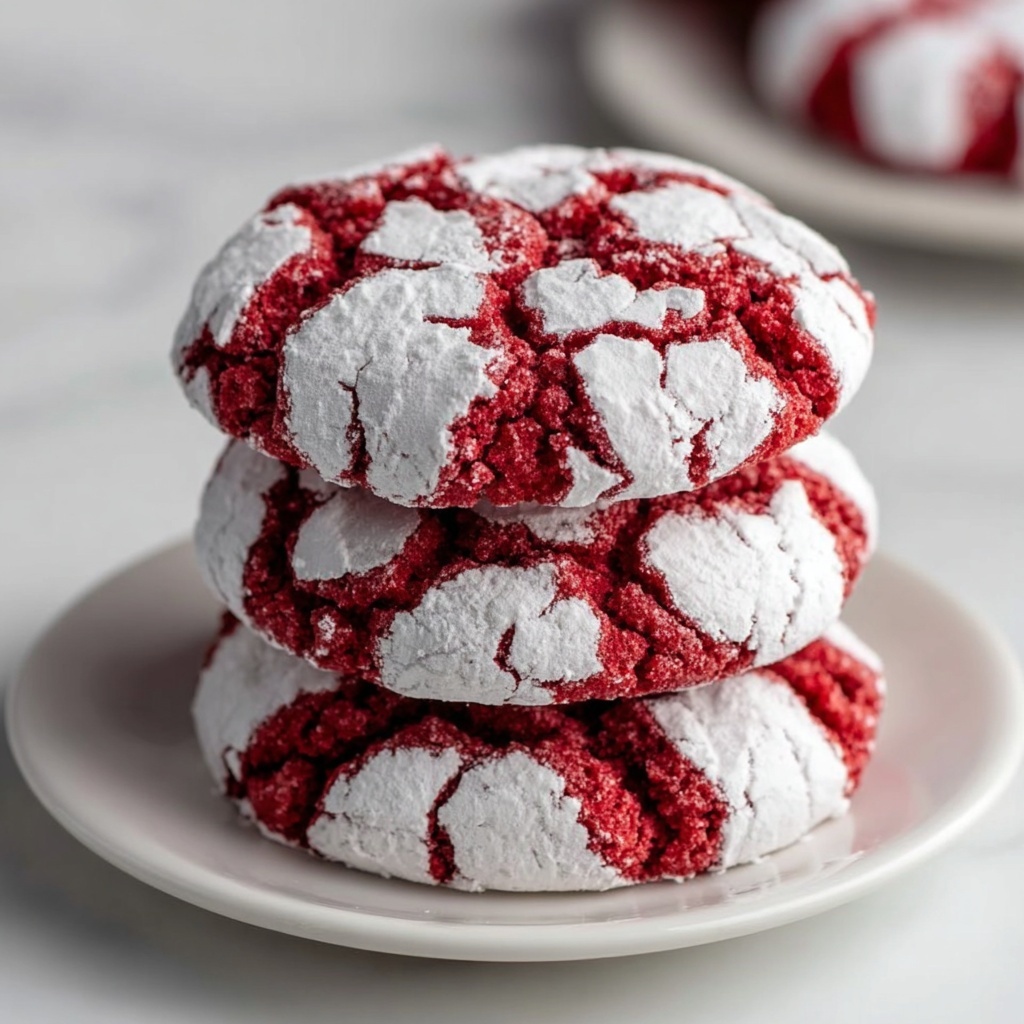
If you’re craving a treat that’s as stunning to look at as it is delicious to eat, you’re in for a real delight with this Red Velvet Crinkle Cookies Recipe. These cookies boast a perfect balance of rich cocoa flavor and that iconic red velvet charm, all wrapped up in a tender, chewy texture with a satisfying crinkle and a dusting of powdered sugar. They’re festive, irresistible, and wonderful for any occasion that calls for a special homemade dessert that everyone will rave about.
Ingredients You’ll Need
Gathering simple ingredients is the first step toward creating these irresistible Red Velvet Crinkle Cookies. Each element plays a key role, from the cocoa’s depth to the butter’s richness and the powdery sugar coating that gives these cookies their signature crackled appearance.
- All-purpose flour (1 ½ cup): The base that gives structure and tenderness to the cookies.
- Unsweetened cocoa powder (½ cup): Adds a deep, chocolatey flavor essential to red velvet.
- Baking powder (1 tsp): Helps the cookies rise slightly for that perfect texture.
- Salt (1 tsp): Balances the sweetness and enhances other flavors.
- Unsalted butter, softened (½ cup): Provides richness and a dreamy, soft crumb.
- Granulated sugar (1 cup): The perfect amount of sweetness that caramelizes as the cookies bake.
- Large eggs (2): Bind everything together and keep the cookies moist.
- Vanilla extract (1 tsp): Adds a warm, sweet aroma that rounds out the flavor.
- Red food coloring (1 tbsp): Creates the vibrant red hue classic to red velvet treats.
- Powdered sugar (½ cup, for rolling): Coats the cookie dough balls to create a beautiful, crinkled surface once baked.
How to Make Red Velvet Crinkle Cookies Recipe
Step 1: Prep Your Oven and Baking Surface
Start by heating your oven to 350°F (175°C) and lining a baking sheet with parchment paper or a silicone baking mat. This ensures your cookies will bake evenly and won’t stick, keeping those pretty crinkles intact.
Step 2: Mix the Dry Ingredients
In a medium bowl, whisk together the all-purpose flour, unsweetened cocoa powder, baking powder, and salt. This dry mix combines the flavors and gives the cookies their consistent texture.
Step 3: Cream Butter and Sugar
Beat the softened butter with granulated sugar until the mixture becomes light and fluffy. This step is crucial because it incorporates air, resulting in a lighter cookie with a tender crumb.
Step 4: Combine Wet Ingredients and Add Color
Mix in the eggs, vanilla extract, and the tablespoon of red food coloring to the creamed butter and sugar. This is where the dough takes on that gorgeous red velvet color and luscious richness.
Step 5: Fold in Dry Mixture and Chill
Gently fold the dry ingredients into the wet until a soft dough forms. For best results, chill the dough for 20 to 30 minutes. This helps the dough firm up, making the cookies easier to handle and better at keeping their shape in the oven.
Step 6: Shape and Coat with Powdered Sugar
Scoop the dough into 1 to 1.5-inch balls and roll each ball generously in powdered sugar. This sugary coating creates the signature crinkle effect during baking and adds a delightful sweetness and texture contrast.
Step 7: Bake and Cool
Place the coated dough balls on the baking sheet about 2 inches apart, then bake for 10 to 12 minutes. The edges should be set but the centers still soft, so the cookies stay chewy and tender. Let them cool for 5 minutes on the sheet before moving to a wire rack to cool completely.
How to Serve Red Velvet Crinkle Cookies Recipe
Garnishes
These cookies look stunning on their own, but adding a light dusting of extra powdered sugar before serving can elevate their festive look. If you’re feeling fancy, a drizzle of white chocolate or a sprinkle of crushed peppermint can add surprising flavors and textures.
Side Dishes
Red Velvet Crinkle Cookies pair wonderfully with a cold glass of milk or a cup of hot coffee or tea. They can also complement creamy desserts like vanilla ice cream, doubling the indulgence at dessert time or celebrations.
Creative Ways to Present
Present these cookies on a pretty platter stacked in a pyramid or nestled in decorative tins for gifting. You can also sandwich them with cream cheese frosting or marshmallow fluff for an adorable twist that captures the essence of red velvet cake in cookie form.
Make Ahead and Storage
Storing Leftovers
Keep your leftovers fresh by storing the cookies in an airtight container at room temperature. They’ll stay soft and flavorful for up to 4 days, perfect for sharing or enjoying over a few days.
Freezing
If you want to keep these delights longer, freeze the baked cookies in a single layer on a baking sheet, then transfer them to a freezer-safe bag or container. They freeze well for about 2 to 3 months without losing their texture or taste.
Reheating
To enjoy your cookies as if freshly baked, warm them slightly in the microwave for 10 to 15 seconds or in a low oven around 300°F until soft and fragrant again. This little trick revives their perfect chewy texture instantly.
FAQs
Can I use natural cocoa instead of unsweetened cocoa powder?
Yes, you can substitute natural cocoa powder, but keep in mind that natural cocoa is more acidic and may slightly affect the color and flavor of the cookies. Dutch-processed cocoa, which is less acidic, works best for the classic red velvet taste.
Is it necessary to chill the dough before baking?
Chilling is recommended as it firms up the dough, making it easier to roll and preventing the cookies from spreading too much. However, if you’re in a hurry, you can bake right away, keeping an eye on cookie spread and adjusting baking time slightly.
Can I make these cookies gluten-free?
Yes! Substitute the all-purpose flour with a gluten-free flour blend designed for baking. Make sure the baking powder you use is gluten-free as well. The texture may vary slightly but will still taste delicious.
What happens if I add more red food coloring?
Adding more red food coloring intensifies the cookie’s color but be cautious, as excessive amounts might affect the dough’s texture or taste. It’s best to stick close to the recommended tablespoon unless you want to experiment.
Can these cookies be made vegan?
With some adjustments, yes. Replace butter with vegan butter and use flax eggs or other egg substitutes. The texture and taste might shift a bit, but you can still achieve a tasty result that honors the spirit of this Red Velvet Crinkle Cookies Recipe.
Final Thoughts
There’s something truly special about making and sharing this Red Velvet Crinkle Cookies Recipe. It’s not just the beautiful color or the melt-in-your-mouth texture that wins hearts but the joyful experience of baking them yourself. Whether you’re gifting, celebrating, or just treating yourself, these cookies are sure to bring smiles and cozy moments. So grab your ingredients and get baking—you won’t regret it!
Print
Red Velvet Crinkle Cookies Recipe
- Prep Time: 15 minutes
- Cook Time: 12 minutes
- Total Time: 55 minutes
- Yield: 18 cookies
- Category: Dessert
- Method: Baking
- Cuisine: American
Description
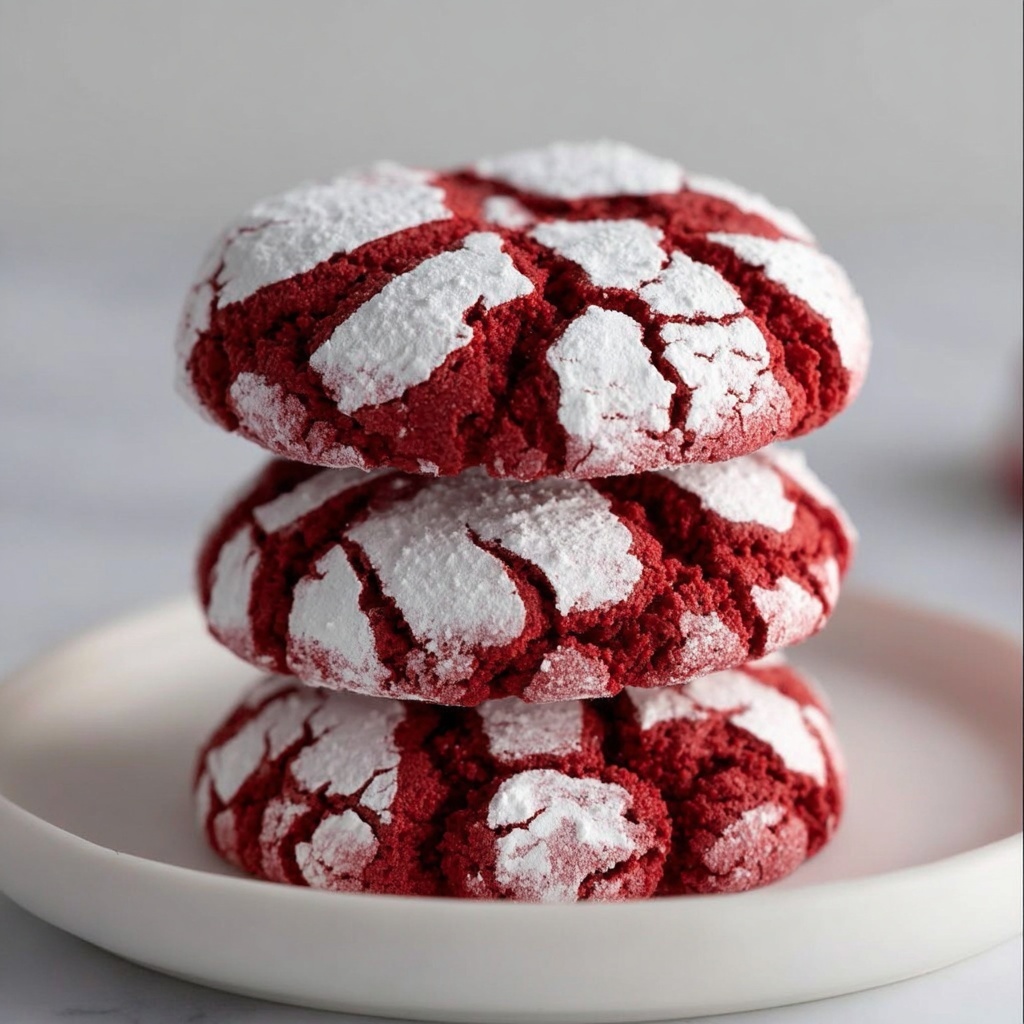
Delightfully soft and chewy Red Velvet Crinkle Cookies with a vibrant red color, rich cocoa flavor, and a sweet powdered sugar coating that cracks beautifully during baking. Perfect for holiday treats or any special occasion.
Ingredients
Dry Ingredients
- 1 ½ cups all-purpose flour
- ½ cup unsweetened cocoa powder
- 1 tsp baking powder
- 1 tsp salt
Wet Ingredients
- ½ cup unsalted butter, softened
- 1 cup granulated sugar
- 2 large eggs
- 1 tsp vanilla extract
- 1 tbsp red food coloring
For Rolling
- ½ cup powdered sugar
Instructions
- Preheat Oven and Prepare Baking Sheet: Preheat your oven to 350°F (175°C) and line a baking sheet with parchment paper or a silicone baking mat to prevent sticking and promote even baking.
- Mix Dry Ingredients: In a medium bowl, whisk together the all-purpose flour, unsweetened cocoa powder, baking powder, and salt until well combined. This ensures the dry components are evenly distributed.
- Cream Butter and Sugar: In a separate large bowl, beat the softened butter and granulated sugar together until the mixture becomes light and fluffy. This step incorporates air for a tender cookie texture.
- Add Wet Ingredients: Add the eggs, vanilla extract, and red food coloring to the creamed butter mixture. Mix thoroughly until everything is fully combined and the color is uniform.
- Combine Wet and Dry Mixtures: Gradually fold the dry ingredient mixture into the wet ingredients until a soft dough forms. For easier handling and improved texture, chill the dough in the refrigerator for 20 to 30 minutes if desired.
- Form and Roll Dough Balls: Scoop the dough into 1 to 1.5-inch balls. Roll each ball generously in powdered sugar to create a beautiful crinkle effect once baked.
- Arrange and Bake: Place the sugar-coated dough balls on the prepared baking sheet about 2 inches apart to allow room for spreading. Bake in the preheated oven for 10 to 12 minutes, or until the edges are set but the centers remain soft.
- Cool Cookies: Allow the cookies to cool on the baking sheet for 5 minutes before transferring them to a wire rack to cool completely. This prevents breaking and promotes even cooling.
Notes
- Chilling the dough before baking is optional but recommended for better handling and thicker cookies.
- Use high-quality cocoa powder for a richer chocolate flavor.
- Red food coloring can be adjusted to your preferred level of vibrancy.
- Store cookies in an airtight container at room temperature for up to 5 days.
- For a festive twist, sprinkle extra powdered sugar on top after baking.


