If you love playful recipes that feel like a retro baking secret, the Vintage Ice Cream Bread Recipe will absolutely win your heart! Imagine—just two ingredients and a few simple steps turn your favorite ice cream into a cozy, sliceable loaf. Each bite bursts with the rich, creamy flavor of your chosen ice cream, while the self-rising flour transforms everything into a tender, slightly sweet quick bread. Whether you stick with classic vanilla or venture into bold flavors like butter pecan, this Vintage Ice Cream Bread Recipe is pure baking magic with minimal fuss and maximum reward.
Ingredients You’ll Need
-
Full-Fat Ice Cream:
2 cups
Self-Rising Flour:
1 1/2 cups
How to Make Vintage Ice Cream Bread Recipe
Step 1: Prepare Your Loaf Pan
Start by preheating your oven to 350°F so it’s ready when your batter is mixed. Lightly grease a 9×5-inch loaf pan or line it with parchment paper, making it easier to lift out your finished bread without any sticky mishaps.
Step 2: Mix the Batter
In a medium mixing bowl, combine your two ingredients: the softened ice cream and the self-rising flour. Stir gently with a spatula or spoon, just until you don’t see dry flour. The key with this Vintage Ice Cream Bread Recipe is not to overmix; a few lumps are fine and will bake out beautifully.
Step 3: Fill and Smooth
Pour the batter into your prepared loaf pan and use the back of a spoon or spatula to smooth the top. It doesn’t need to be perfect—the loaf will rise and settle in the oven for a charmingly rustic look.
Step 4: Bake Until Golden
Slip the pan into your preheated oven and bake for 35 to 40 minutes. The bread is ready when the top is golden and a toothpick inserted into the center comes out clean, with just a few moist crumbs attached.
Step 5: Cool and Slice
Let the bread cool in its pan for about 10 minutes. Then, turn it out onto a wire rack and let it finish cooling completely—this step helps your Vintage Ice Cream Bread Recipe hold its shape perfectly when you slice it.
How to Serve Vintage Ice Cream Bread Recipe
Garnishes
Dress up each slice with a dusting of powdered sugar, a drizzle of chocolate or caramel sauce, or even a scoop of fresh fruit. A little whipped cream or a delicate sprinkle of edible flowers can also add a beautiful finishing touch to your Vintage Ice Cream Bread Recipe.
Side Dishes
This bread is a delightful treat on its own with coffee or tea, but it pairs beautifully with creamy sides like sweetened ricotta or a scoop of extra ice cream. For brunch, serve it with fresh berries or yogurt for a sweet contrast.
Creative Ways to Present
Turn thick slices into dessert sandwiches with a layer of jam or nut butter, or cut the loaf into cubes for a whimsical bread pudding. The Vintage Ice Cream Bread Recipe is fantastic toasted lightly and spread with butter or cream cheese for an afternoon pick-me-up!
Make Ahead and Storage
Storing Leftovers
Keep your bread moist and fresh by wrapping leftover slices tightly in plastic wrap or storing them in an airtight container at room temperature for up to three days. If your kitchen is warm, opt for the refrigerator to avoid melting or spoilage.
Freezing
Vintage Ice Cream Bread Recipe freezes like a dream! Slice and wrap each piece in plastic, then place all the slices in a zip-top bag. Freeze for up to two months—just thaw on the counter whenever you crave a sweet treat without turning on the oven.
Reheating
To revive that fluffy texture, pop slices into a toaster or warm them briefly in the microwave. If reheating from frozen, let the bread thaw first, then warm in a low oven or toaster oven to bring out its freshly baked charm.
FAQs
Does the flavor of ice cream really come through in the finished bread?
Absolutely! The ice cream is the star here, so every nuance of your chosen flavor—from vanilla bean flecks to swirls of caramel—shines through. The Vintage Ice Cream Bread Recipe is a fantastic way to showcase the personality of any ice cream you love.
Can I use low-fat or dairy-free ice cream?
For best results, stick with full-fat, dairy-based ice cream since it gives the bread a richer crumb and better rise. Low-fat or dairy-free versions often have more stabilizers or less fat, which can lead to a denser loaf.
What if I don’t have self-rising flour?
No worries! Make your own by whisking together 1 1/2 cups all-purpose flour, 2 1/4 teaspoons baking powder, and 1/2 teaspoon salt. This homemade blend works seamlessly in the Vintage Ice Cream Bread Recipe.
Which flavor combinations are best?
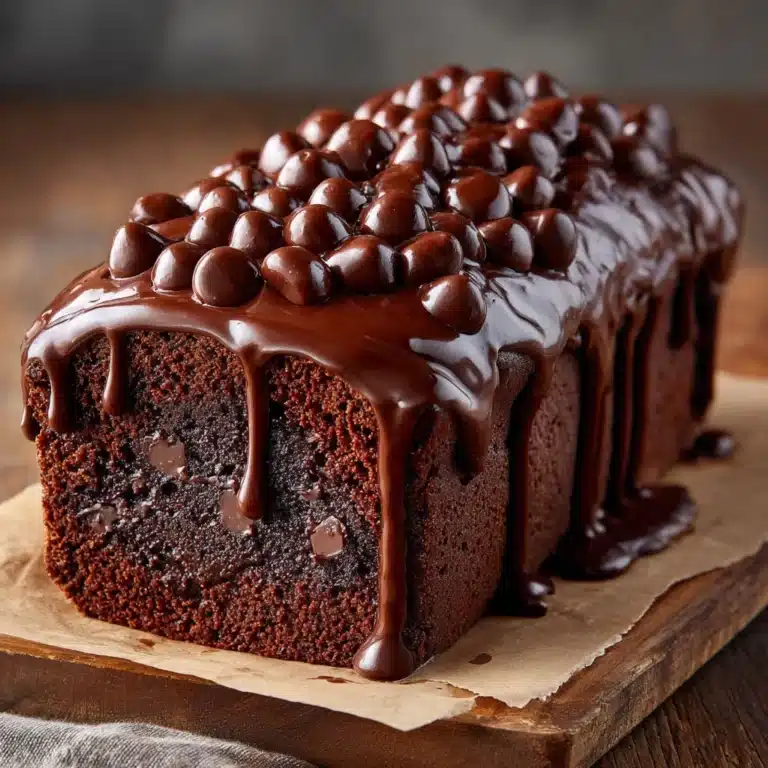
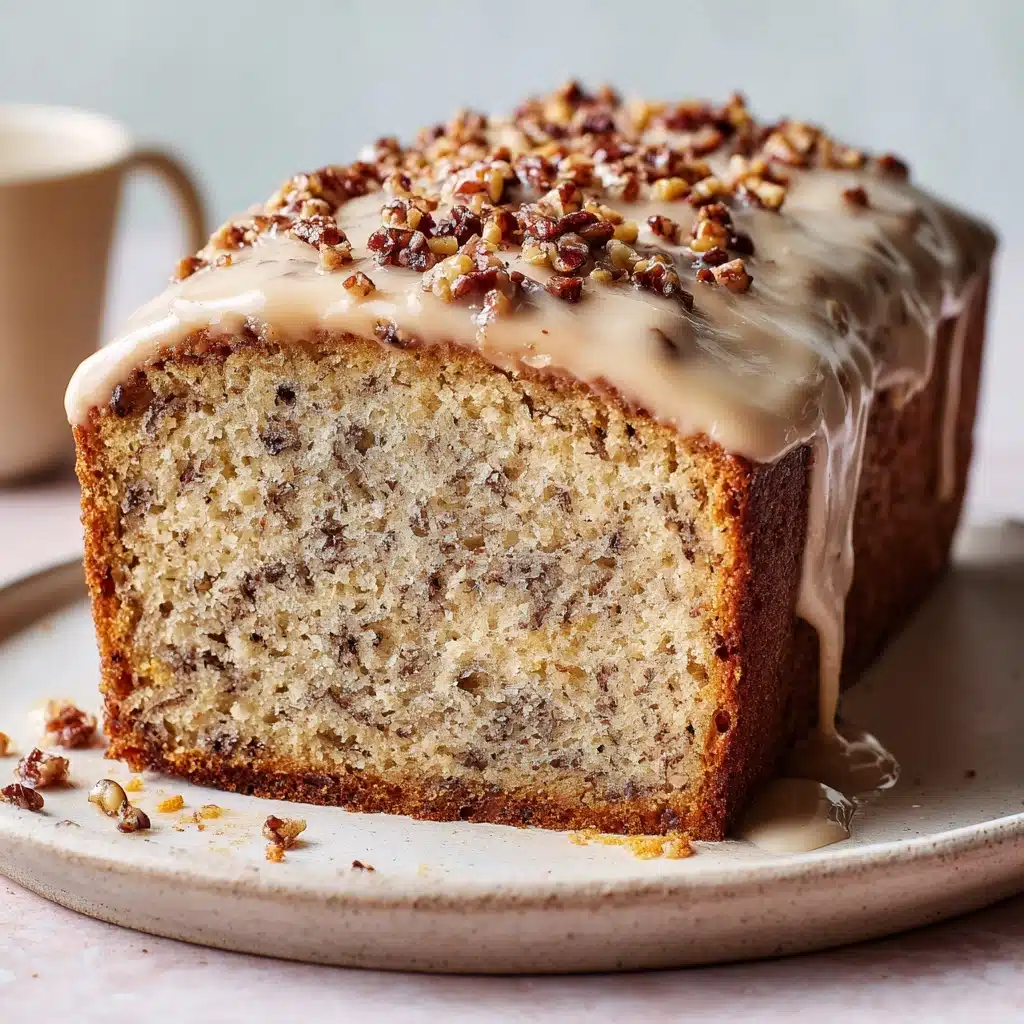
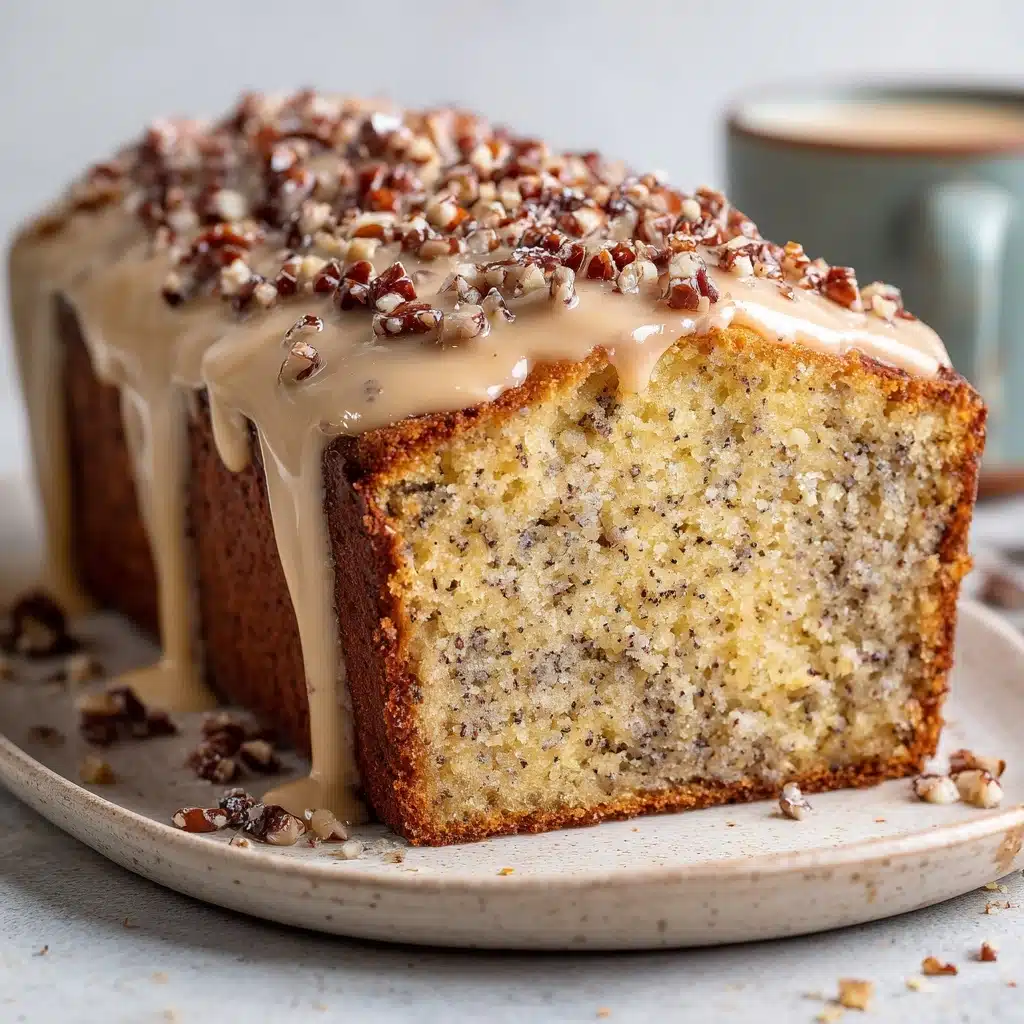
Classic vanilla, chocolate, and strawberry are always a hit, but don’t be afraid to experiment! Butter pecan, coffee, or even a berry ripple flavor can give your Vintage Ice Cream Bread Recipe a fun twist. You can even stir in mix-ins like chocolate chips or nuts for extra excitement.
Can I double the recipe or make muffins?
Yes! You can easily double the ingredients for a larger loaf or divide the batter into muffin tins—just reduce the baking time for muffins and watch for that clean-toothpick test. The basic technique and ratios stay the same.
Final Thoughts
Whether you’re nostalgic for an old-school baking project or just want something delightful with barely any effort, you owe it to yourself to try the Vintage Ice Cream Bread Recipe. It’s quirky, fuss-free, and surprisingly delicious—just the kind of treat you’ll want to share with everyone!
Print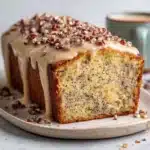
Vintage Ice Cream Bread Recipe
- Total Time: 45 minutes
- Yield: 8 slices 1x
- Diet: Vegetarian
Description
A delightful vintage recipe for Ice Cream Bread that only requires two simple ingredients: full-fat ice cream and self-rising flour. This easy dessert is a fun and unique way to enjoy a sweet treat.
Ingredients
Full-Fat Ice Cream:
2 cups
Self-Rising Flour:
1 1/2 cups
Instructions
- Preheat and Prep: Preheat the oven to 350°F. Grease a 9×5-inch loaf pan or line with parchment paper.
- Mix Ingredients: Combine softened ice cream and self-rising flour in a bowl. Stir until just combined.
- Bake: Pour batter into the prepared pan. Bake for 35–40 minutes until a toothpick inserted comes out clean.
- Cool and Serve: Cool in the pan for 10 minutes, then transfer to a wire rack to cool completely before slicing.
Notes
- Use full-fat ice cream for best results.
- Avoid low-fat or dairy-free varieties for this recipe.
- You can make self-rising flour by mixing all-purpose flour, baking powder, and salt.
- Experiment with different ice cream flavors for variety.
- Prep Time: 5 minutes
- Cook Time: 40 minutes
- Category: Dessert
- Method: Baking
- Cuisine: American
Nutrition
- Serving Size: 1 slice
- Calories: 210
- Sugar: 12 g
- Sodium: 220 mg
- Fat: 8 g
- Saturated Fat: 5 g
- Unsaturated Fat: 2 g
- Trans Fat: 0 g
- Carbohydrates: 30 g
- Fiber: 1 g
- Protein: 4 g
- Cholesterol: 30 mg